Baking Homemade Sourdough Bread: The Tools You Need & How to Use Them
There’s something quietly magical about the smell of freshly baked sourdough wafting through your kitchen. Maybe it’s the crisp crackle of a golden crust or the rustic, pillowy interior that makes your first slice almost worth the wait. Baking sourdough bread at home isn’t just about filling a loaf pan it’s about the ritual, the rhythm, and, let’s be honest, the bragging rights when your friends Instagram your perfectly domed boule.
Whether you’re baking for a cozy weekend breakfast or planning a stunning centerpiece for a holiday table, sourdough brings together comfort, visual drama, and that subtle tang that makes every bite feel intentional. But here’s the truth: Homemade sourdough can feel intimidating if you don’t have the right tools or a roadmap for when to use them. That’s where a sourdough bread making kit like the Nordic Ware Simply Sourdough Deluxe 10-Piece Kit steps in.
Think of it as your sourdough sidekick. With every piece thoughtfully designed from the glass starter jar with tracker band to the aluminum pan and lid that mimics a Dutch oven you’ll feel like a pro even if this is your first loaf. Ready to dive in? Let’s break down everything you need to know to start baking beautiful, flavorful sourdough at home.
Table of Contents:
- How to Start Making Sourdough Bread at Home
- What Do You Need to Start Making Sourdough Bread?
- Inside a Sourdough Bread Making Kit (and How It Helps Beginners)
- Step-by-Step: How to Start Making Sourdough Bread (and Which Tool to Use When)
- How to Use Each Tool in Your Sourdough Setup (Quick Reference)
- Common Beginner Issues (and the Tools That Help Fix Them)
- FAQs: How to Start Making Sourdough Bread with a Kit
How to Start Making Sourdough Bread at Home
Getting started with sourdough at home can feel like stepping into a little bit of kitchen magic and, let’s be honest, a tiny bit of science. Unlike your standard loaf of bread, sourdough has personality: it bubbles, rises, and develops flavor over time, rewarding patience with every slice. The good news? You don’t need a bakery-worthy setup to make it happen.
What makes sourdough different from regular bread for home bakers?
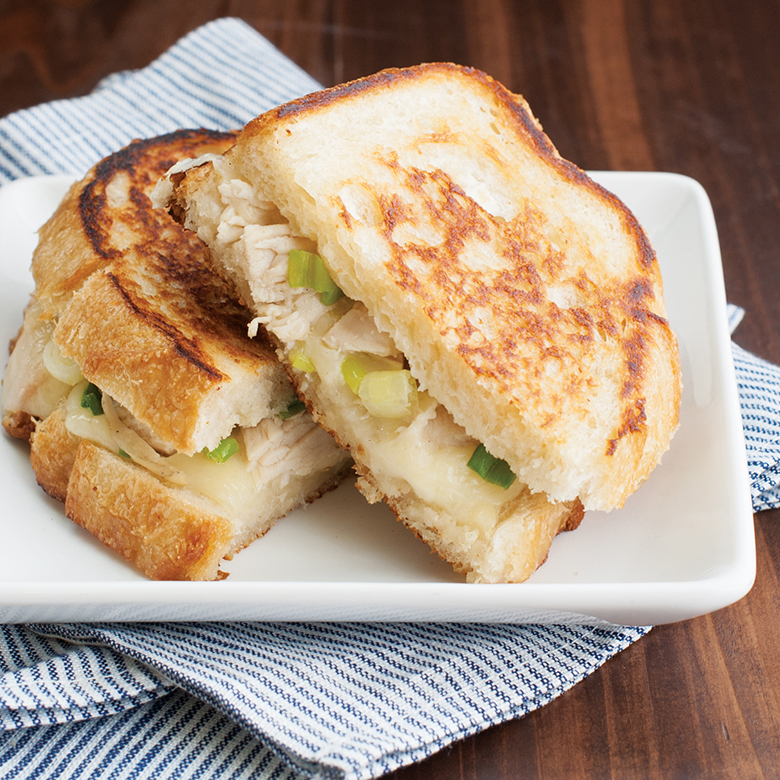
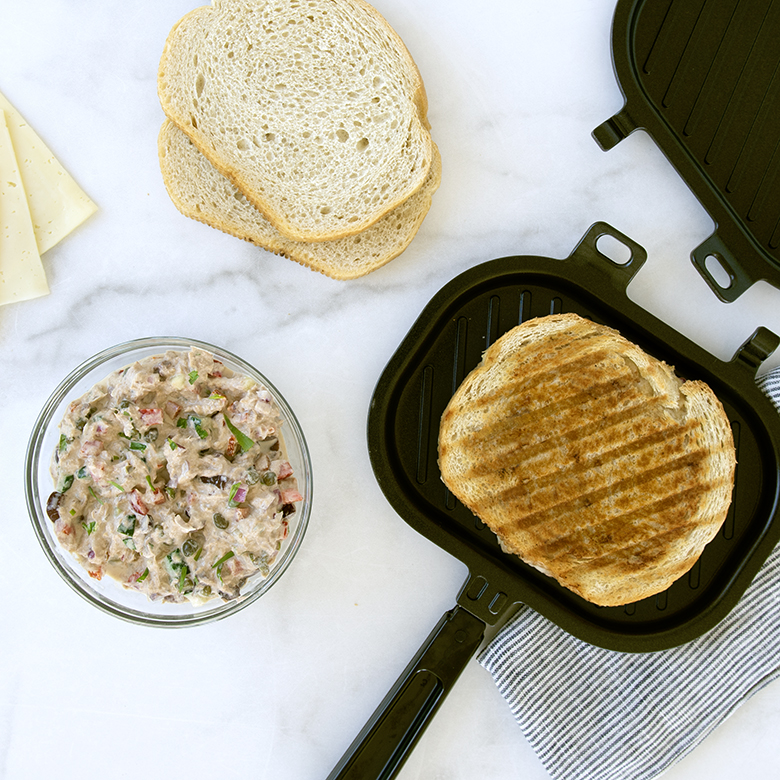
Sourdough isn’t just fancy bread it’s living bread. Unlike commercial yeast loaves, sourdough relies on a naturally fermented starter, which is a mix of flour and water teeming with wild yeasts and lactobacilli. This gives the bread a signature tang, better keeping quality, and a chewy texture that elevates simple sandwiches to something magical. For beginners, it means your bread evolves in real time. Each feeding, rise, and bubble tells you exactly how your dough is doing and yes, that’s part of the charm.
Unlike regular bread where yeast does the heavy lifting in an hour or two, sourdough asks for patience. But trust us, the payoff is worth it: A loaf with complex flavor, a glossy, crackly crust, and a soft, open crumb that makes even store-bought sourdough look sad in comparison.
Learn more about your how to maintain a sourdough starter here.
The sourdough process in 5 beginner-friendly steps
At a high level, the sourdough journey is simple once you get the rhythm:
- Build Your Starter – Feed your wild yeast so it’s bubbly and active.
- Mix Dough – Combine flour, water, salt, and starter into a sticky, cohesive mass.
- Bulk Ferment – Let the dough rest and rise, folding occasionally to develop structure.
- Shape & Proof – Form your loaf, give it tension, and let it rest again for the final rise.
- Bake & Cool – Score the dough, bake in a vessel that traps steam, then cool fully before slicing.
What Do You Need to Start Making Sourdough Bread?
Core ingredients for your first sourdough loaf
All you really need to get started are four ingredients: flour, water, salt, and a starter. Flour choice affects flavor and crumb. Strong bread flour gives you structure, while a mix of whole wheat or rye adds tang and depth. Water should be filtered or chlorine-free if possible, and salt is your flavor amplifier. Keep your starter alive, bubbly, and active, and you’ve got the foundation for everything else.
Basic kitchen tools most beginners already have
Before we talk fancy tools, let’s acknowledge what you probably already own: A mixing bowl, oven, spoon or spatula, cooling rack, and a clean work surface. These basics are enough to start, but having a few purpose-built sourdough tools transforms “good enough” into “wow, I actually did that.”
Essential sourdough tools that make life easier
Some tools aren’t just nice-to-haves, they’re game changers. A digital scale ensures your hydration is spot-on. A bench scraper makes shaping dough effortless. A proofing basket (or towel-lined bowl) helps the dough hold its form. A scoring tool, and a baking vessel like a lidded aluminum pan gives you the steam trap you’d normally get from a heavy Dutch oven. Together, they reduce guesswork and help beginners feel confident from start to finish.
Inside a Sourdough Bread Making Kit (and How It Helps Beginners)
What is a sourdough bread making kit?
A sourdough kit is basically a shortcut to sourdough success. Instead of hunting down individual tools, you get everything designed to work together. For beginners, this means less overwhelm, fewer mistakes, and faster results. Think of it as your starter pack for sourdough mastery.
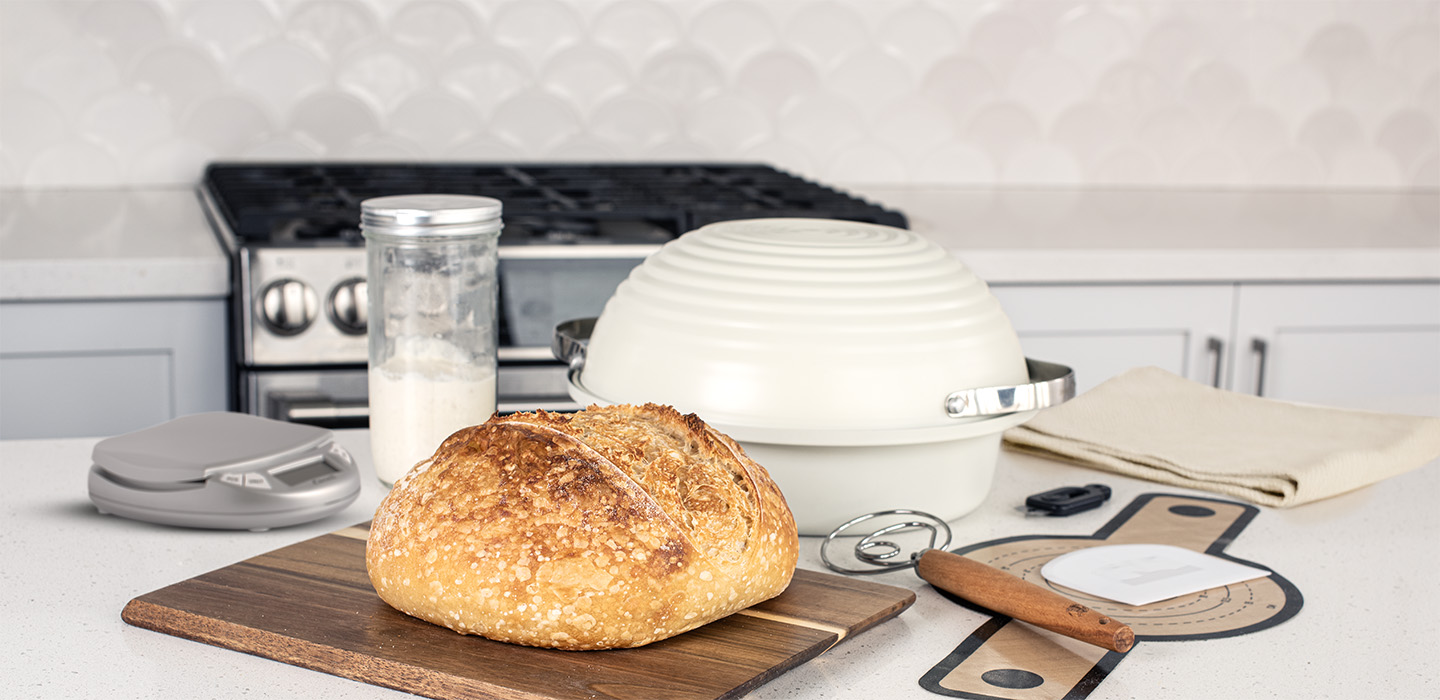
What’s in the Nordic Ware Simply Sourdough Deluxe 10 Piece Kit? Here’s the lineup:
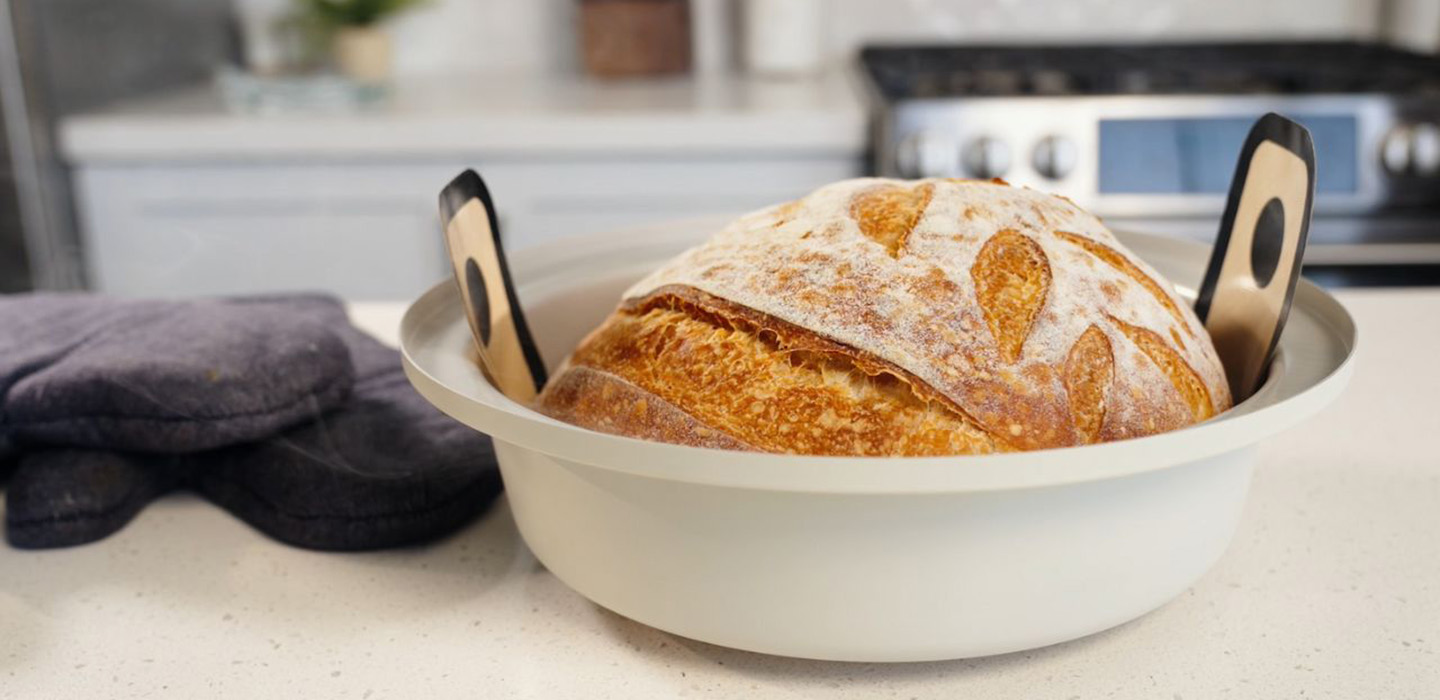
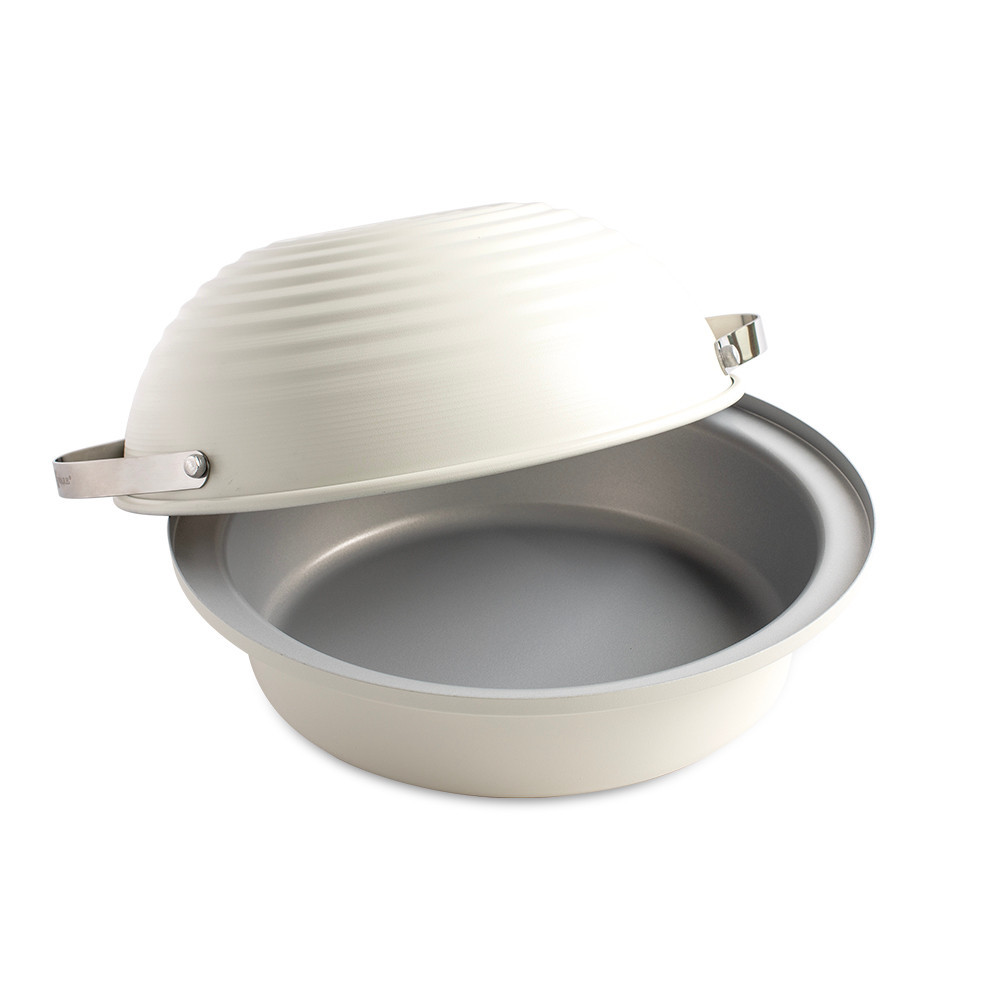
- Sourdough baking pan and lid – your mini-Dutch oven for crisp crusts.
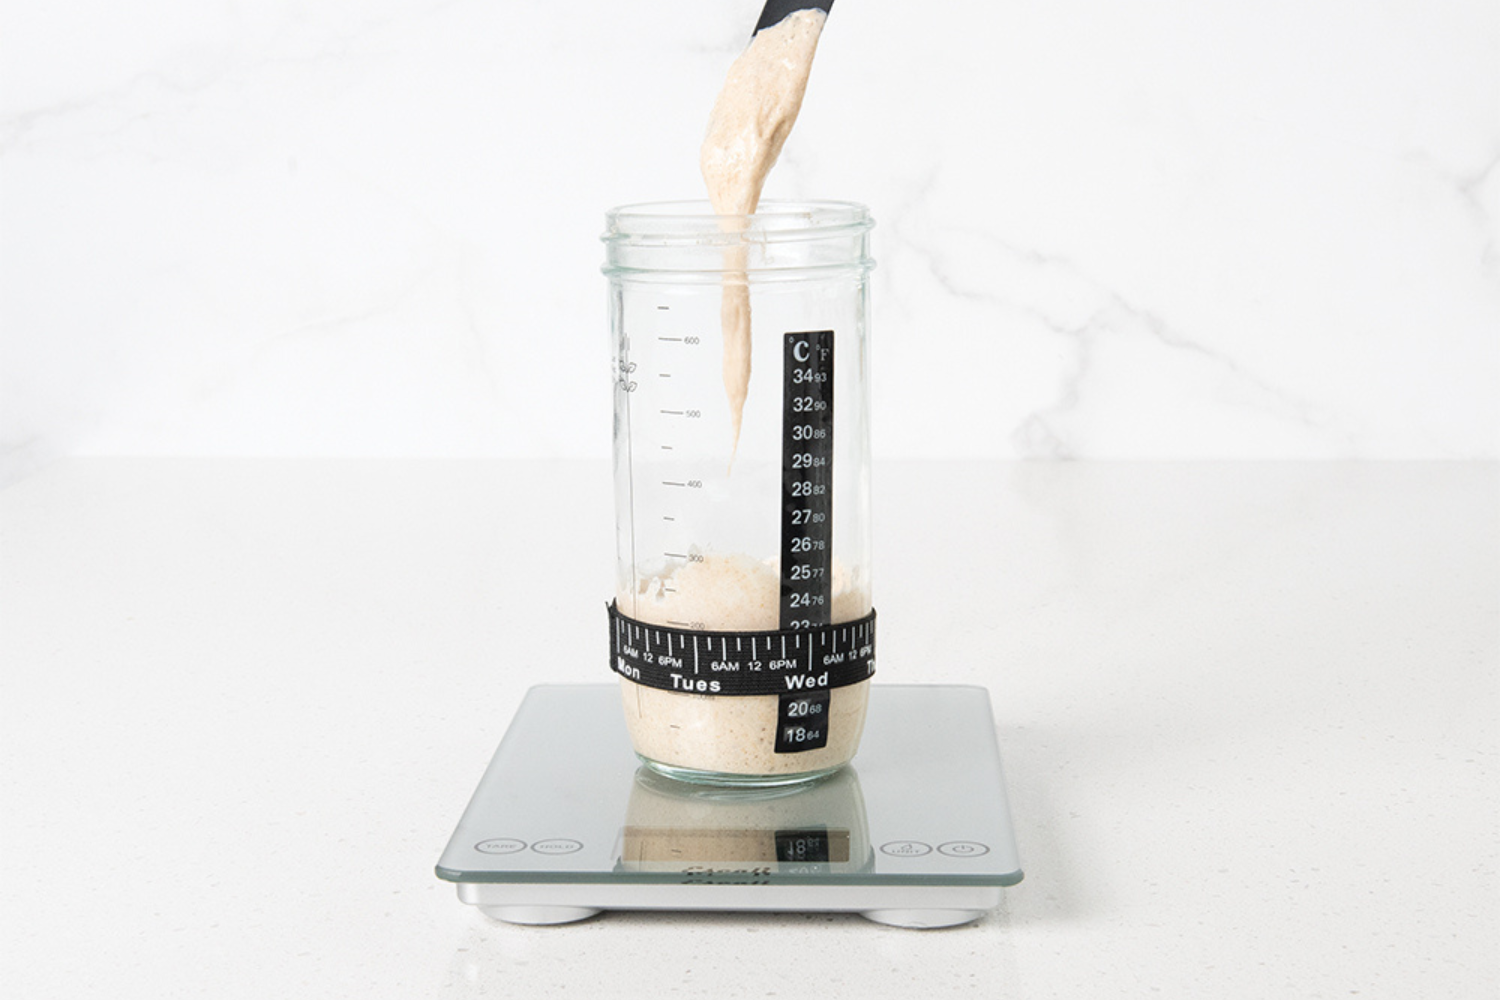
- Glass starter jar with temp strip & tracker band – see your starter rise like a science experiment.
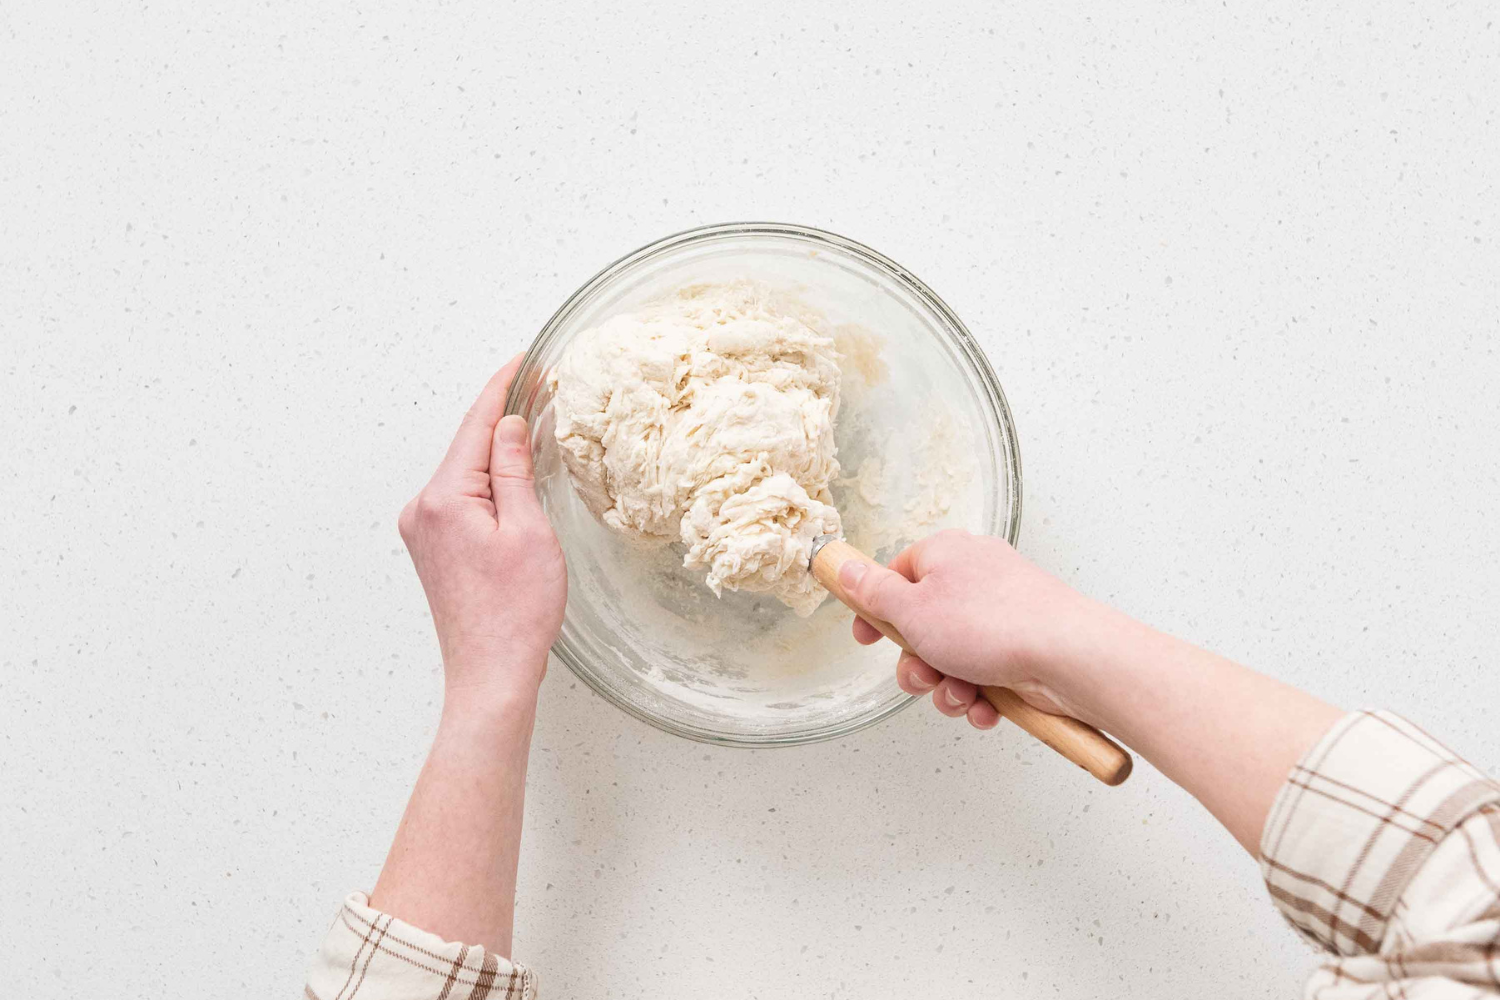
- Danish dough whisk – effortlessly mixes thick, sticky dough.
- Retractable bread lame – perfect for precise and beautiful scoring.
- Plastic bench scraper – shape and move dough without sticking.
- Silicone lifting sling – move dough in and out of pans like a pro.
- Cotton proofing towel – keep dough hydrated and prevent sticking during fermentation.
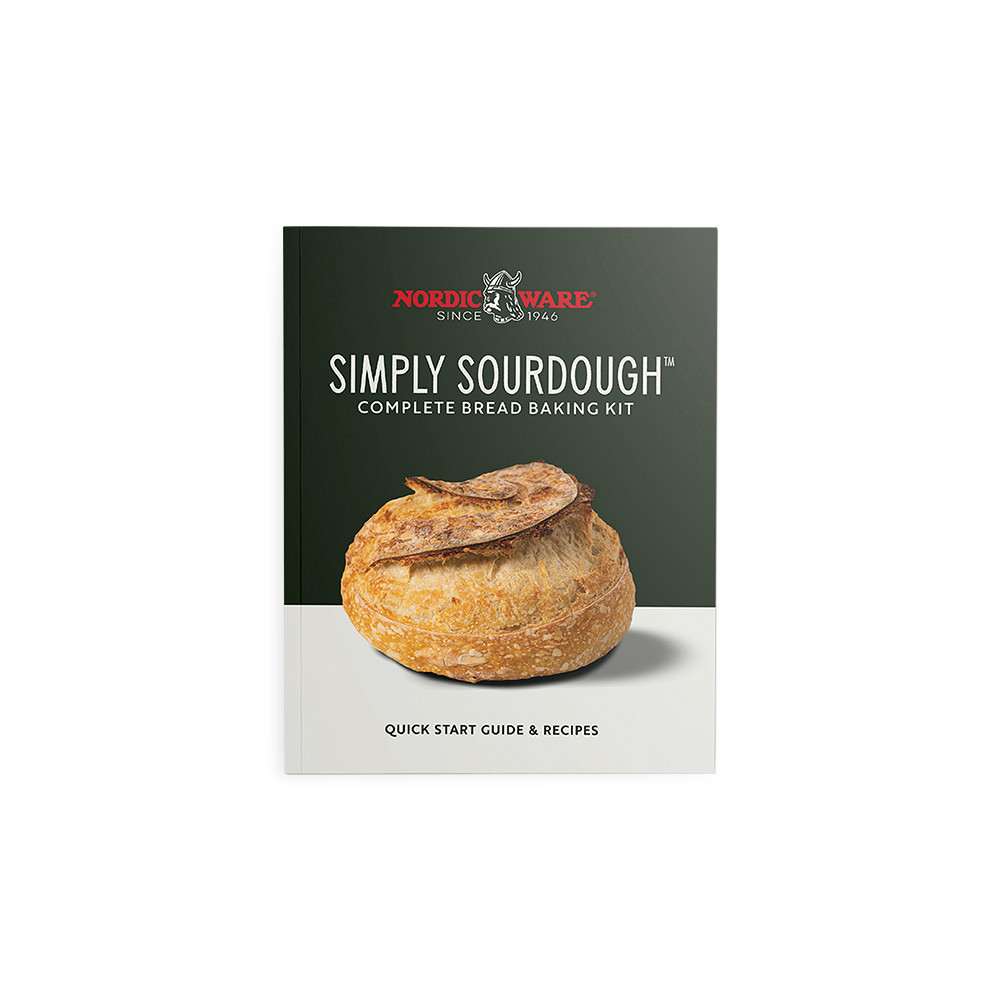
- Quick Start Guide + recipes – curated instructions for stress-free baking.
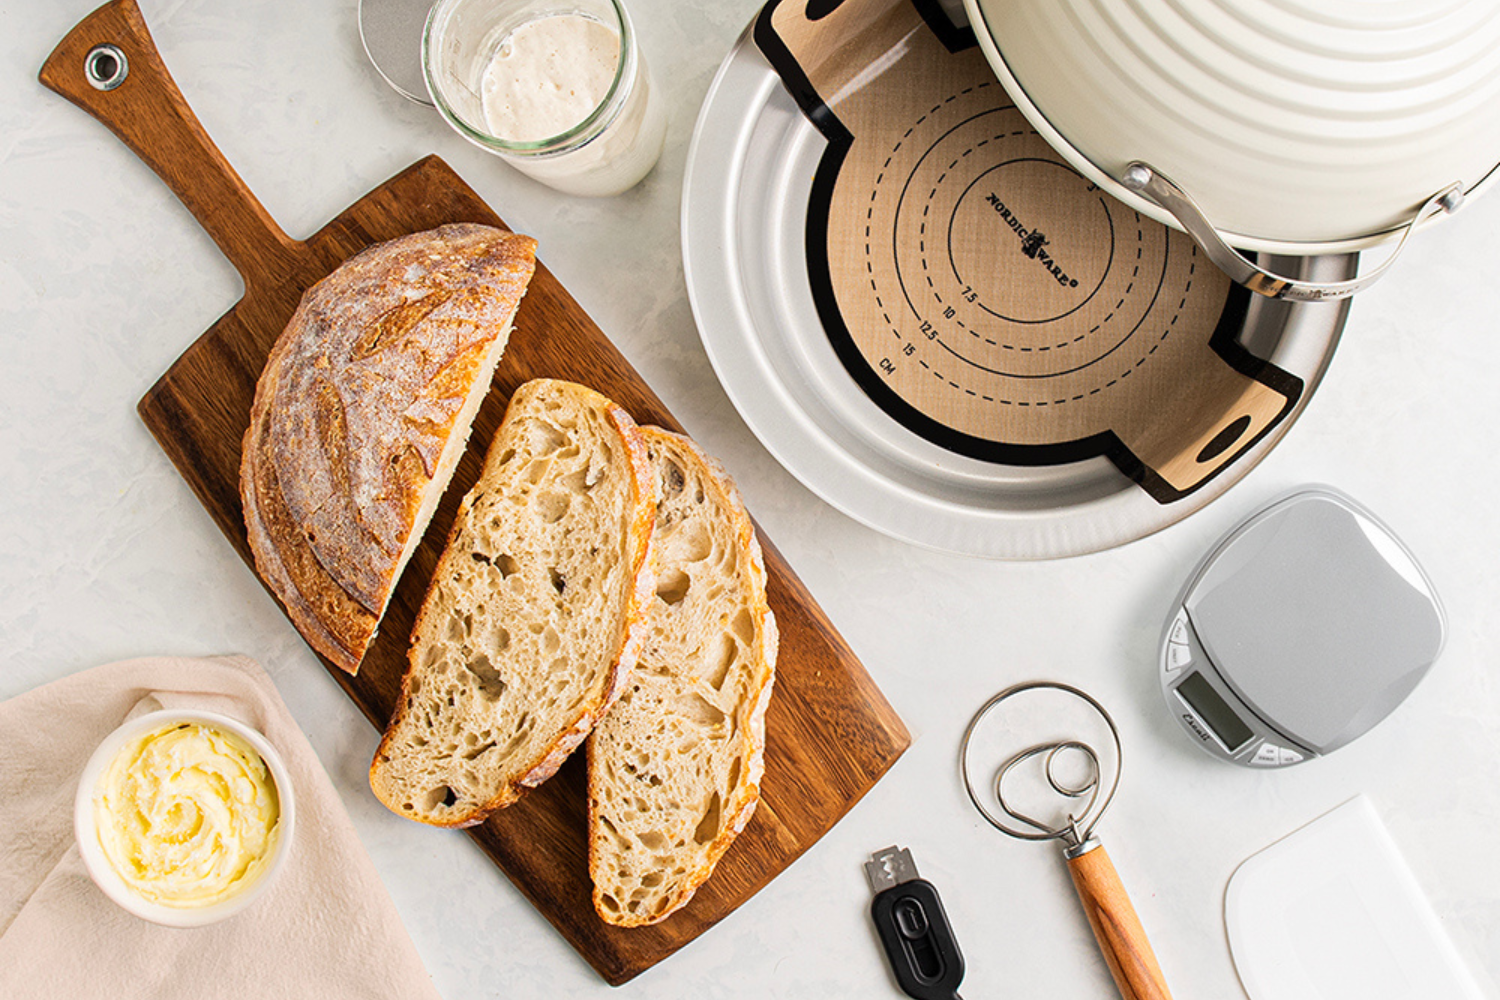
- Escali digital baking scale (Deluxe only) – accuracy matters, especially for hydration.
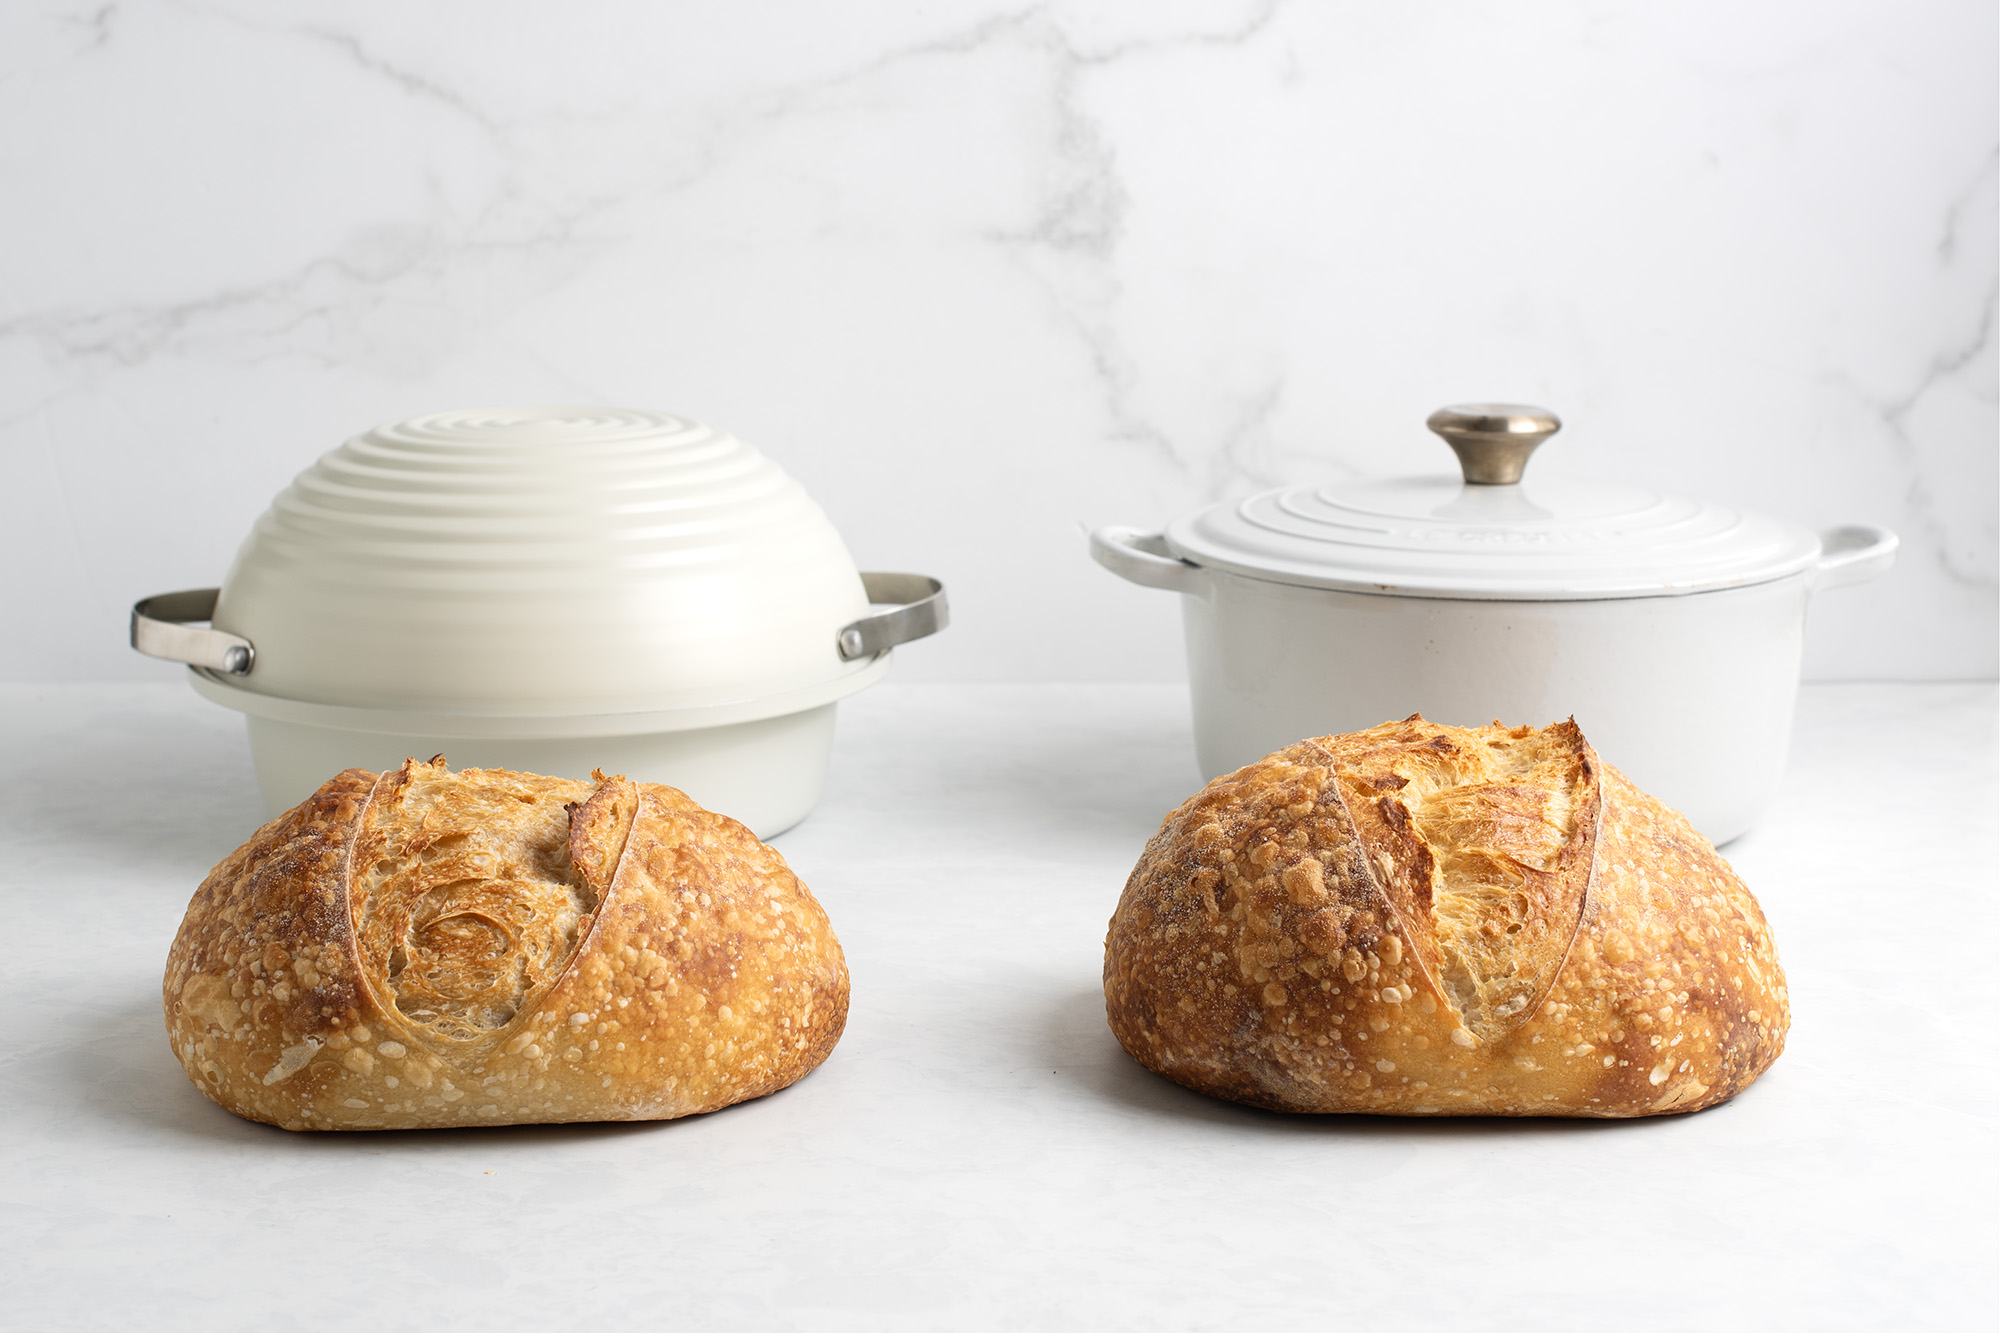
How this kit replaces a heavy Dutch oven and multiple separate tools
Instead of wrestling with a hot, heavy Dutch oven, parchment, and multiple baskets, this kit gives you everything in one set. The pan and lid combo traps steam, the sling replaces parchment for easy lifting, and the towel doubles as proofing support. Beginners get the full sourdough experience with less intimidation and guess work. See our full “Aluminized Steel vs. Cast Iron” comparison here.
Step-by-Step: How to Start Making Sourdough Bread (and Which Tool to Use When)
Step 1 – Build and monitor your starter
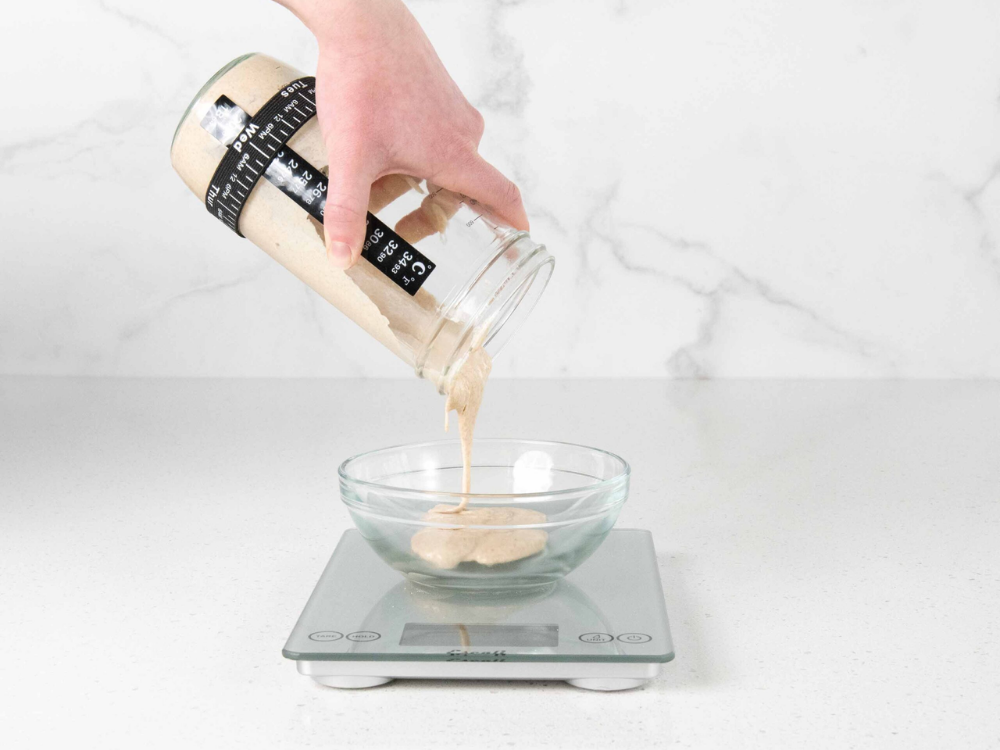
Use the glass starter jar, temp strip, and tracker band to see when your starter is ready: bubbles everywhere, doubling in size, and in the ideal temperature range. Watching it rise and fall teaches you patience and timing and yes, it’s oddly satisfying.
Step 2 – Weigh and mix your dough
The digital scale ensures your flour, water, salt, and starter are perfect every time. Mix with the Danish dough whisk for smooth incorporation without overworking. Bonus: you spend less time scraping and more time imagining that first crusty slice.
Step 3 – Bulk ferment: resting and folding the dough
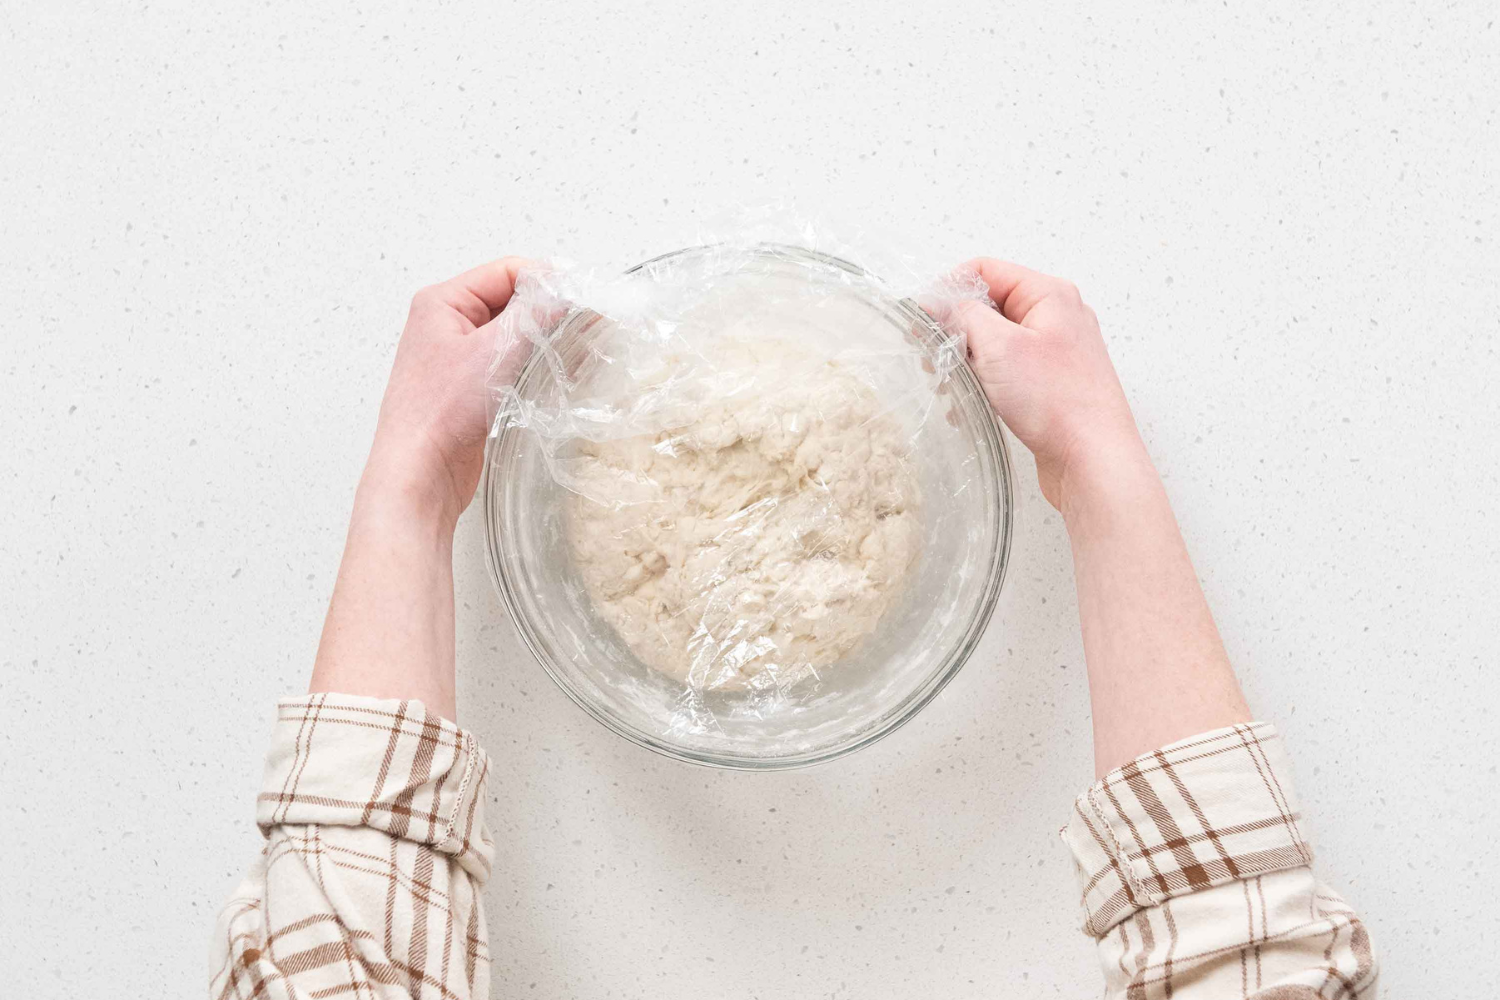
Cover your dough with the cotton proofing towel or a shower cap to prevent drying. Watch for simple cues: dough should double, bubbles pop up, and a gentle jiggle tells you it’s alive. This stage develops gluten and flavor. This is the slow, quiet magic behind sourdough.
Step 4 – Shape the dough with confidence
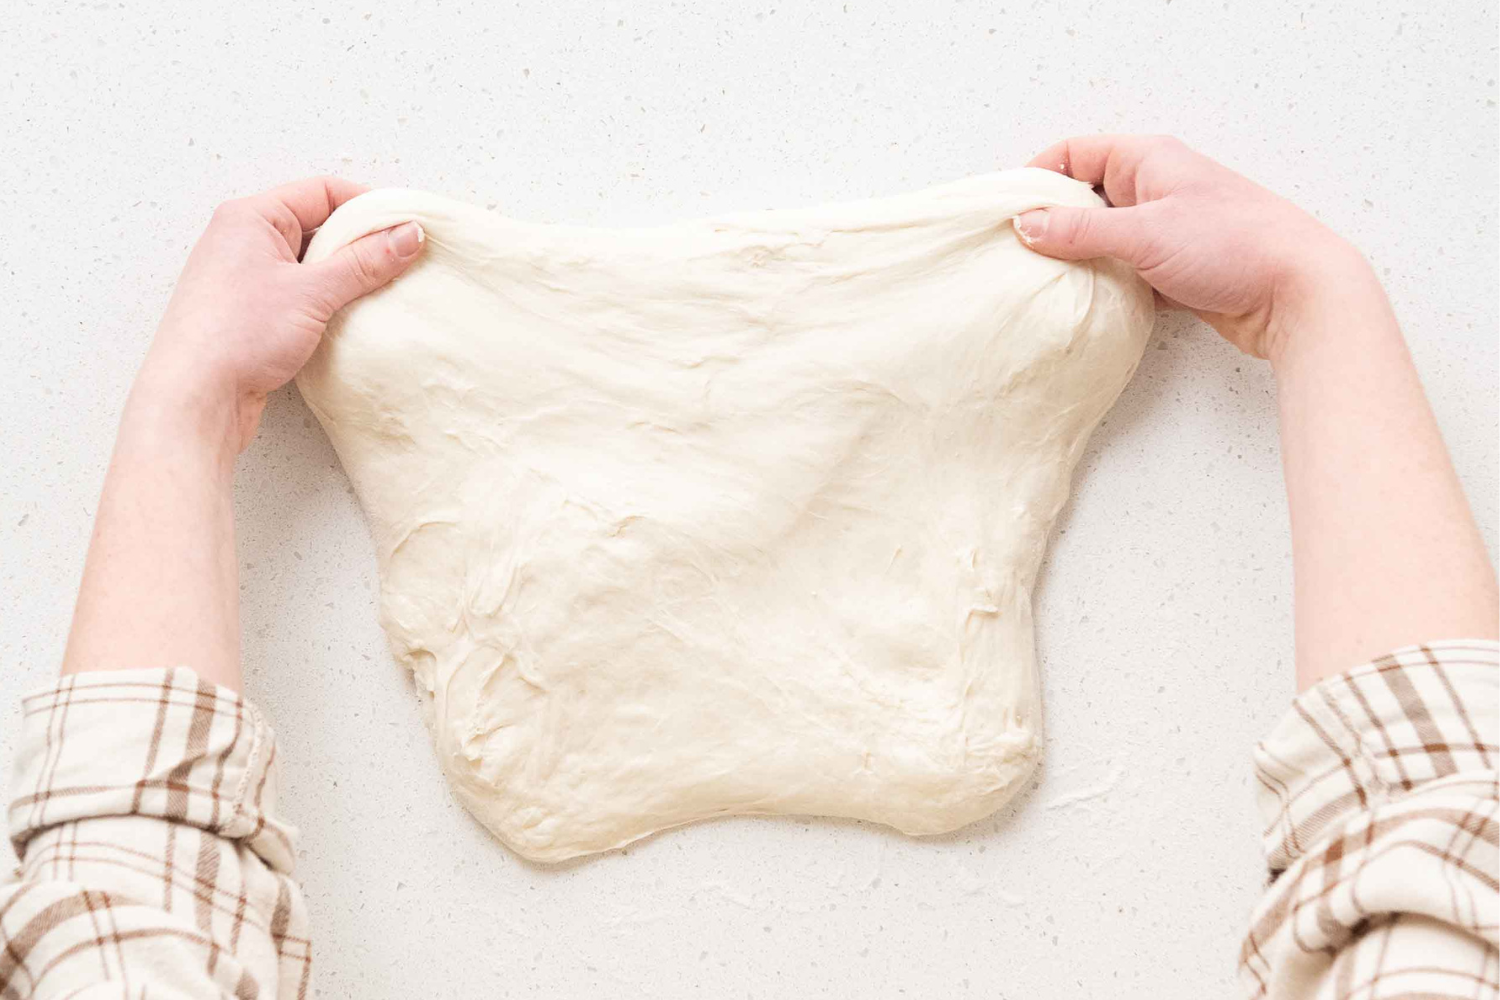
Use the bench scraper to lift and fold the dough without sticking. Create surface tension by folding edges under, and this helps the loaf hold its shape and rise evenly. Feeling fancy? Try a simple round boule or an elongated batard.
Step 5 – Proof in the pan lid for easy transfer
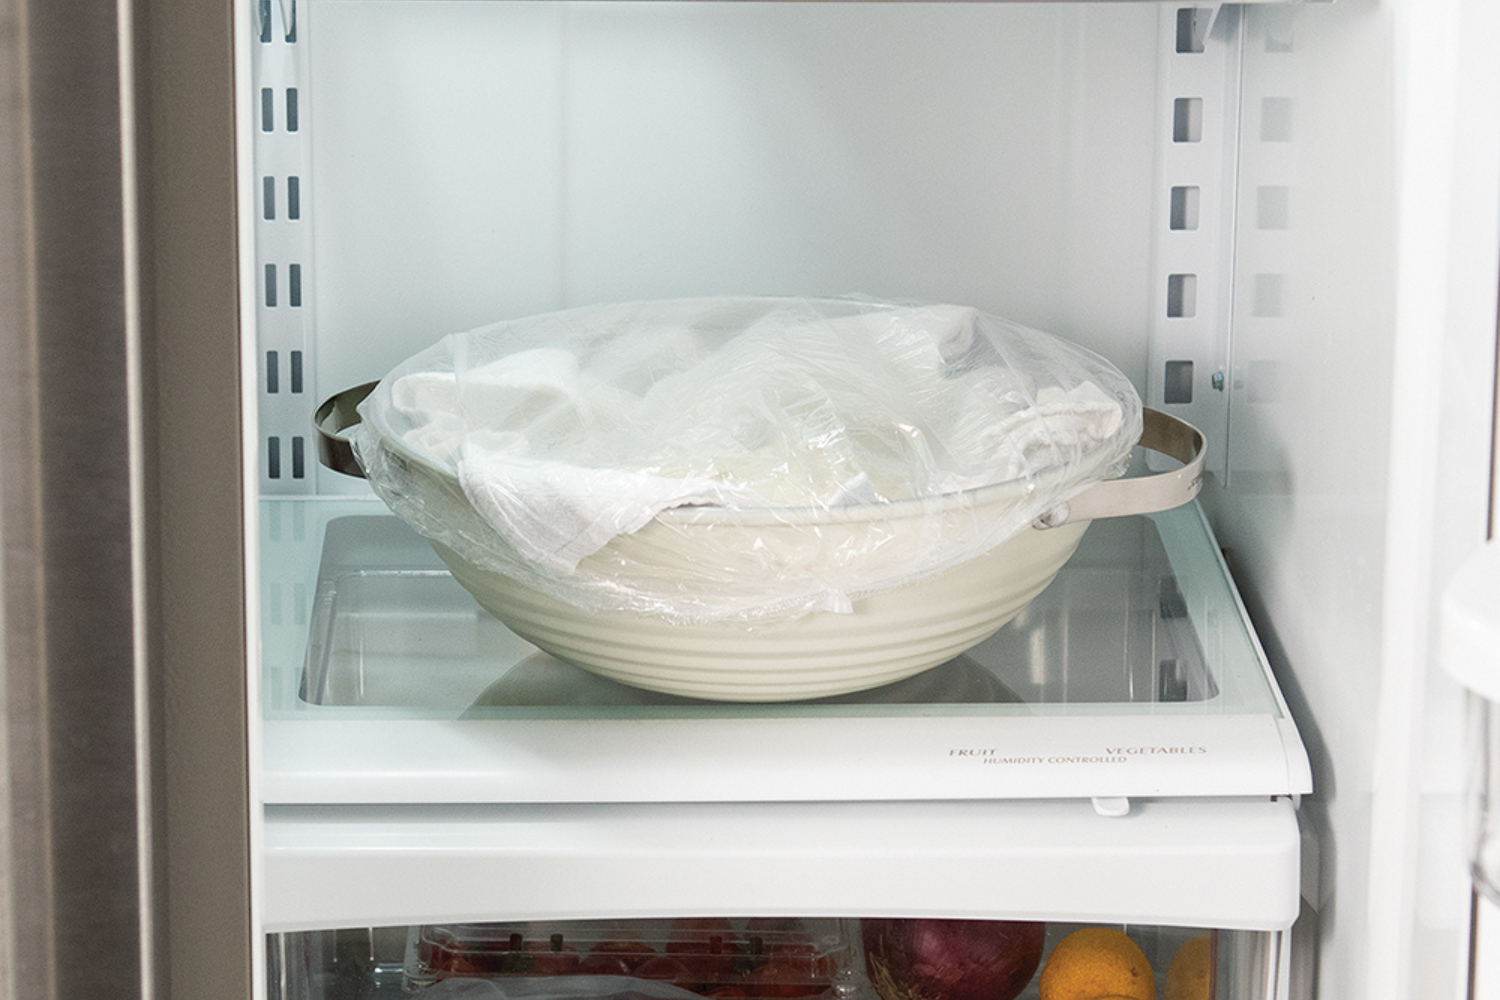
Line the pan lid with the cotton towel and let your dough rest. It’s easier than balancing it on a counter or adding another item to your kitchen cabinets. Plus, transferring to the pan base later is practically foolproof.
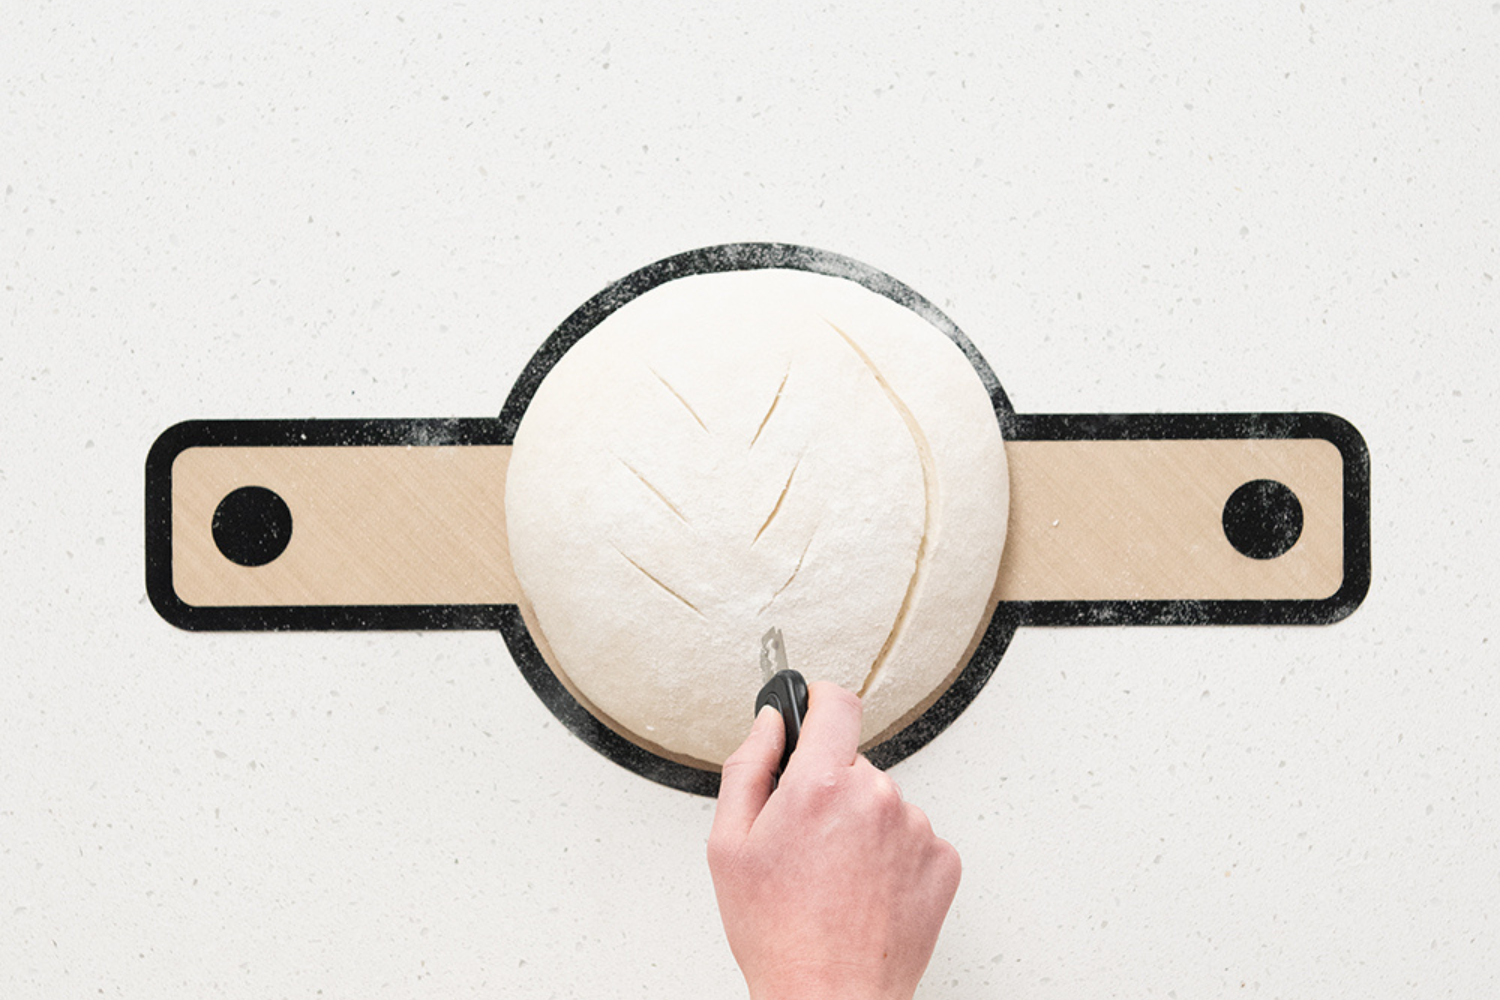
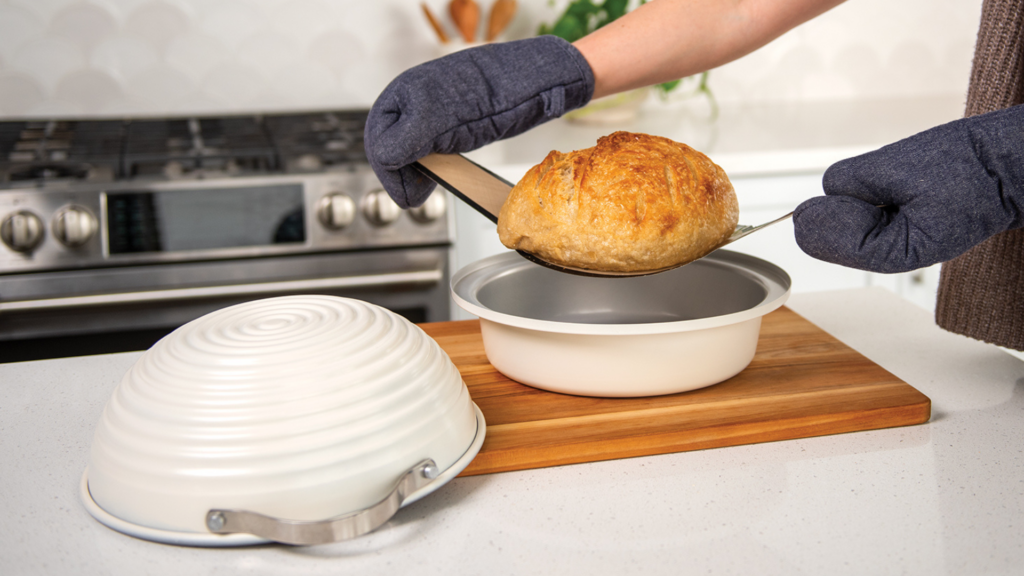
Step 6 – Score and bake for a golden, crispy crust
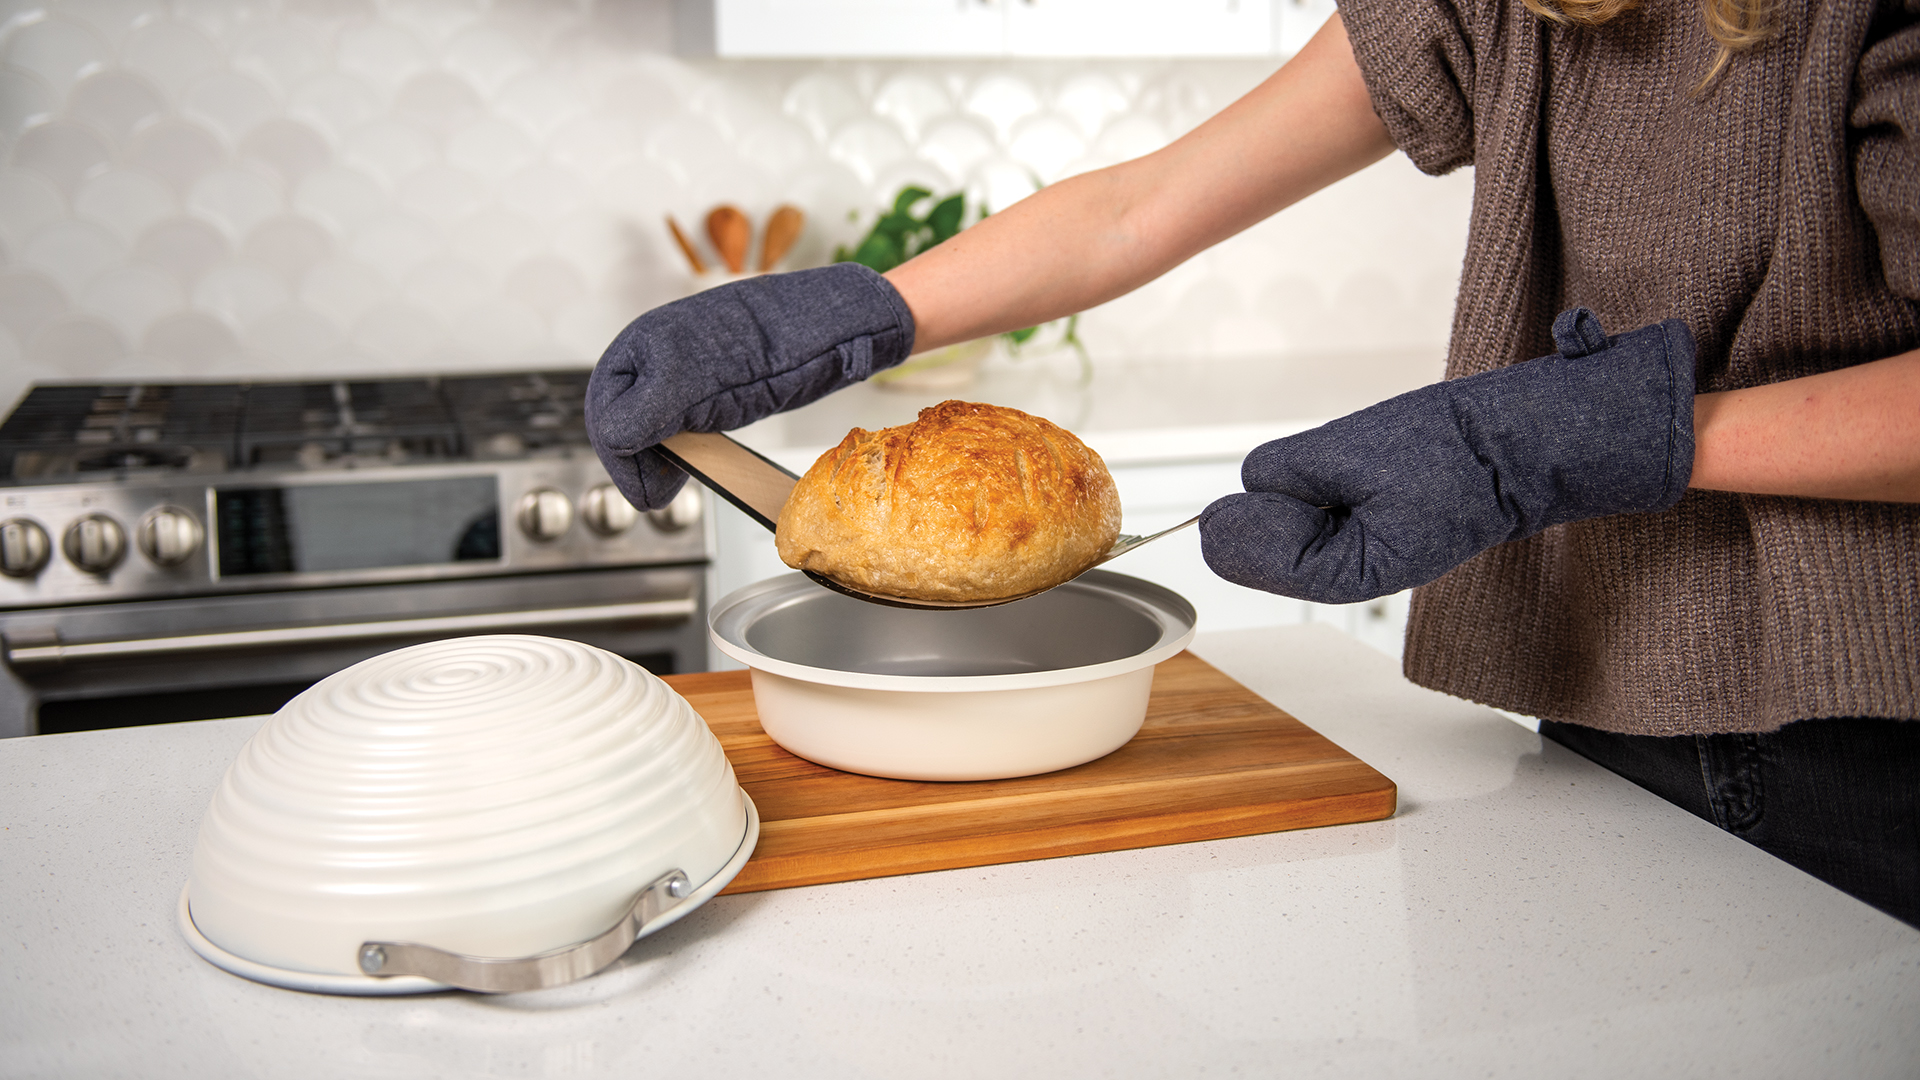
Use the retractable bread lame for beginner-friendly scoring: one clean cut down the center. Then, the silicone sling moves the dough into the pan. Cover with the lid, this traps steam for oven spring and a crackly crust, just like a Dutch oven. Bake until golden and irresistible.
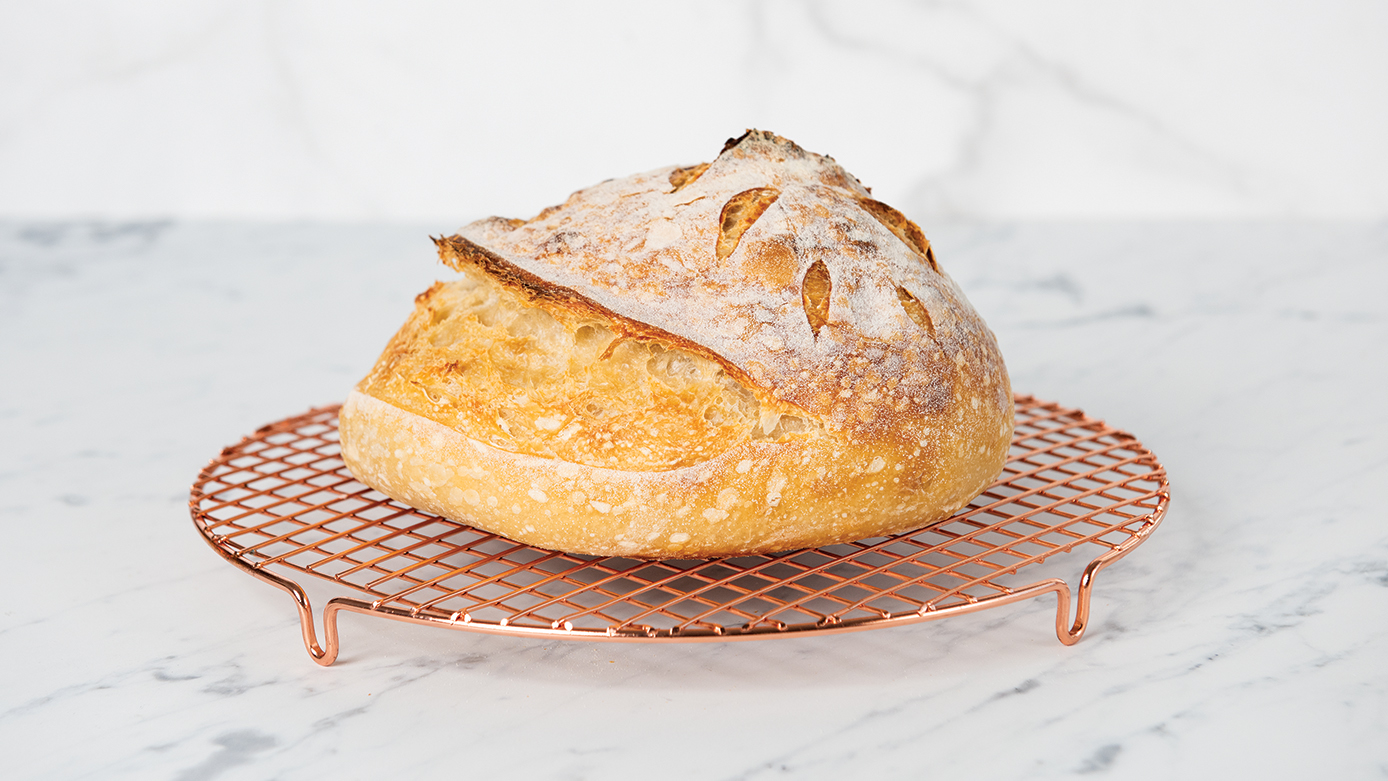
Step 7 – Cool, slice, and store your sourdough
Patience matters. Let your loaf cool fully on a rack. This prevents gummy crumb. Slice with a serrated knife, store at room temperature, and savor the fact that you just baked sourdough from scratch.
How to Use Each Tool in Your Sourdough Setup (Quick Reference)
Every tool in your sourdough kit has a starring role, and knowing when to pull it out makes your life and your loaf so much easier.
Sourdough baking pan and lid
 The sourdough baking pan and lid are your grand finale: perfect for final proofing and baking, they trap steam just like a Dutch oven, help create that irresistible crust, and keep sticking to a minimum. Made of lightweight aluminum, this pan is easier to lift in and out of the oven compared to cast iron.
Glass starter jar, temp strip, and tracker band
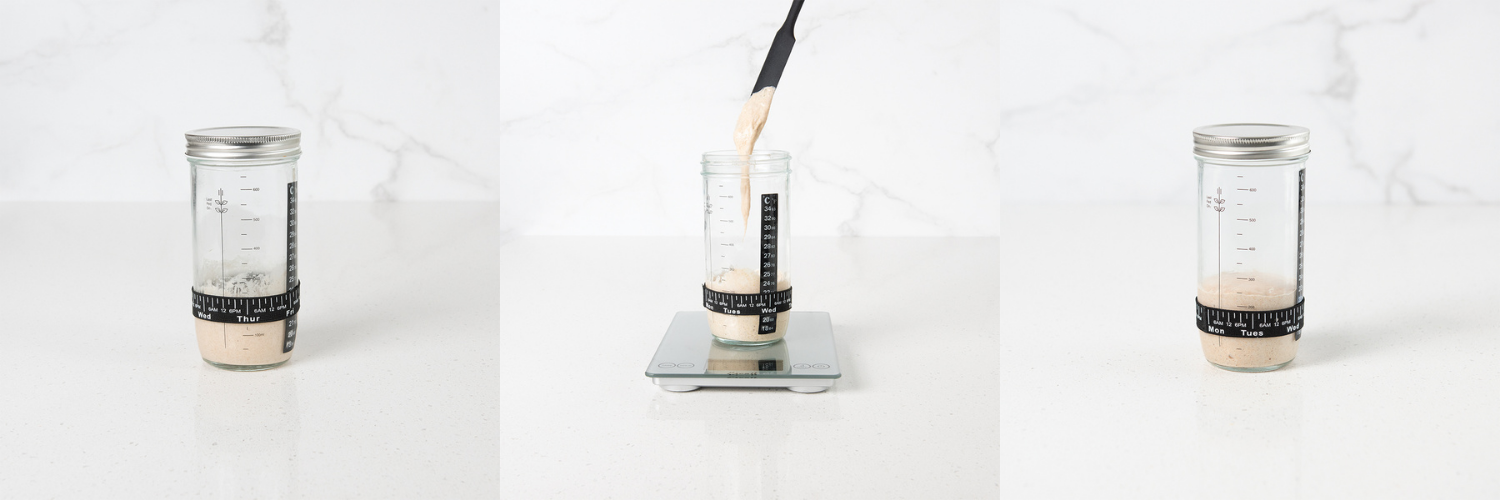 Your glass starter jar with temp strip and tracker band is basically your sourdough lifeline, so use it to monitor rise, track feedings, and make sure your starter is happy and healthy.
Danish dough whisk
 The Danish dough whisk is the secret to effortless early mixing: It handles sticky dough like a pro while preventing overworked gluten.
Plastic bench scraper
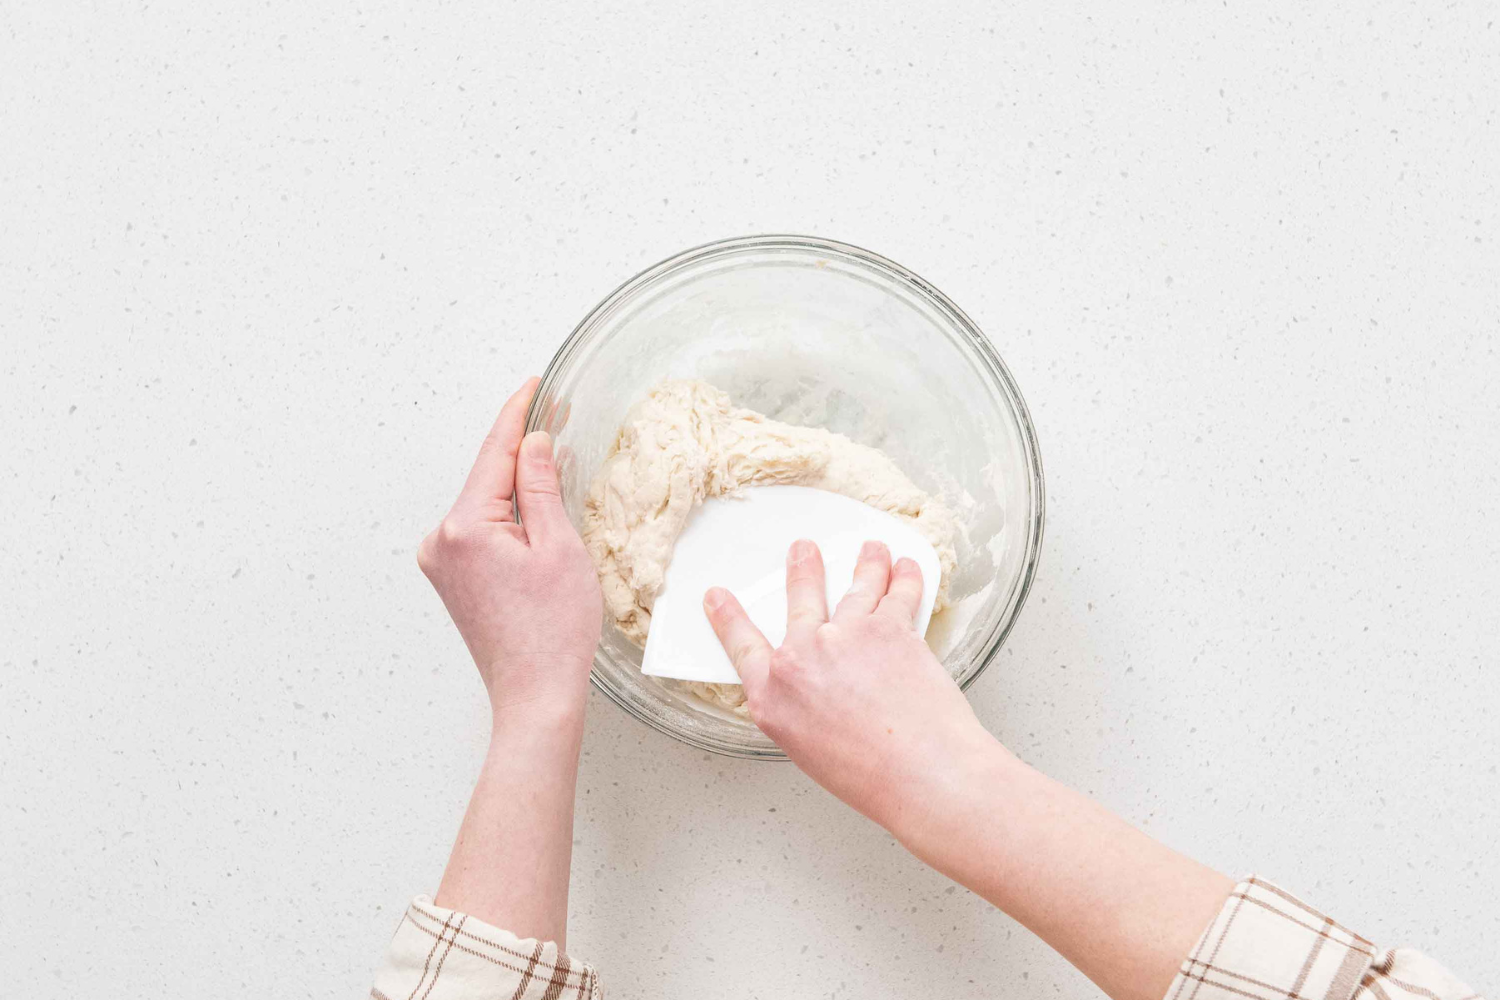 When it’s time to shape, the plastic bench scraper shines, letting you lift, divide, and maneuver dough without destroying the counter or your patience.
Retractable bread lame
 Retractable bread lames are perfect for scoring, safe to use, regularly swap blades, and ideal for simple, beginner-friendly slash patterns.
Silicone lifting sling and cotton proofing towel
 The silicone lifting sling and cotton proofing towel replace disposable parchment, keep dough clean, and make transferring loaves a breeze.
Escali digital baking scale (available in the Deluxe 10 Pieces kit)
 The digital scale is your hydration hero: Precise measurements for flour, water, and starter are the difference between a “meh” loaf and a bakery-worthy boule.
Quick Start Guide + Recipes
Whether you’re brand new to sourdough or looking to refine your technique, the Simply Sourdough Guide is your go-to resource for mastering the art and science of homemade sourdough baking. Plus, this booklet includes some delicious discard recipes that are perfect for the portion that is removed when feeding your starter.
Common Beginner Issues (and the Tools That Help Fix Them)
 Even the most ambitious baker hits bumps in the sourdough road, but thankfully, your kit has your back.
“My dough is too sticky or too dry”
If your dough feels too sticky or too dry, don’t panic: The digital scale lets you adjust with precision, and your bench scraper can lift and fold without adding excess flour.
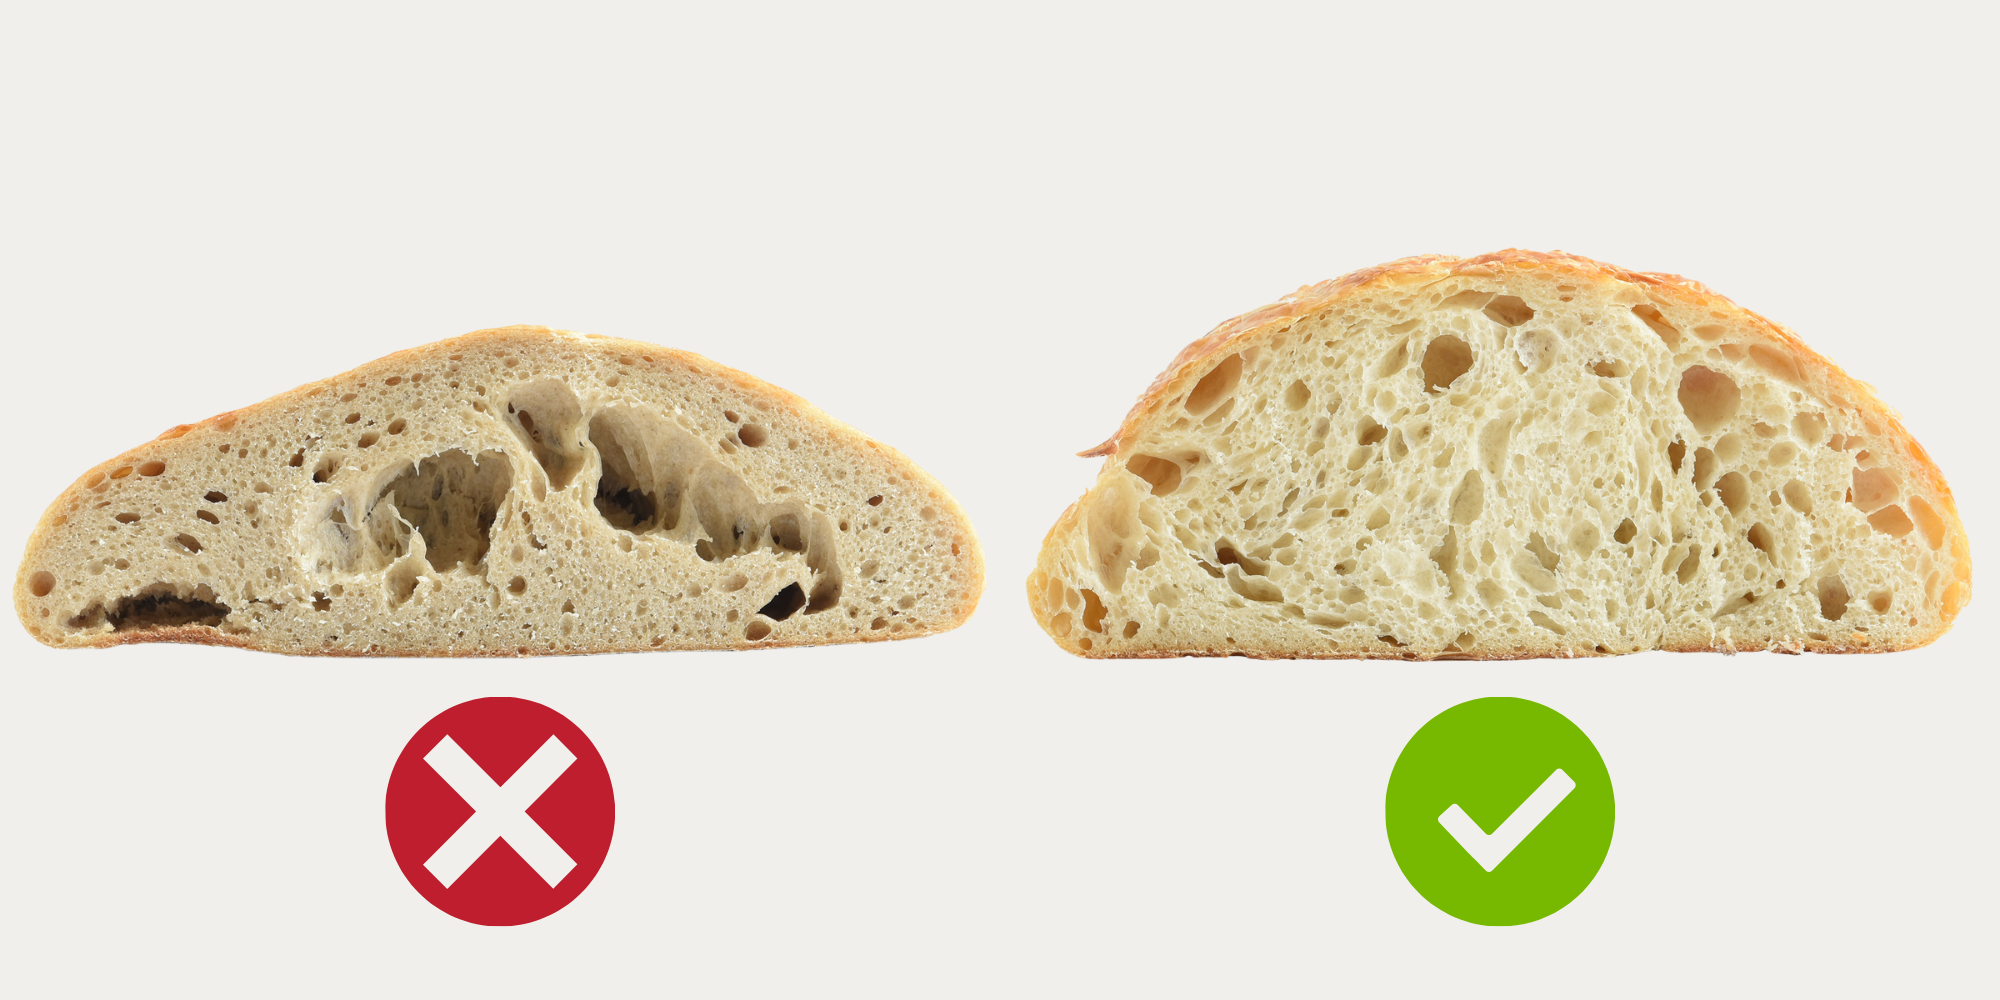
“My loaf is dense, flat, or gummy inside”
A dense, flat, or gummy loaf? That usually comes down to starter readiness, bulk fermentation cues, or not baking long enough with the lid on. Watch the bubbles, jiggle, and timing.
“My dough sticks to the pan, towel, or hands”
For sticky dough that clings to your pan, towel, or hands, the silicone sling and lightly floured proofing towel are lifesavers, and the bench scraper keeps your work surface clean while shaping. For clean hands during folds or shaping, handle the dough with slightly damp hands to prevent sticking.
“I’m not sure when to score or how deep to cut”
For those moments when scoring feels intimidating, remember: one confident cut with the bread lame beats a dozen hesitant shallow slashes, giving your loaf room to bloom without looking like it had a bad haircut.
FAQs: How to Start Making Sourdough Bread with a Kit
 Is a sourdough bread making kit good for absolute beginners?
Absolutely. It reduces guesswork and builds confidence.
Can I use the Nordic Ware Simply Sourdough Kit with recipes I find online?
Yes! The tools are versatile enough for any recipe.
How often will I really use each tool in the kit?
Every piece has a purpose: Starter, proofing, mixing, shaping, baking, so daily or weekly depending on your habit.
What do I do after my first loaf & how do I keep improving?
Keep practicing, experiment with hydration, flour blends, and scoring patterns, and watch your skills soar.


