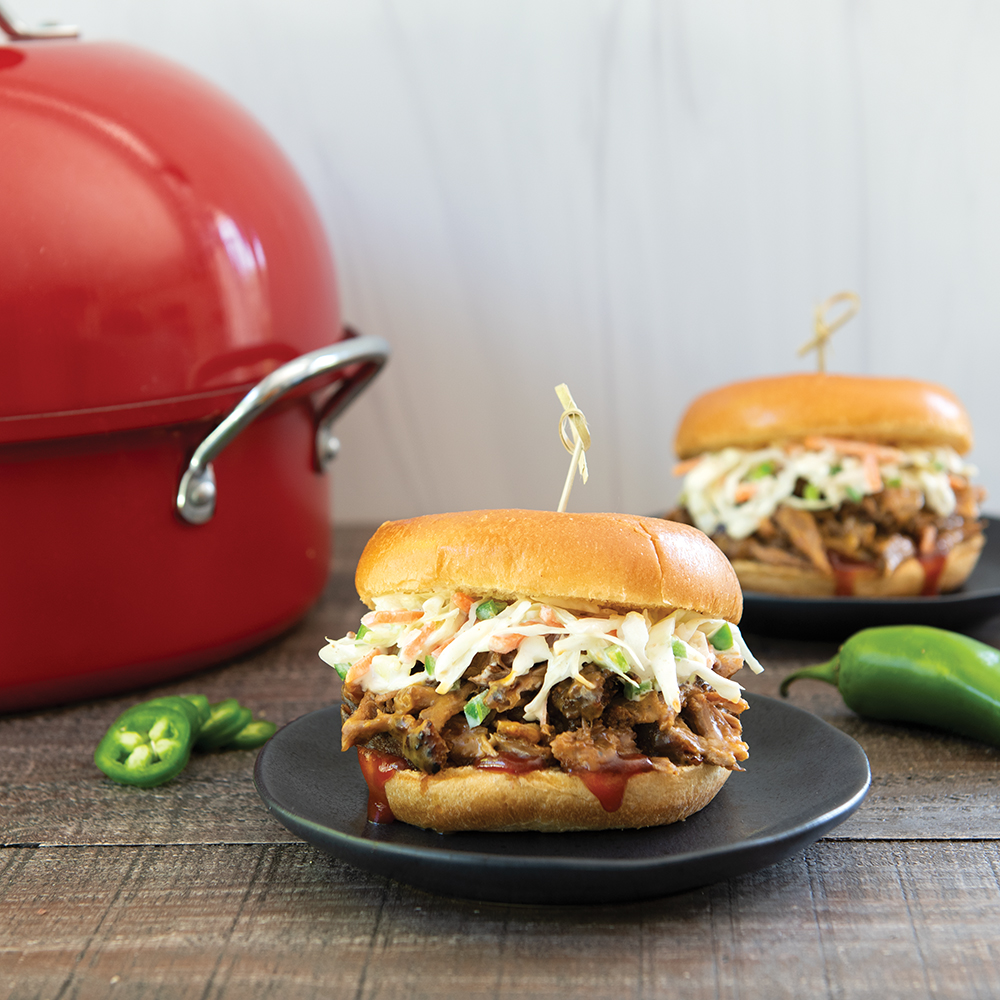
How to Make Sliders in the Oven
If you love melty sandwiches but dread the mess of stovetop grilling or end up with dry patties and soggy buns when cooking indoors, this guide is for you. Learning how to make sliders in the oven can be a game changer, especially when you’ve got a hungry crowd and limited time. But not all bakeware is built to handle the job. Uneven cooking, messy pans, and lackluster results are common complaints when using standard baking sheets.
The good news? A few smart techniques (and the right cookware) can completely upgrade your slider game. Nordic Ware’s durable, professional-grade pans offer superior heat distribution and easy cleanup, so you get gooey, golden sliders with minimal effort.
For top-notch buns, toast them first (no one likes a soggy bottom). Use a good nonstick pan and don’t crowd the tray. Your buns need personal space! Rotate halfway through so everyone gets equal oven love. Brush with butter for that golden glow, and drain any excess so your sliders don’t swim. Perfect sliders, every time!
- Why cook sliders in the oven?
- Common issues with oven sliders
- How to make the best sliders in the oven: 7 tips
- Why your pan choice is critical for oven-baked sliders
- Nordic Ware pans that elevate your cooking game
- Make the perfect oven sliders with Nordic Ware baking pans
- Jump to Slider Recipe: Big Batch Ham and Cheese Sliders
Why cook sliders in the oven?
Hosting a party, game-day spread, or need a quick weeknight dinner to feed a crowd? Oven-baked sliders are a practical solution. They’re fast to assemble, easy to scale up for a crowd, and baked all at once so everyone eats hot sliders together.
Making a big batch of sliders saves time and delivers consistent results, unlike stovetop grilling which cooks unevenly or requires babysitting. And once you master this, you can easily branch out into burger sliders, Italian meatball sliders, or even veggie-packed versions.
Common issues with oven sliders
Even though oven sliders are a go-to for game days, parties, or quick dinners, they can sometimes turn out less than perfect. Here are the most common complaints (and how to fix them):
Soggy bottom buns
With layers of meat, cheese, and sauces, sliders can release steam and juices that soak into the bread. To prevent this, lightly toast your rolls before assembling. A thin layer of butter, mayo, or mustard inside the buns also acts as a moisture barrier.
Uneven cooking
Uneven cooking in the oven is a sneaky villain of slider night. Some sliders come out juicy and perfect, while others are dry or underdone. Ovens don’t always heat evenly, so rotate your pan halfway through to give every slider a fair shot.
Sliders sticking to the baking sheet
Few things kill the vibe faster than prying sliders off a pan like they’re glued on. To keep things smooth, use a high-quality nonstick baking sheet or line with parchment paper. A light coating of cooking spray adds extra insurance.
How to make the best sliders in the oven: 7 tips
Ready to level up your slider strategy? These tips take the guesswork out of baking and help you achieve consistently craveable results.
Toast your buns before assembling
A quick toast (five minutes in the oven or on a skillet) keeps the buns from getting soggy and adds texture. This step also helps the bottoms hold up better under juicy patties.
Keep an eye on the cooking time and temperature to avoid burning your buns before assembling the sliders.
Space out the sliders on the baking sheet
Overcrowding traps steam and leads to uneven cooking. Leave space between sliders to allow airflow and crisp the edges.
Use a nonstick baking sheet
A good nonstick sheet ensures even browning and quick release. Look for high sides to help contain any melted cheese or juices.
Rotate the tray halfway through baking
This helps combat oven hot spots. Simply flip the tray 180° at the halfway point to ensure every slider cooks evenly.
Brush buns with a butter glaze before baking
Brush a melted butter mixture over the tops of the sliders before baking. This enhances flavor, promotes browning, and gives the buns a lightly crisped finish.
Let them rest before slicing
Allow your sliders to rest for three to five minutes after baking. This helps juices redistribute and prevents soggy buns from collapsing when cut. Use a bench scraper to slice evenly before serving.
Why your pan choice is critical for oven-baked sliders
The pan you choose can make or break your sliders. A high-quality, heavy-duty baking sheet (like Nordic Ware) ensures even heat distribution, preventing undercooked centers or burnt edges.
Cheap or flimsy pans can warp in the oven, causing liquids to pool and cook unevenly leading to soggy bottoms and sad buns. Here are a few ways that the wrong choice in pan will impact the result:
Uneven heat distribution
Uneven heat distribution is a common problem with thin or low-quality pans. These pans don’t spread heat evenly across the surface, so some sliders end up perfectly cooked while others are burnt or underdone.
Warping under high heat
Warping under high heat is another hidden enemy. When a flimsy pan bends or buckles in the oven, it shifts your sliders out of place and causes grease and juices to pool in certain spots. This not only ruins the texture by making some buns soggy and others dry, but it can also make flipping or removing the sliders a nightmare.
Sticky surfaces and hard cleanup
Sticky surfaces and hard cleanup are the practical headaches you want to avoid. Pans without a good nonstick coating trap melted cheese, meat drippings, and caramelized bits, which cling stubbornly to the surface. This means more scrubbing and sometimes even ruined pans, putting a damper on your slider-making joy. Investing in a heavy-duty, non-stick or well-coated pan ensures even cooking, keeps your sliders intact, and saves you from scrubbing disasters, making it a true game-changer in the kitchen.
Nordic Ware pans that elevate your cooking game
Investing in quality bakeware is the simplest way to upgrade your indoor slider game. Nordic Ware offers reliable, American-made pans built to last.
You are not logged in.
Log in | Create Account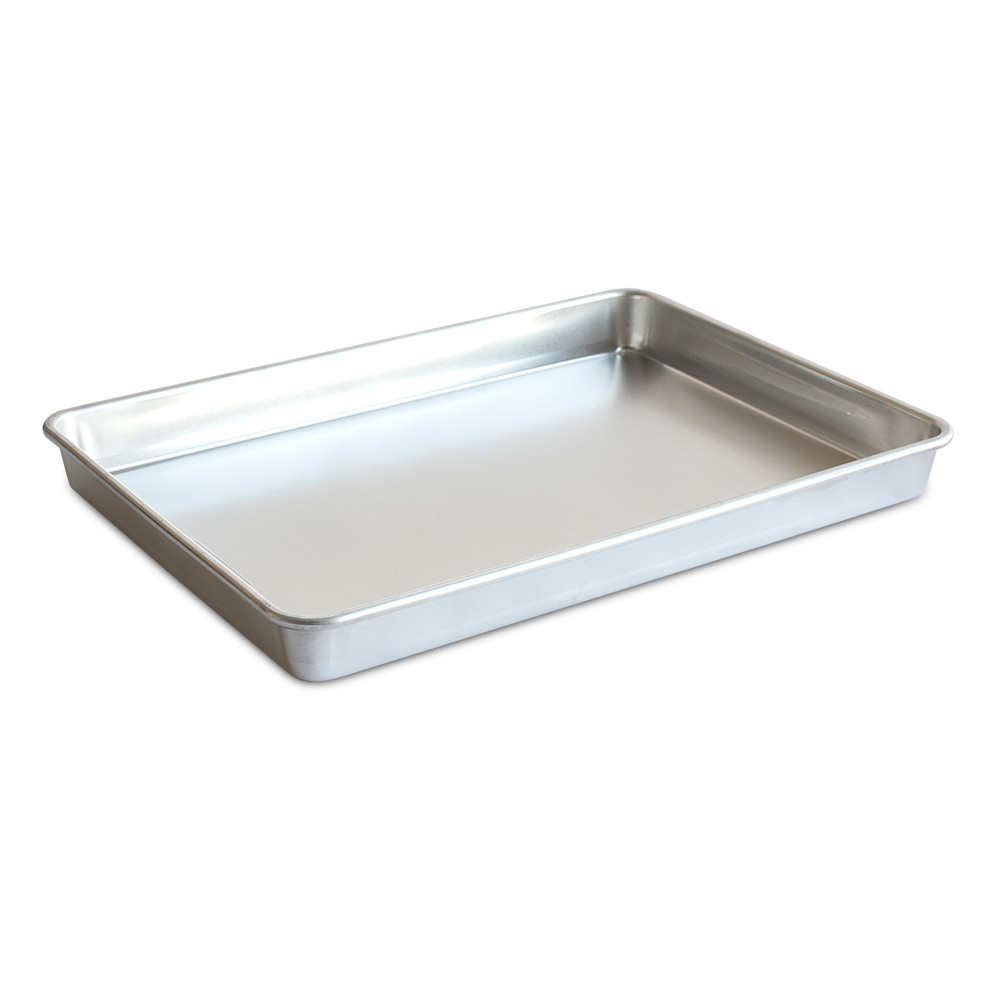
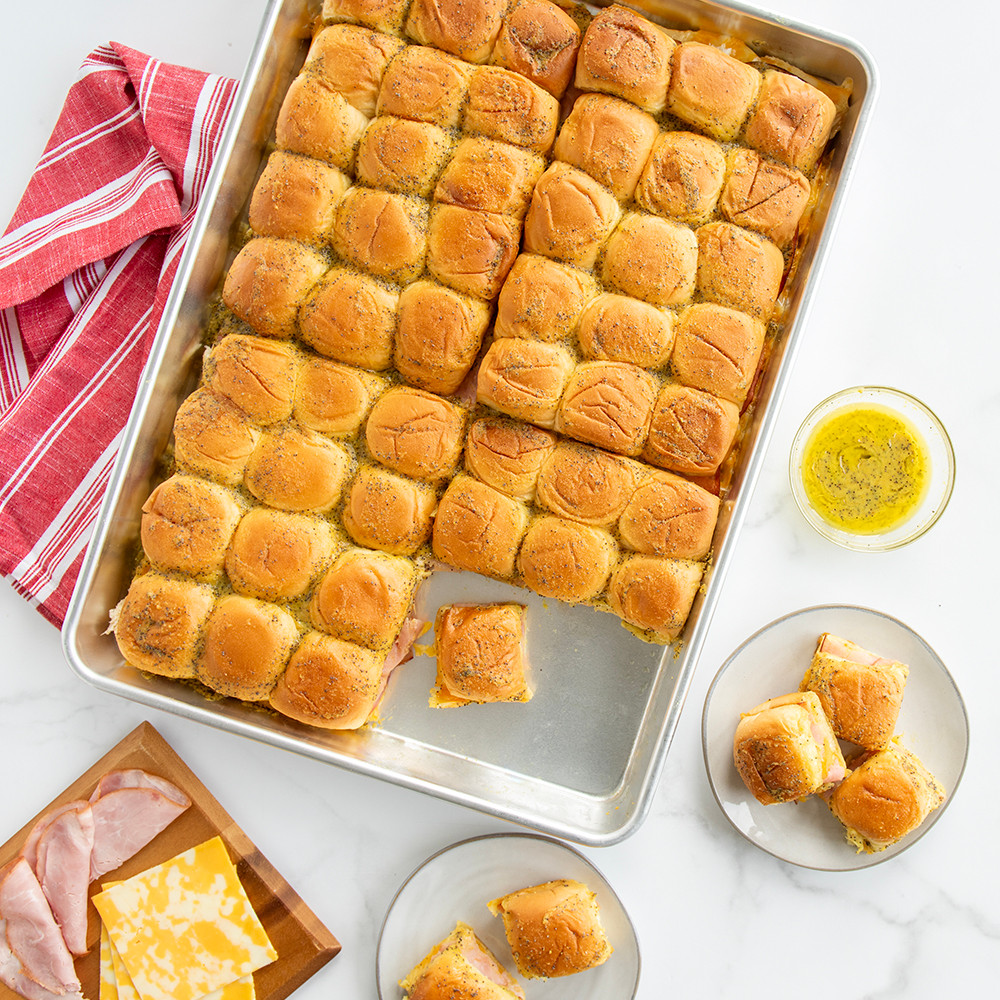


Naturals® Big Batch™ Pan
The ultimate party pan for sliders! Its larger surface and higher sides make it perfect for assembling, baking, and serving big batches at once. Even heating ensures golden tops and perfectly melted cheese in every bite.
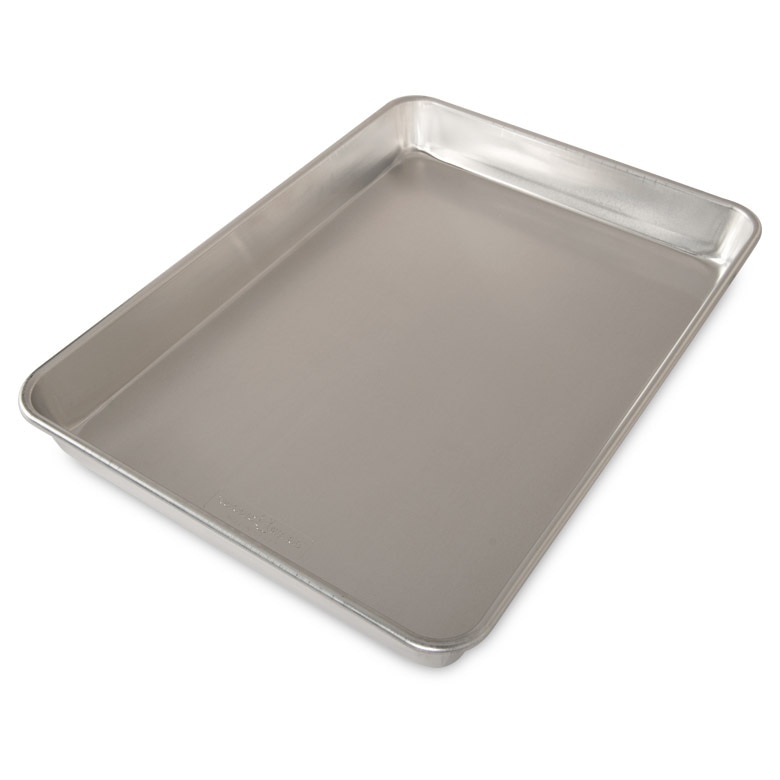
Naturals® Nonstick High Sided Sheetcake Pan
This versatile pan is a workhorse in the kitchen. The higher sides help contain melty cheese and sauces while keeping your oven clean. Made of pure aluminum with a reinforced steel rim and a nonstick coating, it resists warping and ensures even browning for slider perfection and easy clean up.
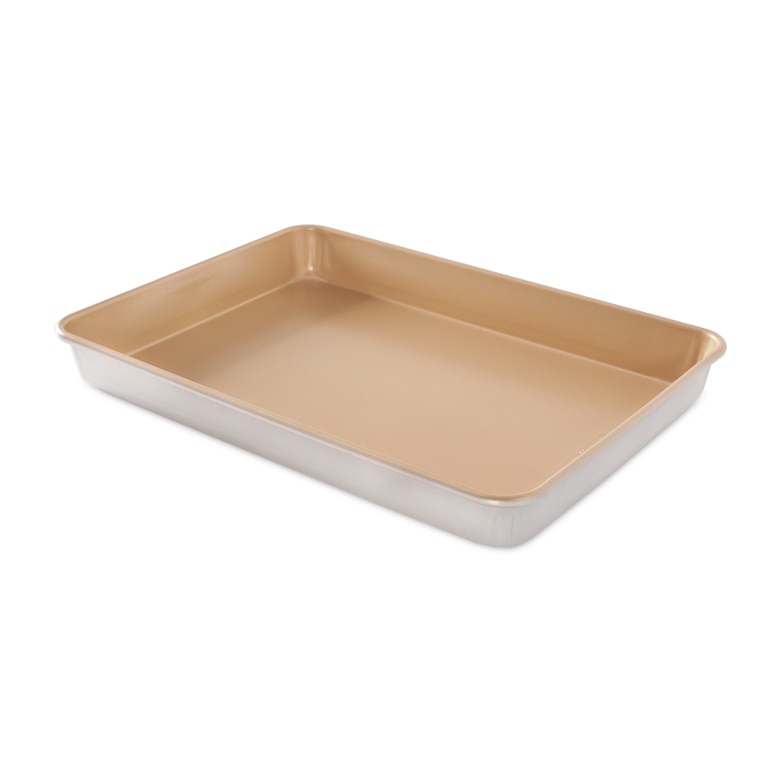
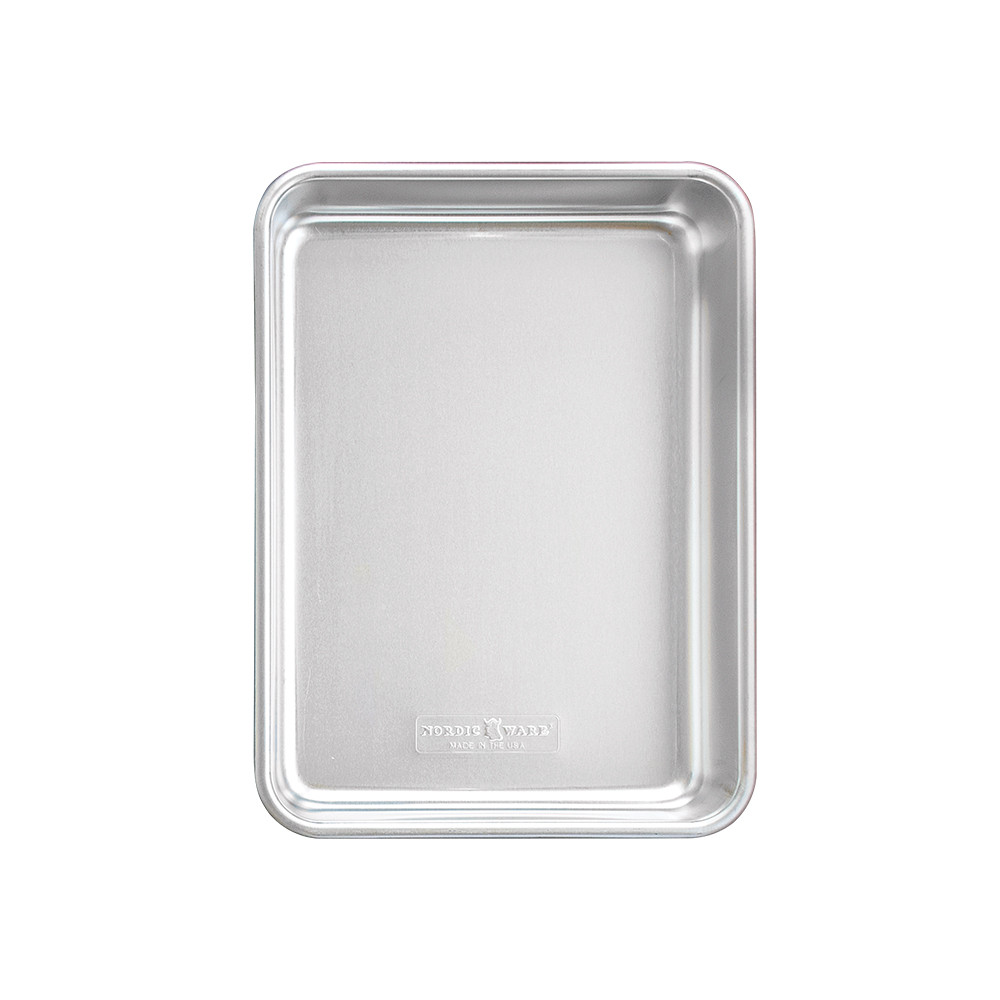
Naturals® Classic Metal Covered Baking Pan
Don’t let the name fool you, this classic pan is a slider superstar. Its just-right 9×13 size is perfect for family portions, and the included cover makes transporting fresh-from-the-oven sliders a breeze. Durable, reliable, and built for cheesy ham-and-swiss sliders, meatball subs, or any flavor combo you crave.
Make the perfect oven sliders with Nordic Ware baking pans
Overall, oven-baked sliders can be delicious, crowd-pleasing, and easy when you follow a few expert-backed tips. From pre-toasting your buns and brushing the tops with butter to rotating your pan halfway through and allowing them to rest before slicing, every step counts.
But if you truly want consistent results with less mess, your bakeware matters just as much as your recipe. Nordic Ware’s professional-grade pans deliver on even heating, durability, and easy cleanup, solving the most common slider problems before they start.
Ready to make the best sliders in the oven? Shop Nordic Ware and upgrade your sheet pan game today.

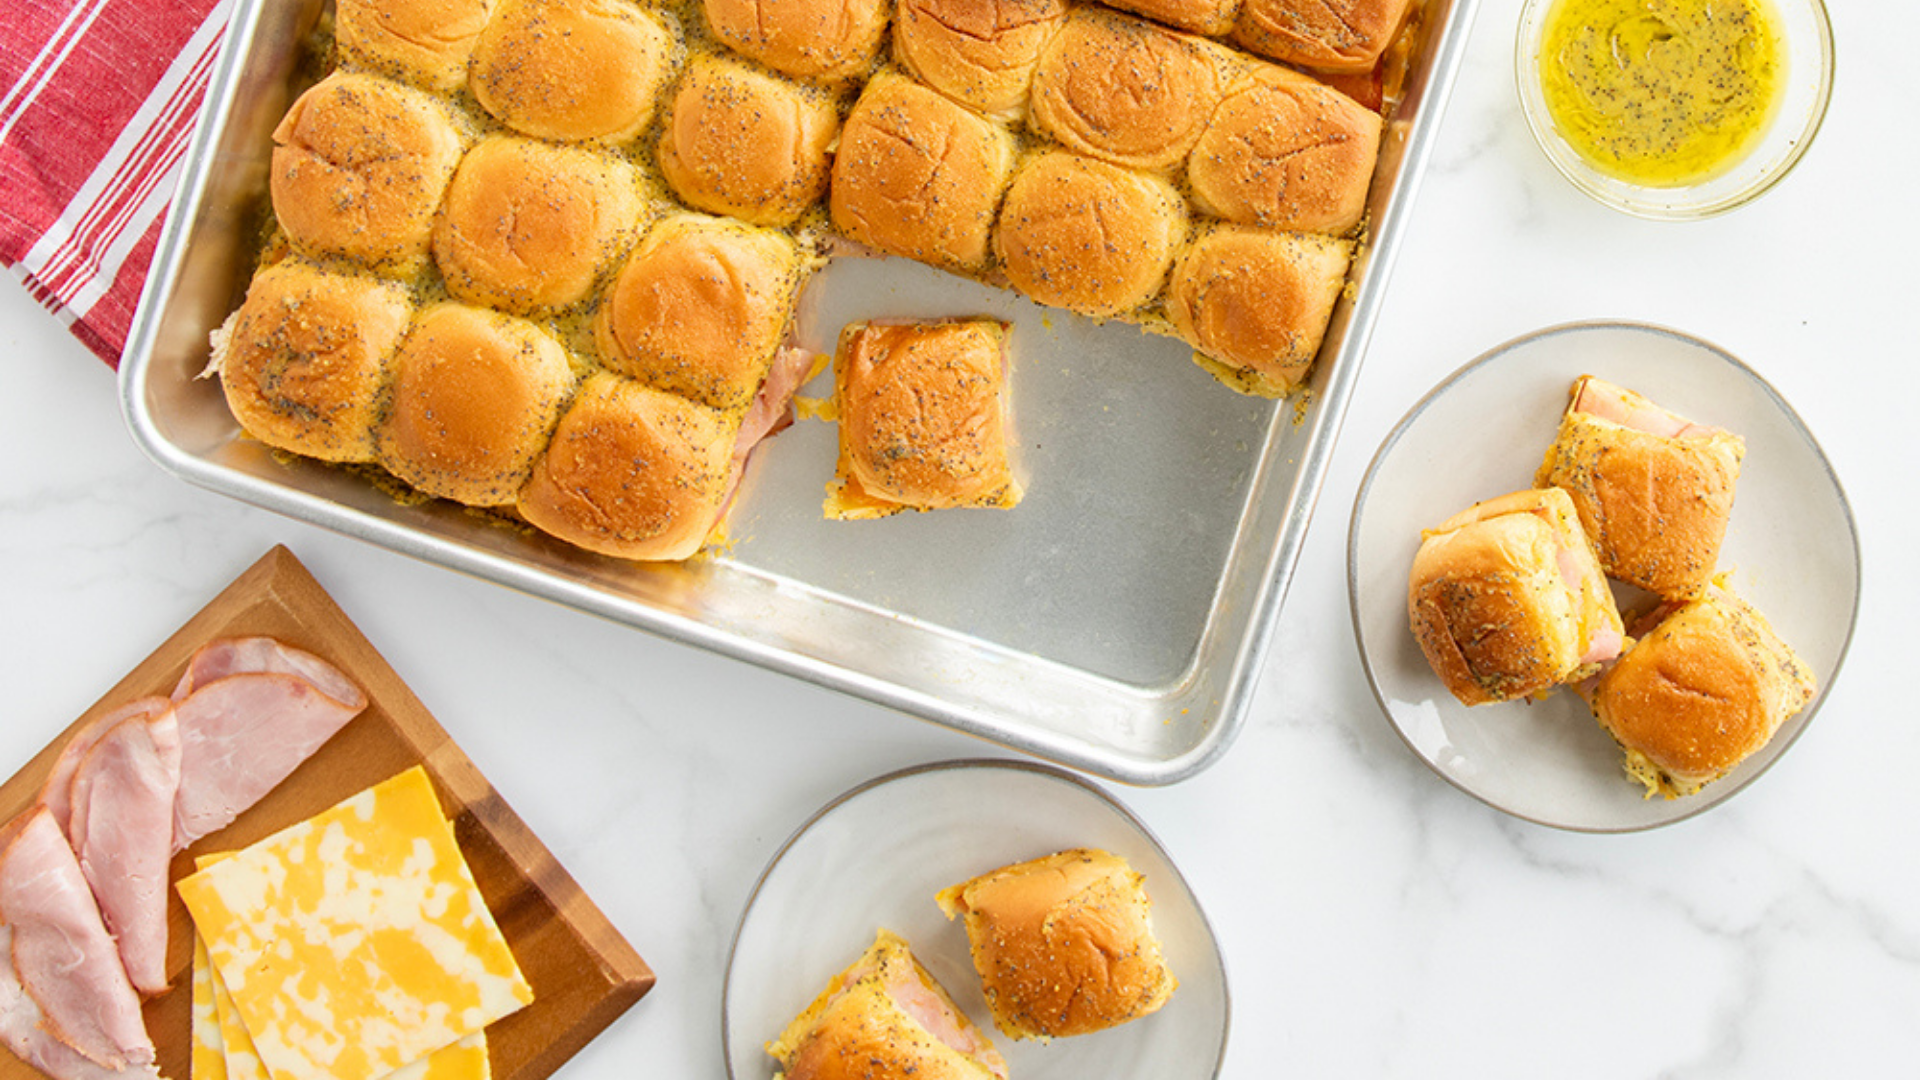
Big Batch Baked Ham and Cheese Sliders
Ingredients
- 54 Original Kings Hawaiians rolls
- 24 slices of Colby Jack cheese
- 40 piece or 1 16-ounce package of deli sliced ham
- ¼ cup Mayo
- 2 sticks of unsalted butter
- 1 tsp onion powder
- 1 tsp garlic powder
- 2 tsp poppy seeds
- 4 tbsp honey mustard
Directions
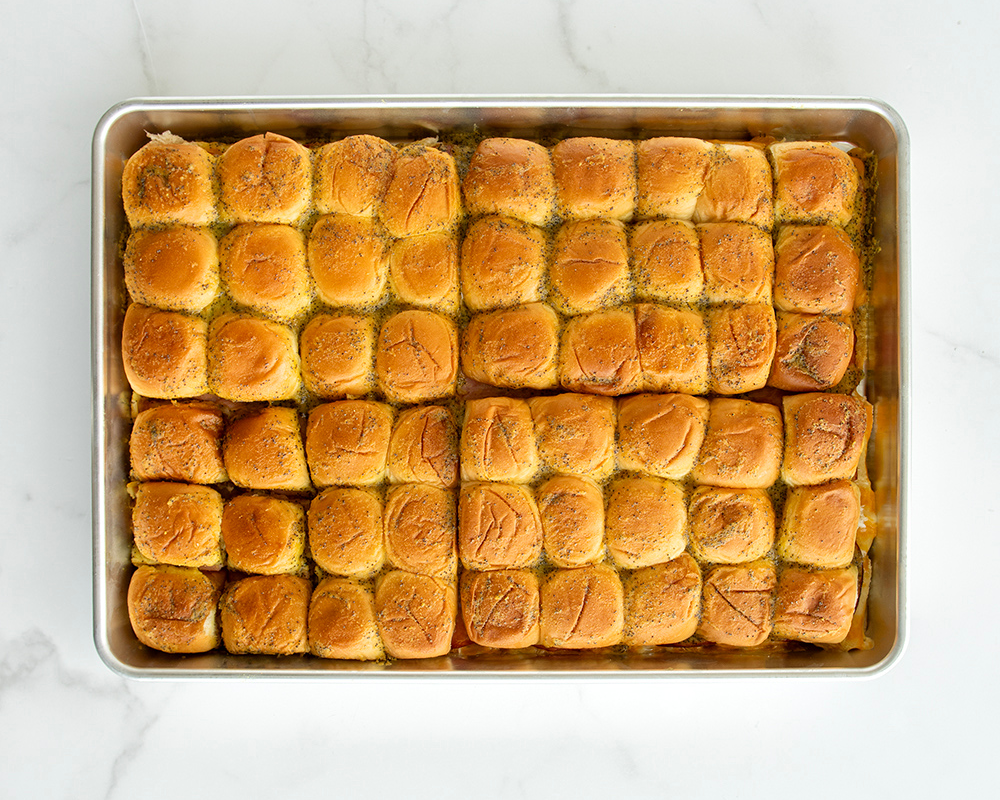
Preheat the oven to 350˚F. Prepare Naturals® Big Batch Pan with baking spray and use a pastry brush to evenly coat the pan.
Carefully slice Original Kings Hawaiian Rolls in half keeping the rolls connected, then place the bottom half of the rolls inside of the pan ensuring there are no gaps between. Spread a thin layer of mayo evenly across the rolls in the pan.
Layer slices of Colby Jack cheese on top of the mayo overlapping the pieces slightly, then layer the ham on top of the cheese ensuring the entire surface area of the cheese is covered. Replace the top half of the rolls on top of the ham. In a microwave safe bowl, melt 2 sticks of butter in the microwave. Stir in onion powder, garlic powder, poppy seeds, and mustard until combined. Quickly pour the entire butter mixture over the rolls inside of the pan and use a pastry brush to evenly coat the tops of the rolls in the mixture.
Cover the pan with tin foil and bake 10 minutes until cheese begins to melt. Remove tin foil and bake another 4 minutes until the tops of the rolls are slightly crispy and golden brown. Slice along the divides in the rolls and serve immediately. Makes 54 sandwiches rolls.
Click here for the full recipe!

