How Long to Cold Proof Sourdough (Cold vs Room Temp Proofing Explained)
Understanding how long to cold proof sourdough is one of the most important skills in baking consistent, flavorful bread. Proofing controls fermentation speed, gluten strength, flavor development, and final loaf structure.
Cold proofing allows sourdough to ferment slowly, improving flavor while making dough easier to handle and score. Many bakers rely on cold proofing because it fits flexible schedules and produces reliable oven spring.
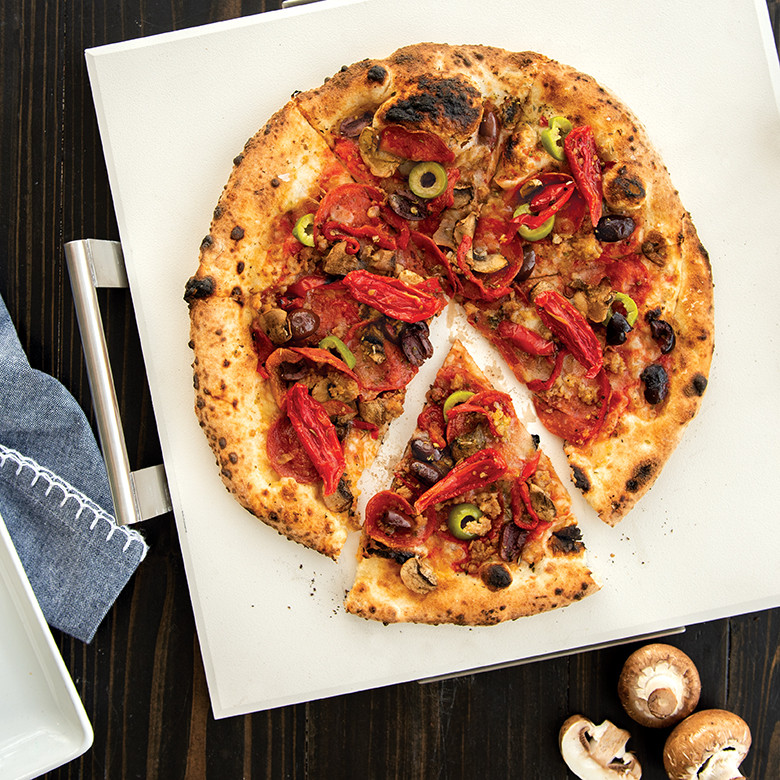
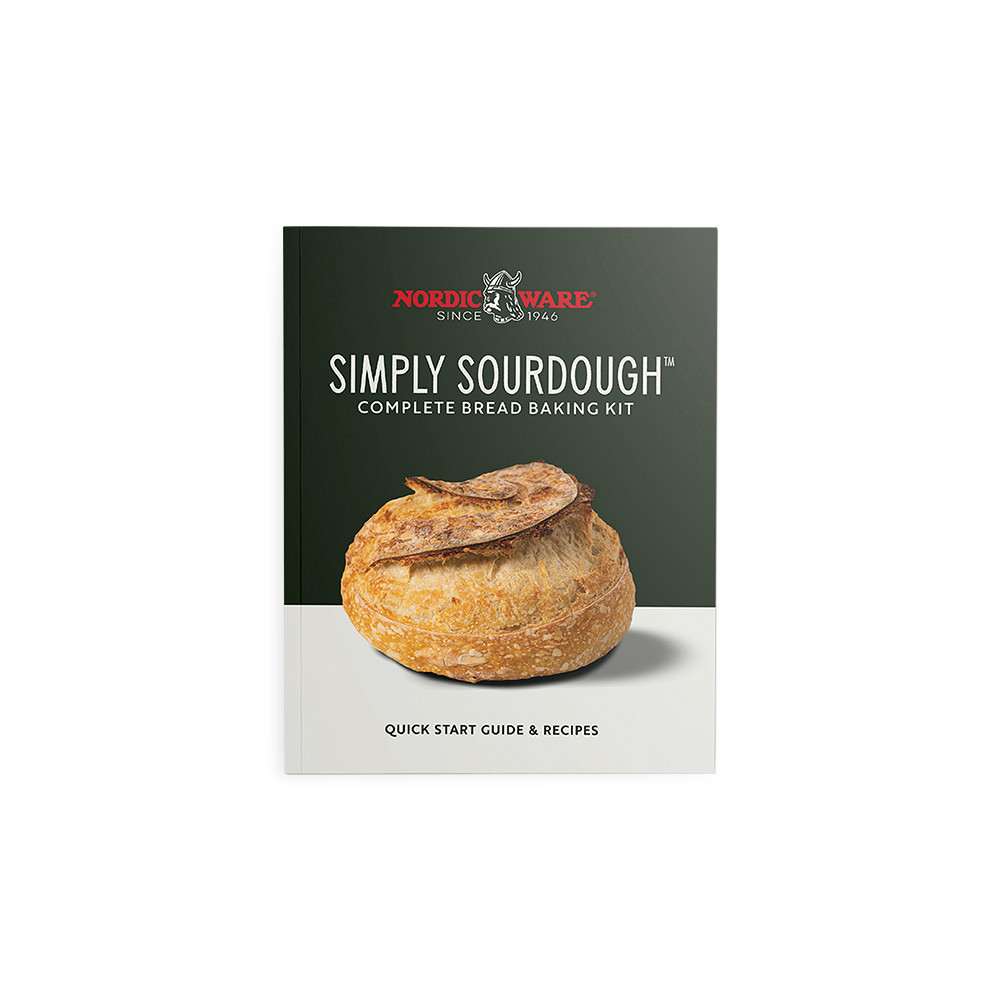
If you’re still learning the full sourdough process, reviewing a complete homemade sourdough bread guide alongside your proofing routine helps connect each stage from mixing to shaping to baking. Using complete tool systems, such as sourdough bread baking kits, can also help create repeatable results from batch to batch.
TABLE OF CONTENTS
- Key Takeaways
- How Long to Cold Proof Sourdough?
- How Long to Proof Sourdough at Room Temperature?
- Cold Proof vs Warm Proof: What’s the Difference?
- How Do You Know When Sourdough Is Done Proofing?
- What Temperature Is Best for Proofing Sourdough? (Time Chart Included)
- Does Sourdough Need to Double in Size?
- What Happens If You Overproof Sourdough?
- What Is the Best Sourdough Bread Pan?
- Final Thoughts: Proofing with Confidence
Key Takeaways
Cold proof sourdough for 12 to 24 hours in the refrigerator, or up to 48 hours for stronger sour flavor and slower fermentation.
Here are the most important timing guidelines to remember:
- 12–18 hours = balanced flavor and strong oven spring
- 24 hours = deeper sour notes
- 36–48 hours = more acidity, slightly reduced rise
- Room temperature proofing takes 3–5 hours
- A sourdough bread pan can support dough that becomes soft or slightly overproofed
These timing ranges provide a reliable starting point for bakers learning how long to cold proof sourdough bread consistently.
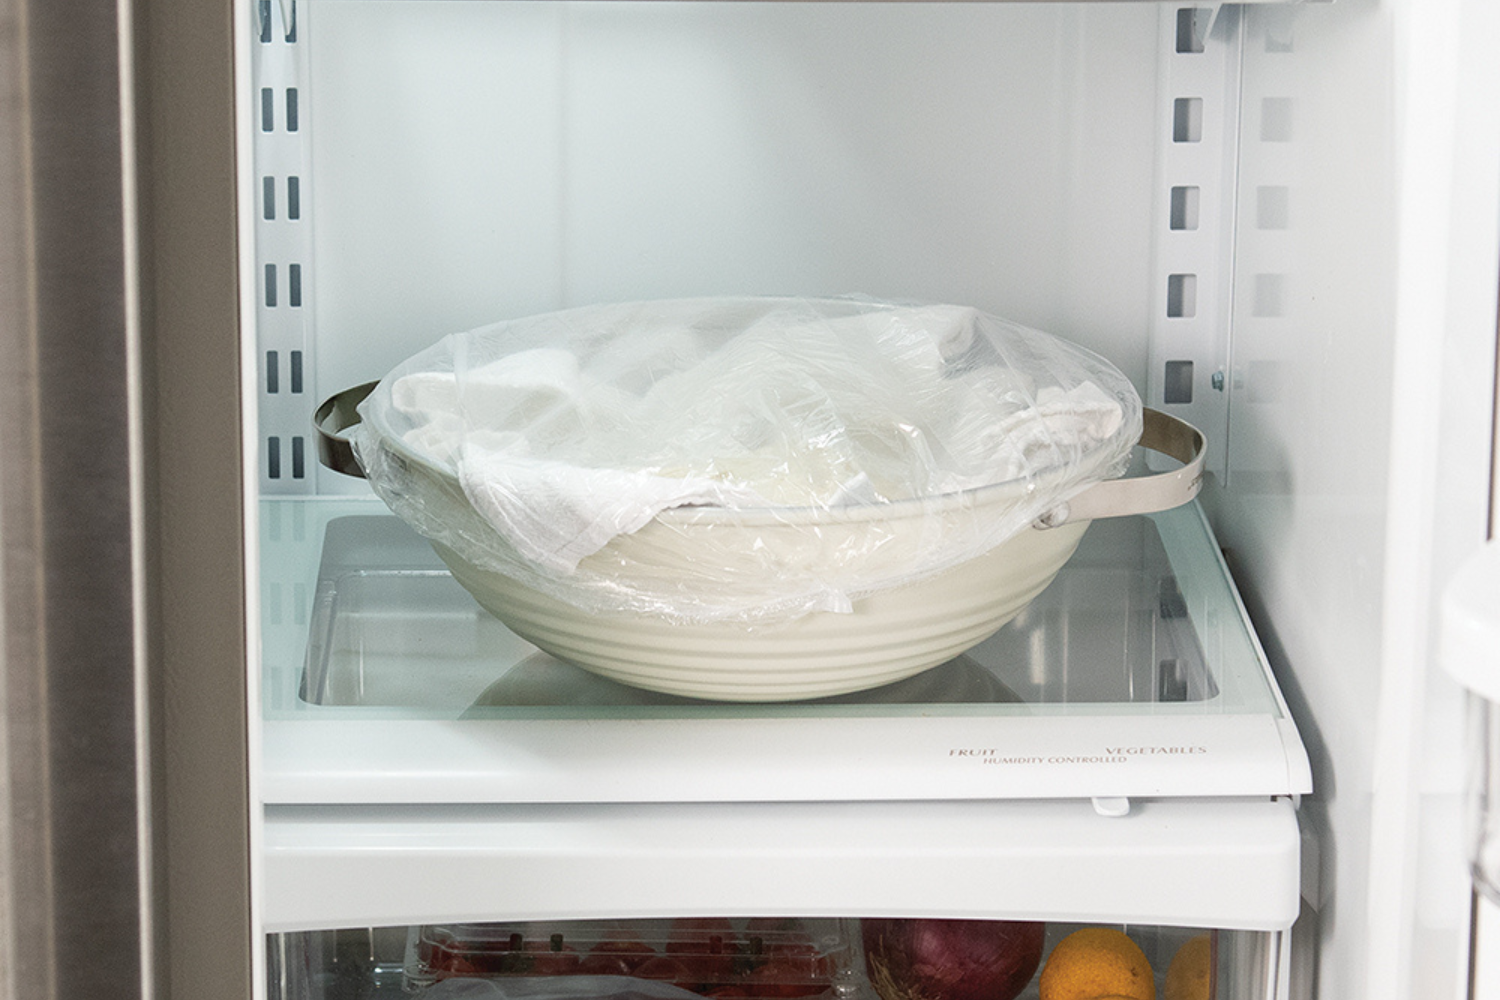
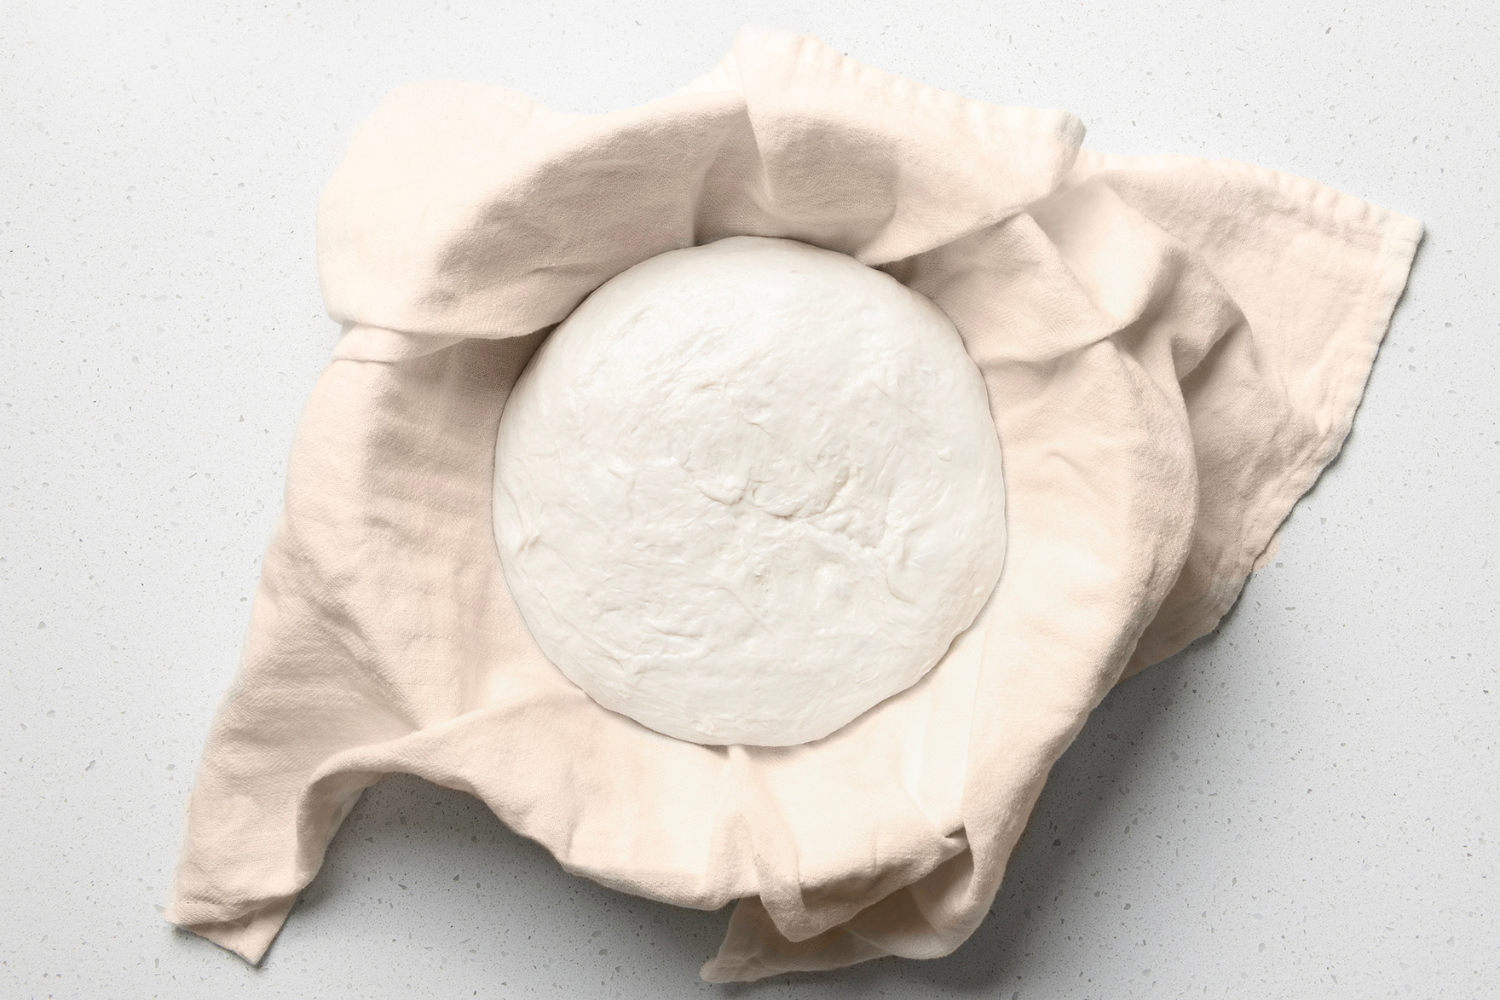
How Long to Cold Proof Sourdough?
Most sourdough bread is cold proofed between 12 and 24 hours at 39–42°F in a home refrigerator.
Cold proofing works because refrigeration slows yeast activity while allowing flavor-producing bacteria to continue fermenting. This balance creates deeper flavor without letting dough over-ferment too quickly.
During cold proofing:
- Fermentation slows, controlling yeast activity
- Lactic acid bacteria continue developing flavor
- Gluten relaxes gradually, improving dough extensibility
- Dough becomes easier to score
- Structure improves for better oven spring
Cold proofing is especially helpful when working with higher hydration dough, where controlled fermentation helps maintain strength.
Cold Proof Time Guide
Use these timing ranges as a practical reference when deciding how long to cold proof sourdough.
| Cold Fermentation Time | Flavor & Dough Characteristics | Benefits / Considerations |
| 8–12 hours | Mild flavor, light sour notes | Reliable dough strength; good for faster baking schedules |
| 12–18 hours | Balanced flavor and structure; ideal balance of acidity and strength | Strong gluten development; consistent oven spring |
| 24–36 hours | Pronounced tang; noticeably sour flavor | Slightly softer dough; more relaxed gluten structure |
| 36–48 hours | Deep sourness; strong acidity | Slower rise potential; slight reduction in oven spring |
Longer fermentation increases acidity and relaxes gluten strength. When dough becomes softer during extended proofing, baking in a supportive sourdough pan can help maintain loaf height and structure.
How Long to Proof Sourdough at Room Temperature?
Room temperature proofing typically takes 3 to 5 hours at 70–75°F, though exact timing depends on dough temperature, hydration level, and starter strength.
Warmer dough ferments faster because yeast activity increases as temperature rises. Dough with higher hydration proofs faster because moisture supports faster fermentation. Using more levain (active starter) also shortens proofing time.
Understanding how long to proof sourdough at room temperature helps prevent both underproofing and overproofing.
Room Temperature Proofing Time Guide
Use this quick reference based on kitchen temperature:
| Kitchen Temperature | Typical Proofing Time | What to Expect |
| 68°F (20°C) | 4–6 hours | Cool kitchens slow fermentation and extend proofing time. |
| 72°F (22°C) | 3–5 hours | The most common proofing range for typical home kitchens. |
| 80°F (27°C) | 2–3 hours | Warmer kitchens accelerate fermentation and require closer monitoring. |
If dough contains higher hydration or a strong sourdough starter, expect proofing to move faster than average.
Cold Proof vs Warm Proof: What’s the Difference?
Cold proofing builds deeper flavor and makes dough easier to score, while warm proofing produces milder flavor and faster baking results.
Both methods work well, but choosing the right approach depends on your baking schedule and flavor preference.
Cold Proof vs Warm Proof Comparison
| Cold Proof | Warm Proof |
| 8–48 hours | 2–5 hours |
| More sour flavor | Milder flavor |
| Easier scoring | Softer dough |
| Better schedule flexibility | Same-day baking |
Cold proofing is ideal when you want more developed flavor and controlled fermentation. Warm proofing is helpful when baking on shorter timelines or when preparing same-day sourdough.
How Do You Know When Sourdough Is Done Proofing? (Poke Test Explained)
Sourdough is ready to bake when it has risen noticeably, feels airy, and slowly springs back during the poke test.
Proofing time provides guidance, but dough readiness should always be confirmed using visual and physical cues.
Look for a slight increase in size and slight elasticity when touched. These signals help ensure strong oven spring and balanced crumb texture.
What Is the Poke Test?
The poke test is one of the simplest ways to determine if sourdough dough is properly proofed.
After gently pressing the dough with a floured finger:
| Poke Test Result | Dough Condition | What It Means |
| Springs back quickly | Underproofed | The dough needs more fermentation time before baking. |
| Springs back slowly | Properly proofed | The dough is ready to bake and should have good oven spring. |
| Does not spring back | Overproofed | The dough has fermented too long and may have reduced oven spring and structure. |
This quick test helps confirm readiness regardless of whether you are cold proofing or proofing at room temperature.
What Temperature Is Best for Proofing Sourdough?
There is no single best proofing temperature; warmer dough ferments faster, while colder dough ferments more slowly and develops deeper flavor.
Most home bakers proof sourdough at either room temperature or refrigerator temperature, depending on timing and flavor goals.
Sourdough Proofing Temperature Chart
| Temperature | Proof Time | Location |
| 80°F | 1–2 hours | Warm kitchen |
| 74–76°F | 2–4 hours | Typical kitchen |
| 46°F | 6–8 hours | Cold retarder |
| 39–42°F | 10–24 hours | Home fridge |
Understanding how temperature affects fermentation allows better control over flavor strength, dough structure, and final loaf shape.

Does Sourdough Need to Double in Size?
No, sourdough does not need to double in size to be properly proofed.
Most sourdough dough increases by 30–50%, not a full doubling. This smaller rise still produces strong oven spring during baking.
Several factors influence visible rise:
Hydration affects visible rise
Higher hydration dough spreads outward rather than rising tall.
Shape influences rise perception
Wide dough appears flatter than narrow dough.
Pan support affects height
Using a sourdough loaf pan encourages vertical rise and reduces spreading.
Focusing on texture rather than exact size increase leads to more reliable results.
What Happens If You Overproof Sourdough?
Overproofed sourdough spreads, loses structure, and produces reduced oven spring. While a long fermentation helps develop flavor, allowing dough to proof too long can weaken the gluten network and make it difficult for the loaf to hold its shape during baking.
As sourdough ferments, yeast and bacteria continue consuming available sugars. Eventually, the dough reaches a point where the gluten structure begins to break down, resulting in a loaf that struggles to rise properly in the oven.
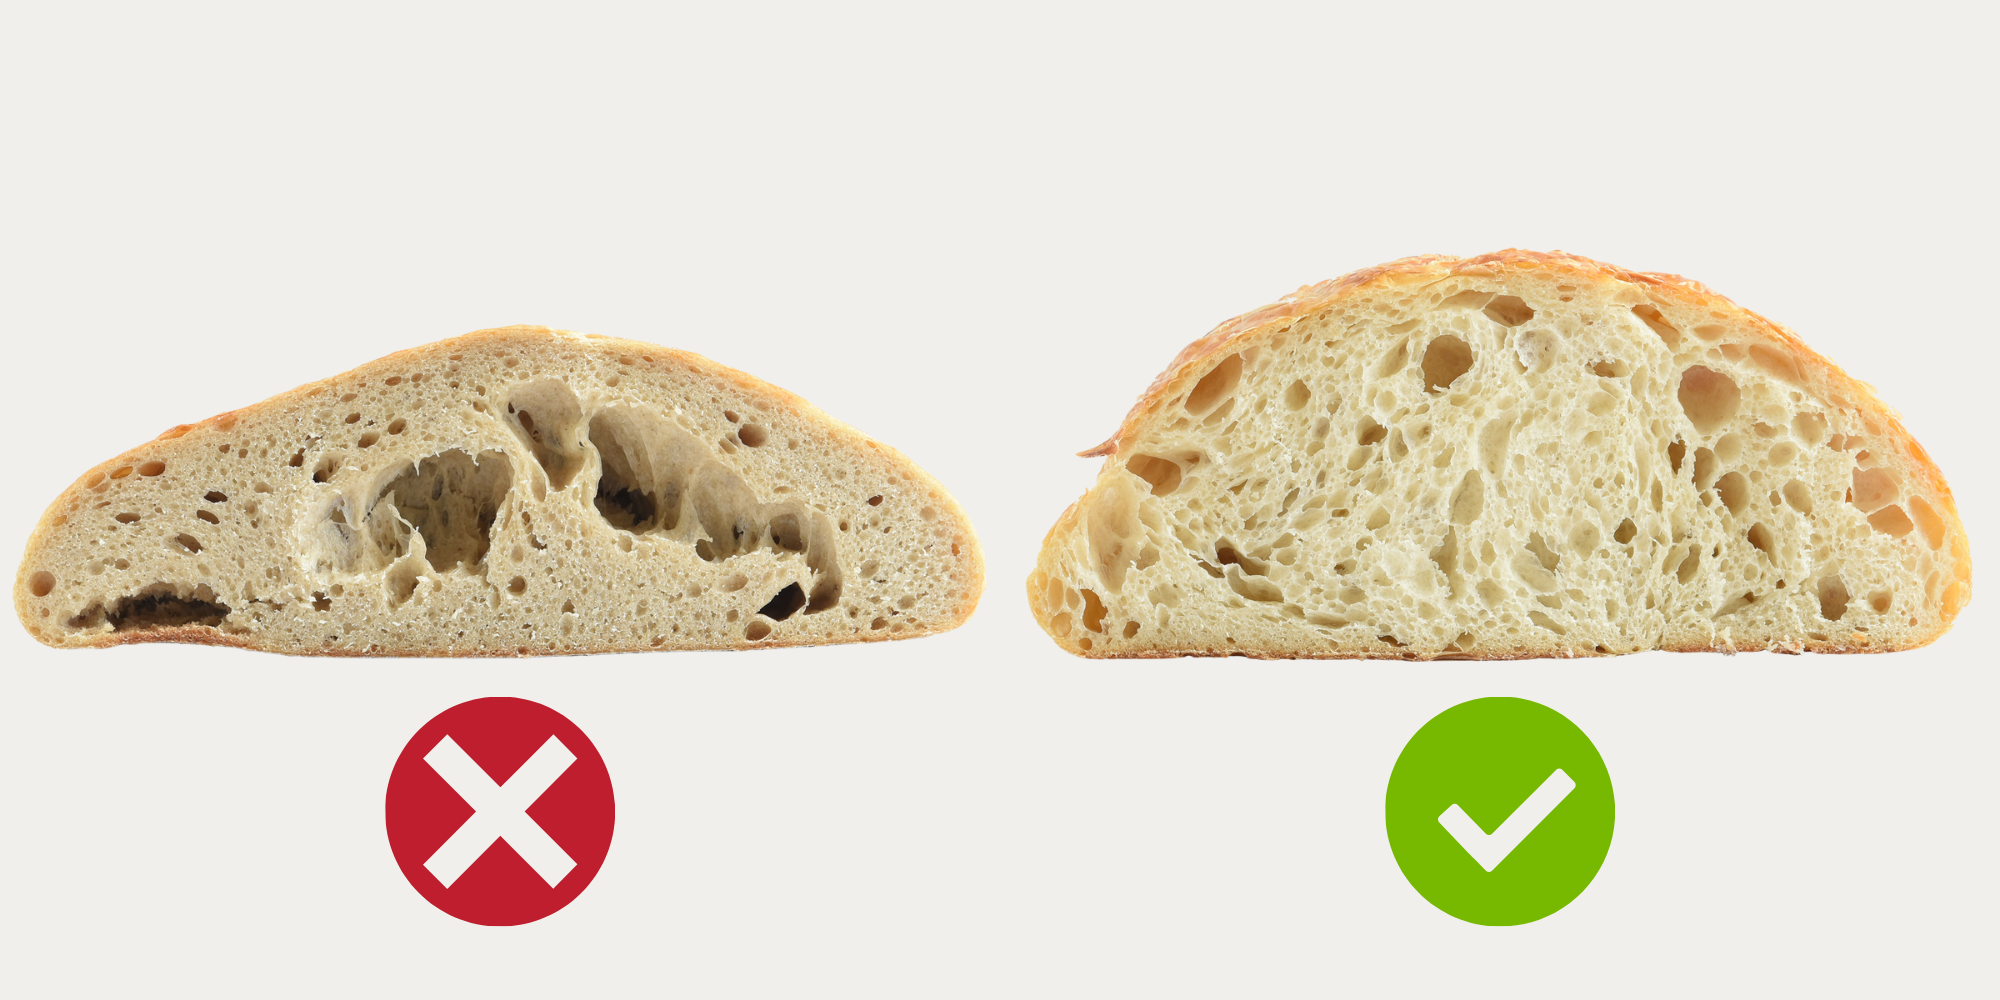
Signs of Over-Proofing
Watch for these common signs of over-proofed sourdough:
- Sticky, slack dough that feels difficult to handle
- Weak surface tension that won’t hold a tight shape
- A flat loaf that spreads outward instead of rising upward
- Reduced oven spring during baking
- Excessively sour aroma and flavor
The poke test can help determine whether your dough is ready to bake. If an indentation remains and does not spring back at all, your dough may be over-proofed.
Recovery Tips for Over-Proofed Sourdough
If you suspect your dough has over-proofed, all is not lost.
- Bake immediately. Additional fermentation will continue weakening the dough structure.
- Convert the dough to focaccia. A flatter style of bread works beautifully with over-proofed dough.
- Use a sourdough loaf pan for support. A sturdy loaf pan can help contain softer dough and encourage upward rise during baking.
For dough that feels overly relaxed or difficult to shape, baking in a loaf pan often provides the extra support needed to achieve a more successful result.
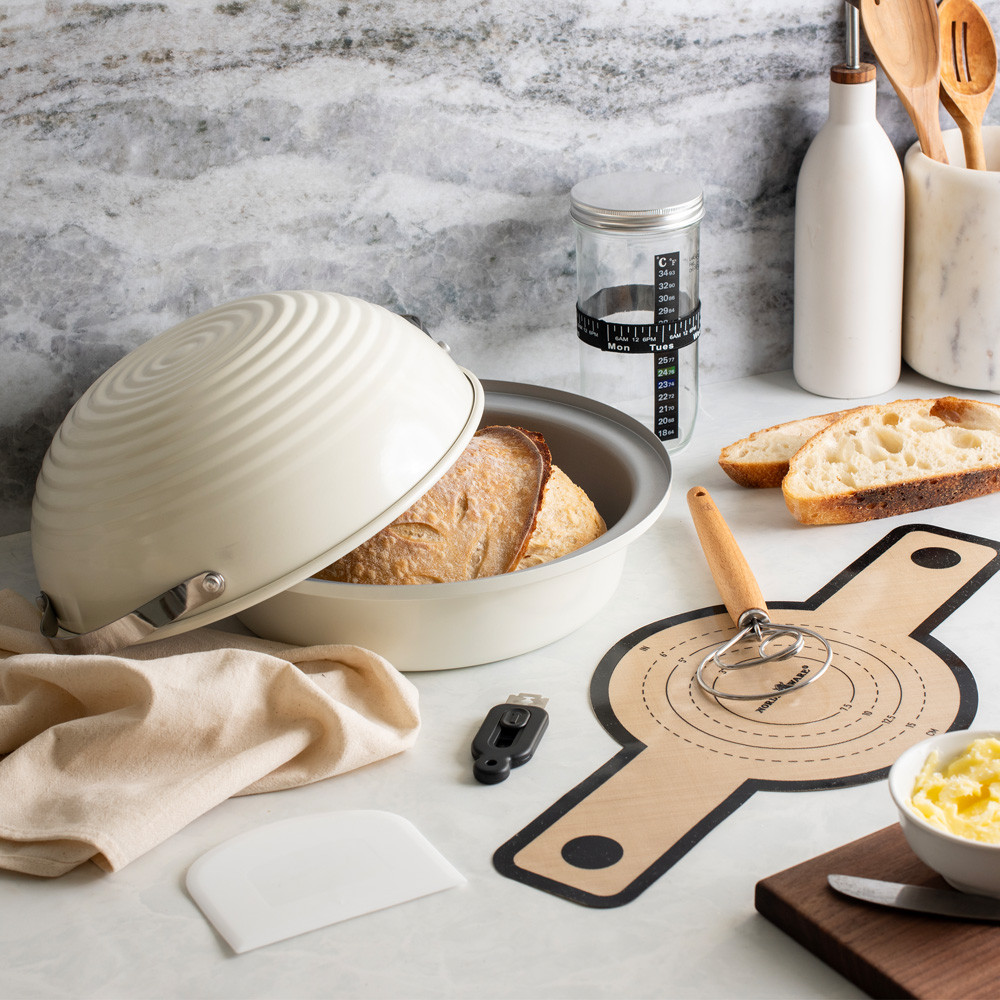
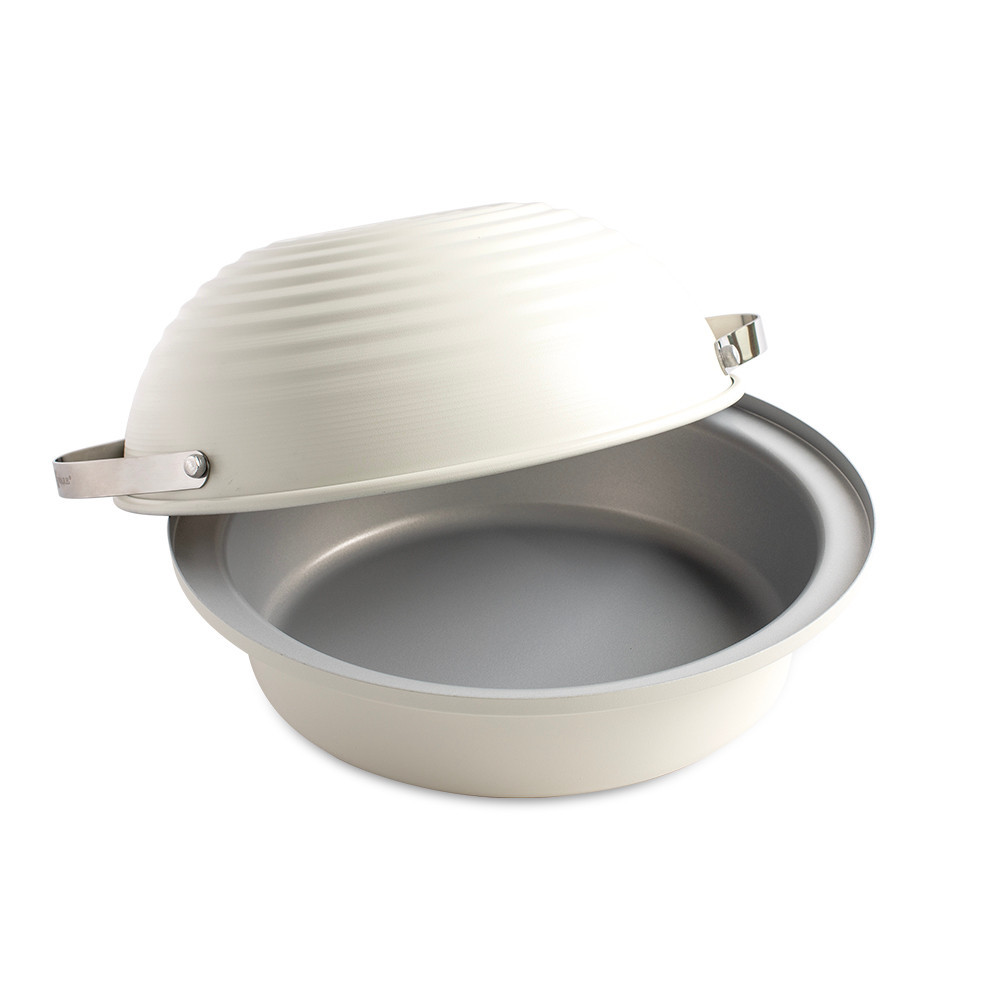
What Is the Best Sourdough Bread Pan?
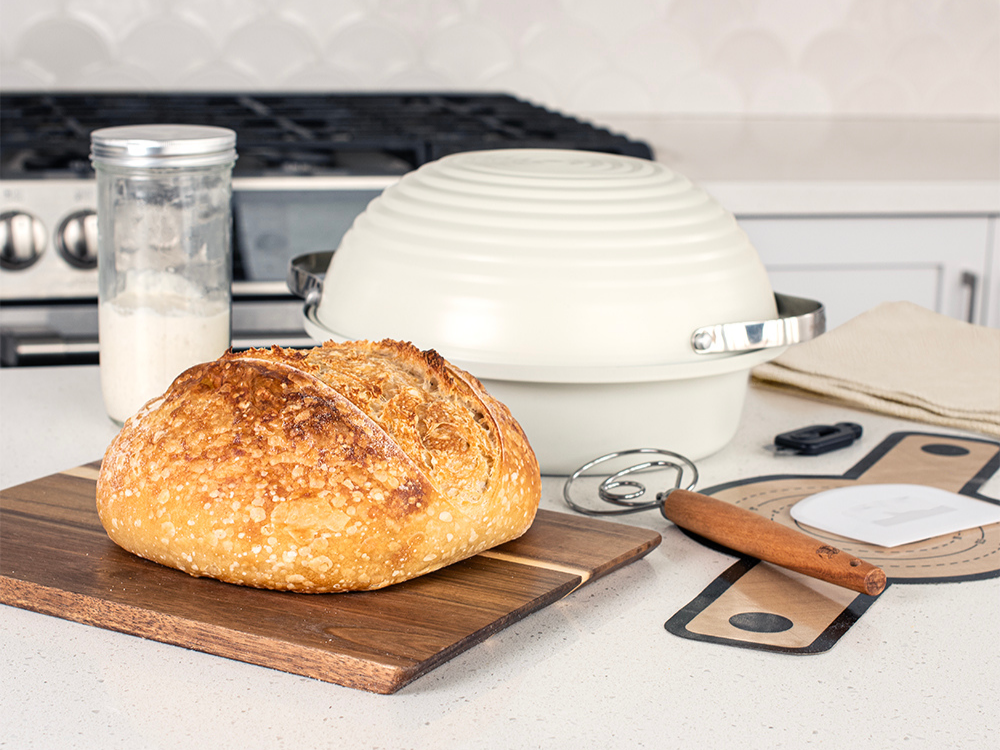
The best sourdough bread pan provides even heat distribution and strong side support for consistent oven spring.
Whether you’re baking classic sandwich bread or experimenting with high-hydration sourdough recipes, choosing the right sourdough bread pan can make a significant difference in loaf shape, crust development, and overall baking consistency.
A quality sourdough bread baking pan helps:
- Support softer dough during proofing and baking
- Promote taller, more uniform loaves
- Encourage even browning throughout the bake
- Improve consistency from loaf to loaf
When searching for the best bread pan for sourdough, look for durable materials, excellent heat conductivity, and a design that maintains its shape through years of baking.
Why Aluminum Works Well for Sourdough
Aluminum is a popular choice for sourdough baking because it offers several advantages:
- Even heat conductivity for consistent baking throughout the loaf
- Uniform browning across crust and crumb
- Lightweight yet durable construction for easy handling
Nordic Ware’s Simply Sourdough Bread Baker is designed for consistent performance and durability, helping bakers achieve reliable results whether they’re making a beginner sourdough recipe or refining an established baking routine.
Should You Bake Sourdough in a Loaf Pan, Sourdough Bread Baker, or Freeform?
Use a loaf pan when you want consistent sandwich bread, a dedicated sourdough bread pan for artisan-style loaves with added support, and a baking stone or steel when you want a rustic freeform loaf with maximum crust development.
Each method can produce excellent sourdough bread, but the best choice depends on the style of loaf you’re hoping to achieve.
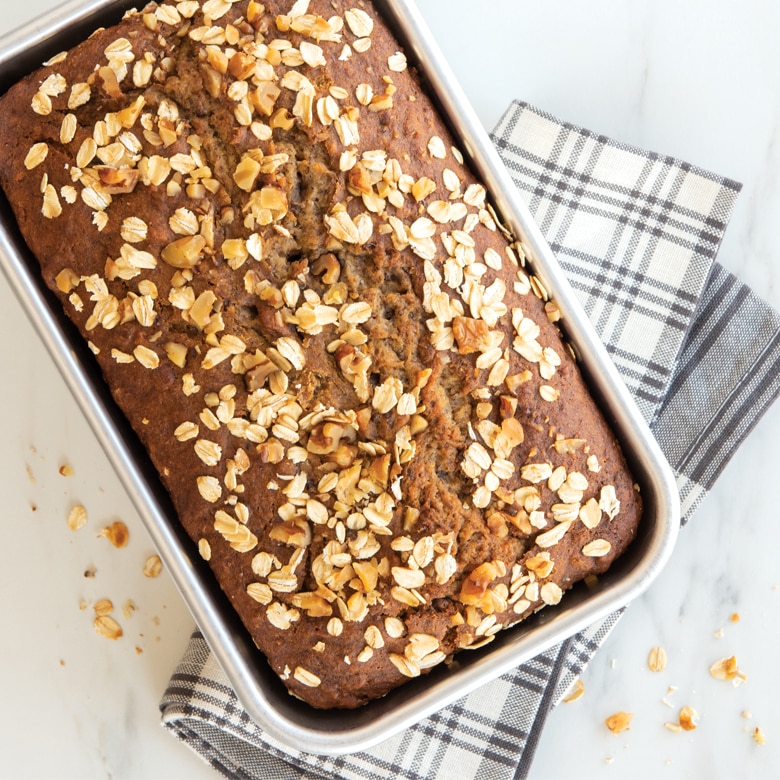
Naturals® 1.5 lb Loaf Pan
A traditional sourdough loaf pan is ideal when you want:
- Uniform slices for sandwiches and toast
- Straight sides and a consistent loaf shape
- Reliable support for softer or higher-hydration dough
- Easy handling for everyday baking
The Naturals® 1.5 lb Loaf Pan creates a classic sandwich-style sourdough loaf with a tall profile and even crumb structure. Its aluminum construction promotes even heat distribution for consistent baking and browning.
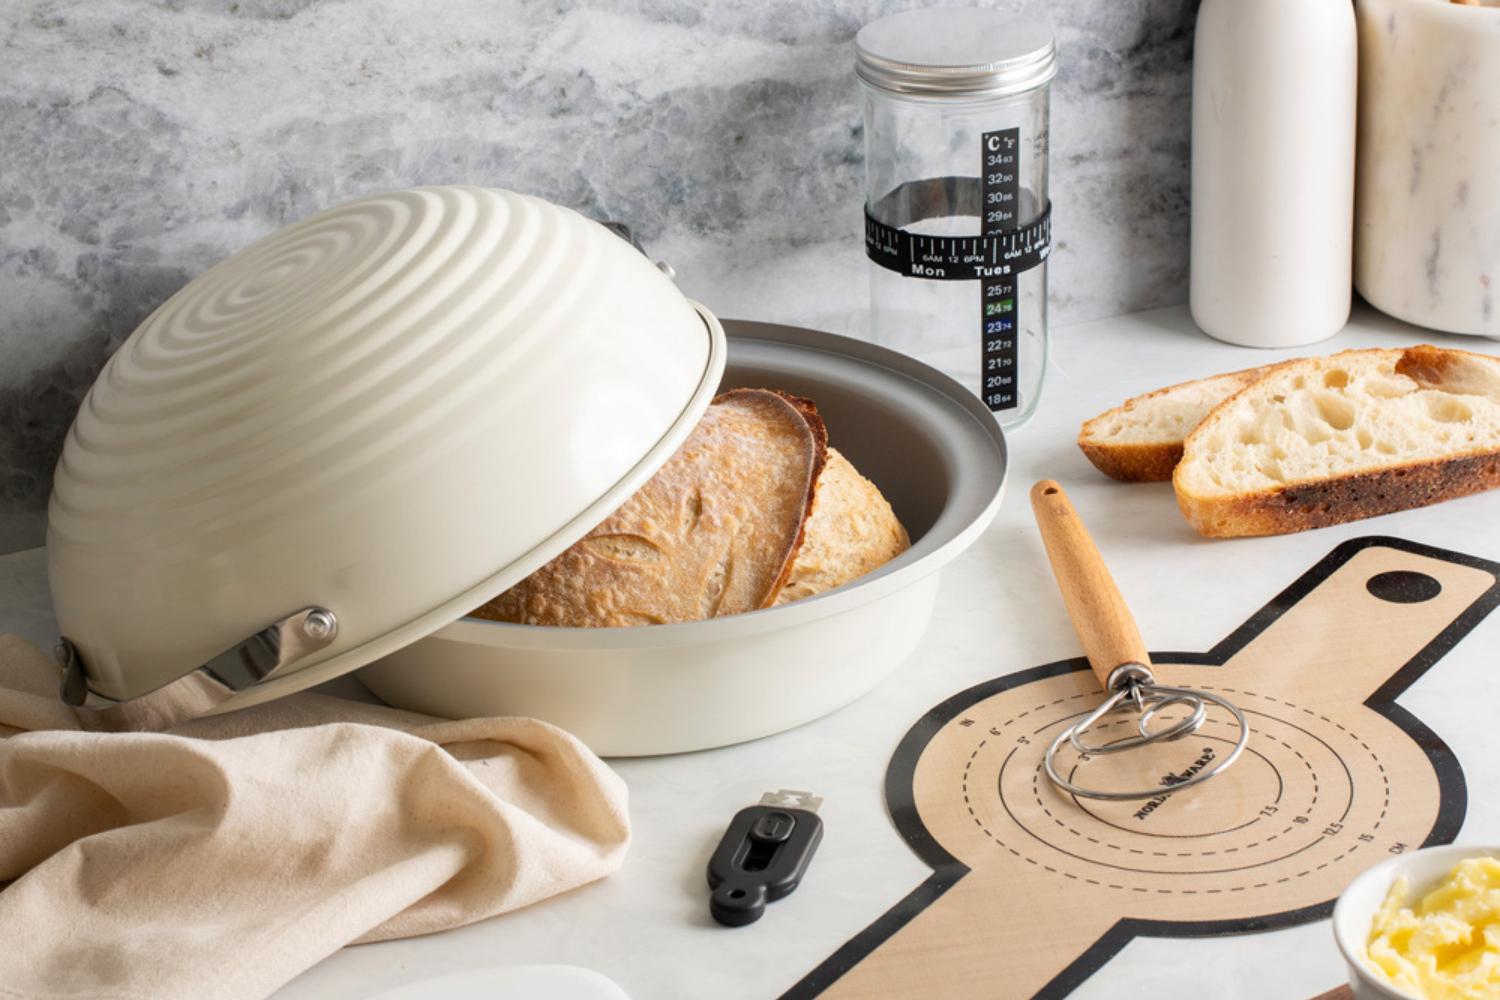
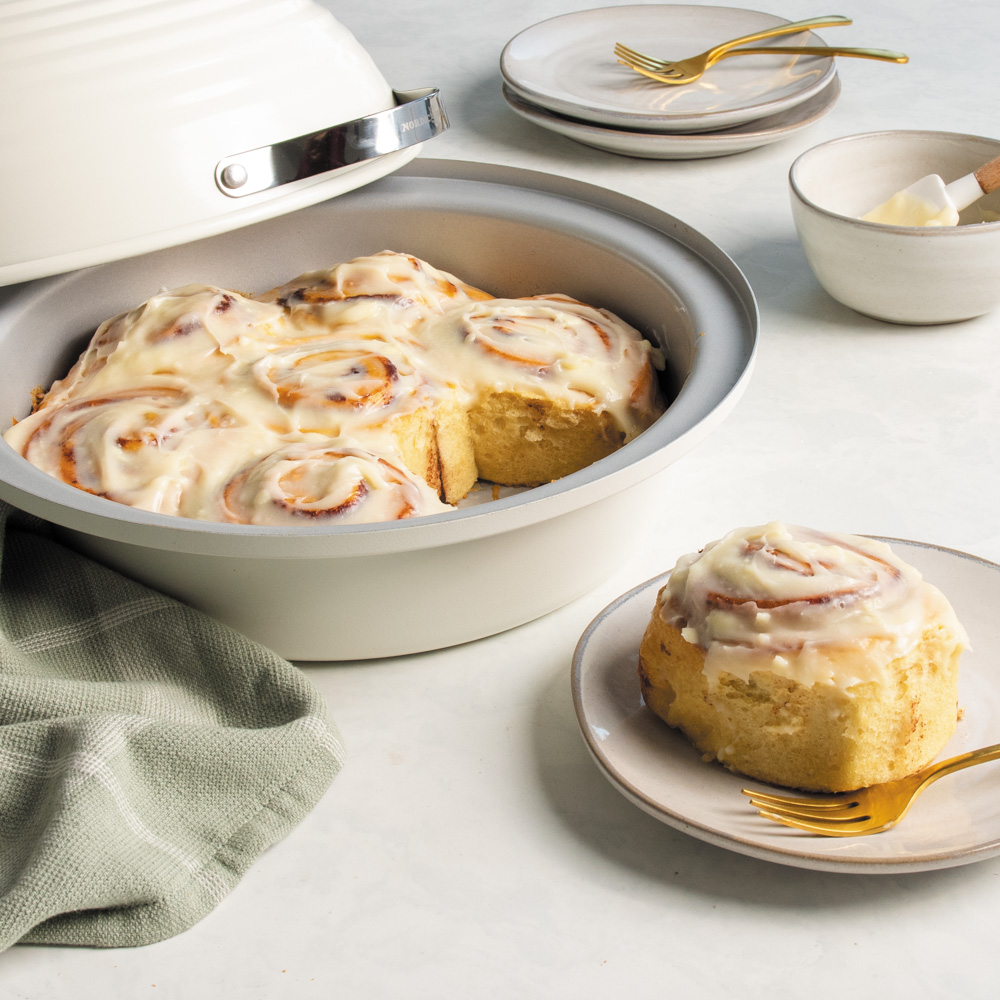
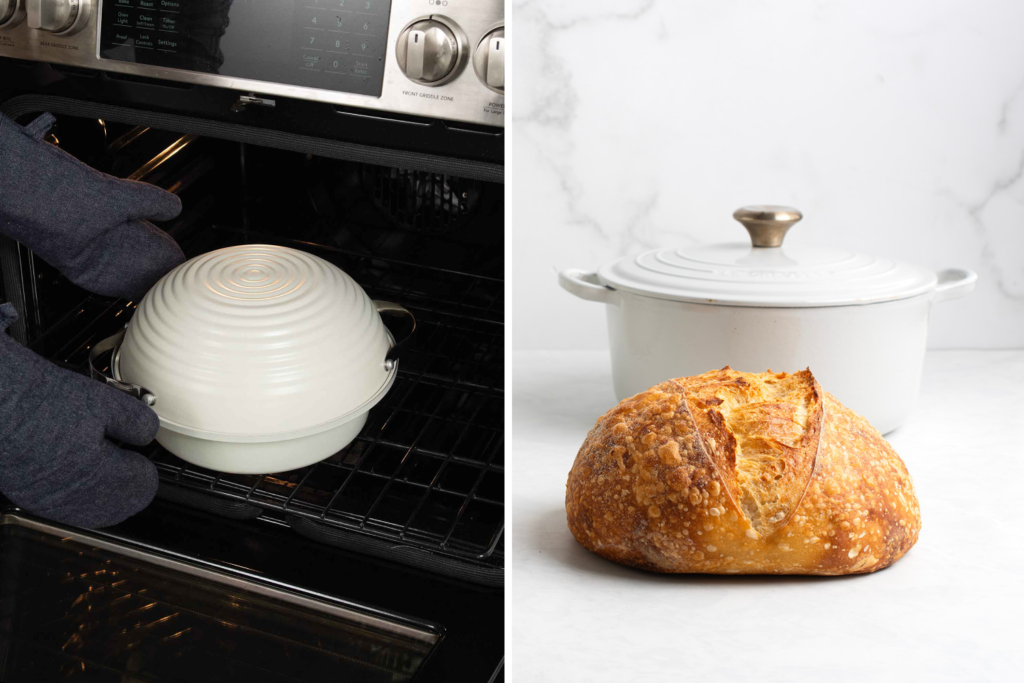
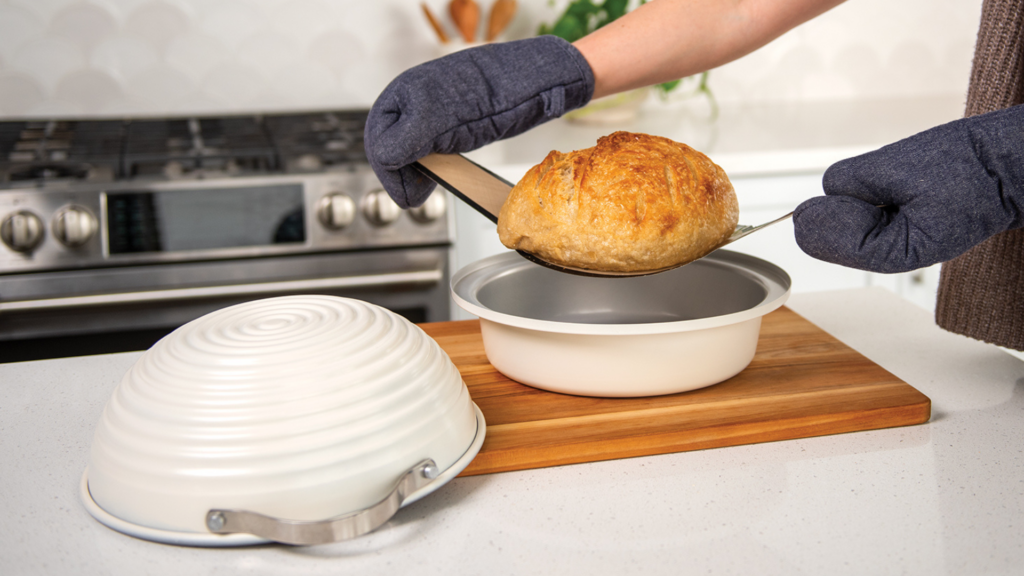
Simply Sourdough Bread Baking Pan
A dedicated sourdough bread pan offers the best of both worlds—artisan character with added structure.
Benefits include:
- Better support than freeform baking
- A rounded, bakery-style loaf shape
- Improved oven spring for softer doughs
- Consistent results for beginner and experienced sourdough bakers alike
The Simply Sourdough Bread Baker is designed specifically for sourdough baking, helping dough maintain its shape while still producing the rustic appearance many bakers love. It’s particularly helpful for high-hydration doughs that may spread during proofing or baking.
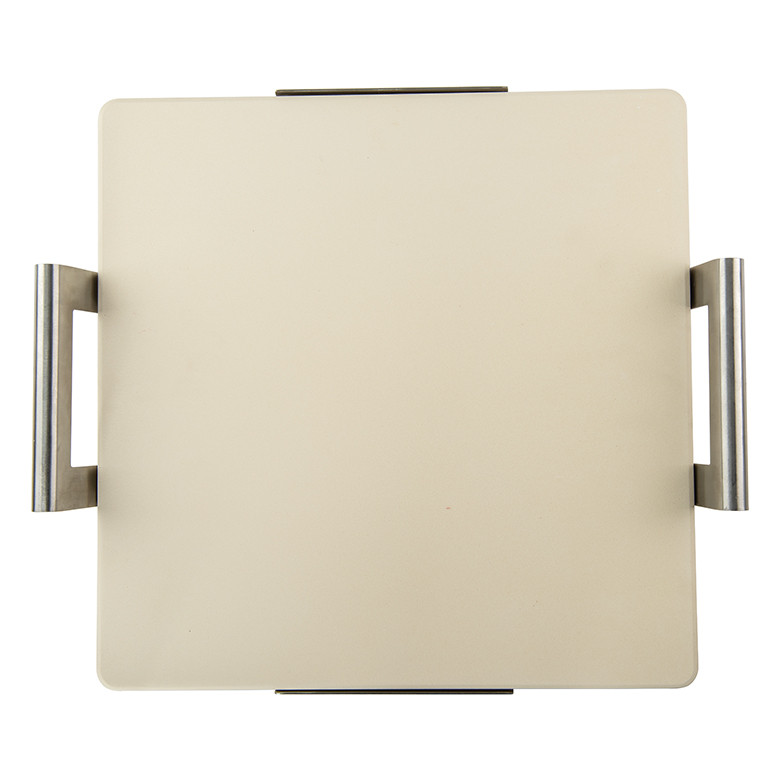
Baking on a Stone or Steel
Freeform sourdough baked on a baking stone or baking steel is often preferred for traditional artisan loaves because it produces:
- An open crumb structure
- Crisp, crackling crust
- Distinctive scoring patterns
- Maximum expansion during oven spring
Because the dough is unsupported, successful freeform baking relies on strong gluten development, proper shaping, and careful proofing. A baking stone or steel stores and transfers heat efficiently, helping create the dramatic oven spring and crust development associated with artisan sourdough bread.

Which Option Is Best?
Choose the Naturals® 1.5 lb Loaf Pan if you primarily bake sandwich bread and want uniform slices.
Choose the Simply Sourdough Bread Baking Pan if you want artisan-style sourdough with additional structure and support.
Choose a baking stone or steel if you prefer traditional freeform sourdough with an open crumb and rustic crust.
No matter which method you choose, proper fermentation, shaping, and proofing will have the biggest impact on the final loaf.
Final Thoughts: Proofing Sourdough with Confidence
Successful sourdough baking comes down to understanding fermentation, monitoring dough development, and choosing the right tools for the job.
For most bakers, a 12–24 hour cold proof offers a reliable balance of flavor development and dough strength. During proofing, pay close attention to dough temperature, fermentation activity, and visual cues rather than relying solely on the clock.
Remember these key sourdough proofing tips:
- Watch dough temperature closely
- Use the poke test to evaluate readiness
- Avoid over-proofing by monitoring dough structure
- Choose the right sourdough baking pan for added support and consistent results
With practice, you’ll learn to recognize the signs of properly proofed dough and consistently bake beautiful sourdough bread with excellent flavor, texture, and oven spring.
If your sourdough didn’t bake up the way you expected after cold proofing, learn how to analyze what went wrong and improve your next loaf in: What To Do After Your Sourdough Bread is Done Baking: Bread Baking Analysis and Storage Tips.


)