How to Make Sourdough Crust Crispy: Bakeware Tips and Home Techniques That Work
If you’ve ever pulled a sourdough loaf from the oven only to find a pale, chewy crust instead of the crisp crackle you were dreaming of, you’re not doing anything wrong, you’re just missing a few key details. Learning how to make sourdough crust crispy is one of the most searched sourdough challenges for a reason. Great crust isn’t magic, and it definitely isn’t reserved for bakeries with steam-injected ovens and heavy cast iron pans.
The truth is, a golden, crunchy crust comes down to managing steam, heat, and timing, plus choosing bakeware that actually supports the process. With the right approach and a thoughtfully designed sourdough bread kit, home bakers can achieve bakery-worthy loaves.
Table of Contents:
- Why Is a Crispy Sourdough Crust So Hard to Nail?
- What Makes Sourdough Crust Crispy?
- 5 Steps to Make Your Sourdough Crust Crispy at Home
- Why Nordic Ware’s Sourdough Kit Is an Ideal Dutch Oven Alternative
- Product Spotlight: Choosing the Right Sourdough Kit
- FAQs: Crust Too Thick? Here’s What to Check
- Final Thoughts: Better Crust Starts With the Right Pan

Why Is a Crispy Sourdough Crust So Hard to Nail?
Most home ovens simply aren’t built for sourdough. Professional bakeries rely on baking stones and steam-injected ovens that flood the baking chamber with moisture during the first stage of baking. That steam keeps the dough surface flexible, allowing the loaf to expand fully before the crust sets. At home, that steam disappears fast, which is why so many loaves end up dull, chewy, or stubbornly thick.
Without proper steam retention, the crust forms too early and oven spring suffers. This is where a sourdough bread pan with a lid changes the game. Nordic Ware’s sourdough bread baking pan is thoughtfully designed to trap steam from the hydrated dough inside to mimic the function of a professional oven and help home bakers get professional-style results without the professional-level price tag.

What Makes Sourdough Crust Crispy?
A truly crispy sourdough crust is all about balance, not brute force. Early in the bake, moisture is essential even though it feels counterintuitive if crunch is your goal. Steam keeps the dough surface soft and elastic so it can expand fully before the crust sets. This is where many home bakers go wrong by letting the exterior dry out too quickly, locking in a thick, dull crust before the loaf has a chance to rise.
As baking continues, strong and consistent heat transfer is critical. Materials like aluminized steel heat evenly and efficiently, encouraging steady browning without scorching the crust or overbaking the interior. A well-designed sourdough bread pan delivers reliable heat for even baking and perfectly golden-brown crusts.
Fermentation is also more important for creating a perfect crust than most people realize. Properly fermented dough builds surface tension during shaping, which helps the loaf hold its form and supports a thinner, cracklier crust rather than a tough shell. Under-fermented dough tends to spread and bake up densely, while over-fermented dough can collapse and lose structure. Neither scenario leads to a great crust. To know whether your loaf is over, under, or perfectly fermented, check out our tips for performing a bread baking analysis.
The final stage of baking is where crispness is locked in. Once the loaf has finished expanding, moisture needs to escape so the crust can dry, set, and develop that signature snap. Removing the lid from a sourdough pan at the right moment allows steam to release at the perfect time in the baking process and helps prevent leathery crusts.
Even after the bread leaves the oven, the process is not done. Crust continues to firm up as steam exits during cooling, which is why slicing too soon is a classic rookie mistake. Patience here pays off. Give the loaf time to breathe, and you’ll be rewarded with a golden, crisp sourdough crust that crackles when you cut into it, which is exactly how great sourdough should be.
5 Steps to Make Your Sourdough Crust Crispy at Home
1. Ensure Proper Fermentation and Shaping Before Baking
Crispy crust starts well before your dough ever hits the oven. After bulk fermenting your dough until it’s properly aerated and elastic, shaping matters more than most bakers realize. Forming the dough into a tight, well-taught ball before a second proof creates surface tension, which is essential for strong oven spring and a thin, crackly crust.
Proofing the shaped dough not only does it deepen sourdough flavor, but it also slightly dries the exterior of the loaf as air circulates around it. This drying effect can help create a crisp crust. Nordic Ware mirrors this banneton-style airflow around the loaf through the ridged design in the lid of the sourdough bread pan which allows air to move around the loaf instead of trapping excess surface moisture.
2. Trap Steam With a Lid During the First 40 Minutes
The first non-negotiable step is trapping steam during the beginning of the bake. Baking sourdough in a sourdough pan with lid for the first 40 minutes keeps moisture close to the dough and delays crust formation. Nordic Ware’s Simply Sourdough Bread Baking Pan does this naturally, mimicking a Dutch oven without the heavy weight or awkward handling of cast iron.
 3. Bake at High Temp, Then Remove the Lid to Finish
Temperature control is what takes your crust from good to bakery-level great. Start baking at 450°F with the lid on and allow the loaf to bake covered for 40 minutes. This high heat encourages oven spring while steam does its job.
Once the loaf has fully expanded, remove the lid and reduce the oven temperature to 400°F. Continue baking for an additional 20 to 25 minutes, or until the crust reaches your desired level of golden-brown crispness. This final uncovered phase allows moisture to escape so the crust can fully set, dry, and develop that signature crisp.
4. Use a Kit That Supports Consistent Results
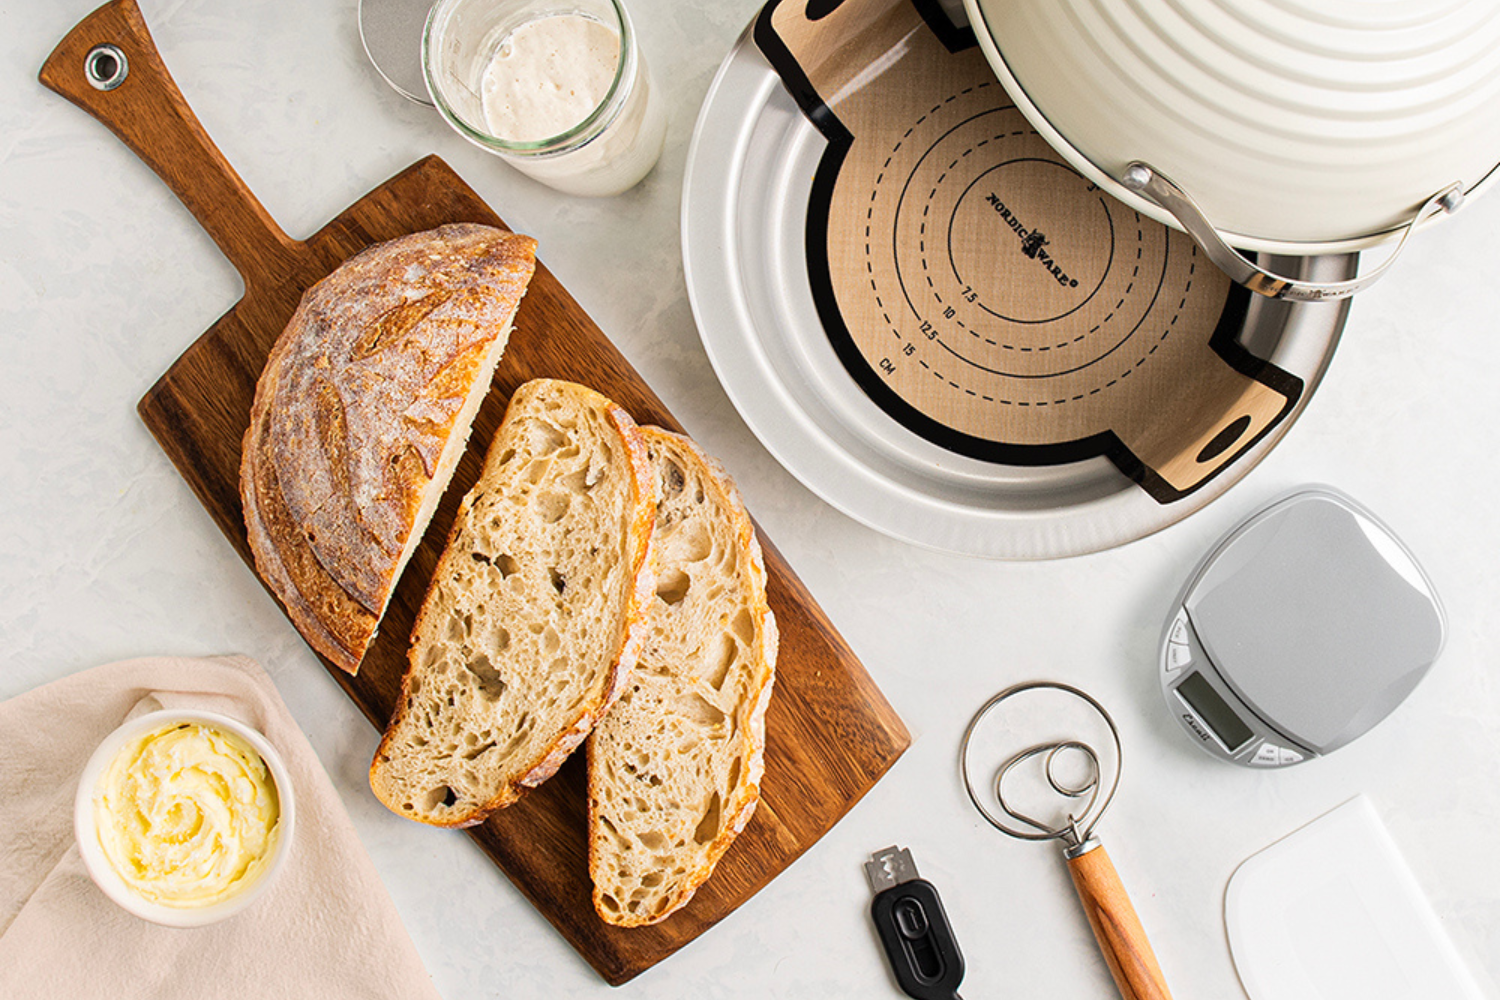
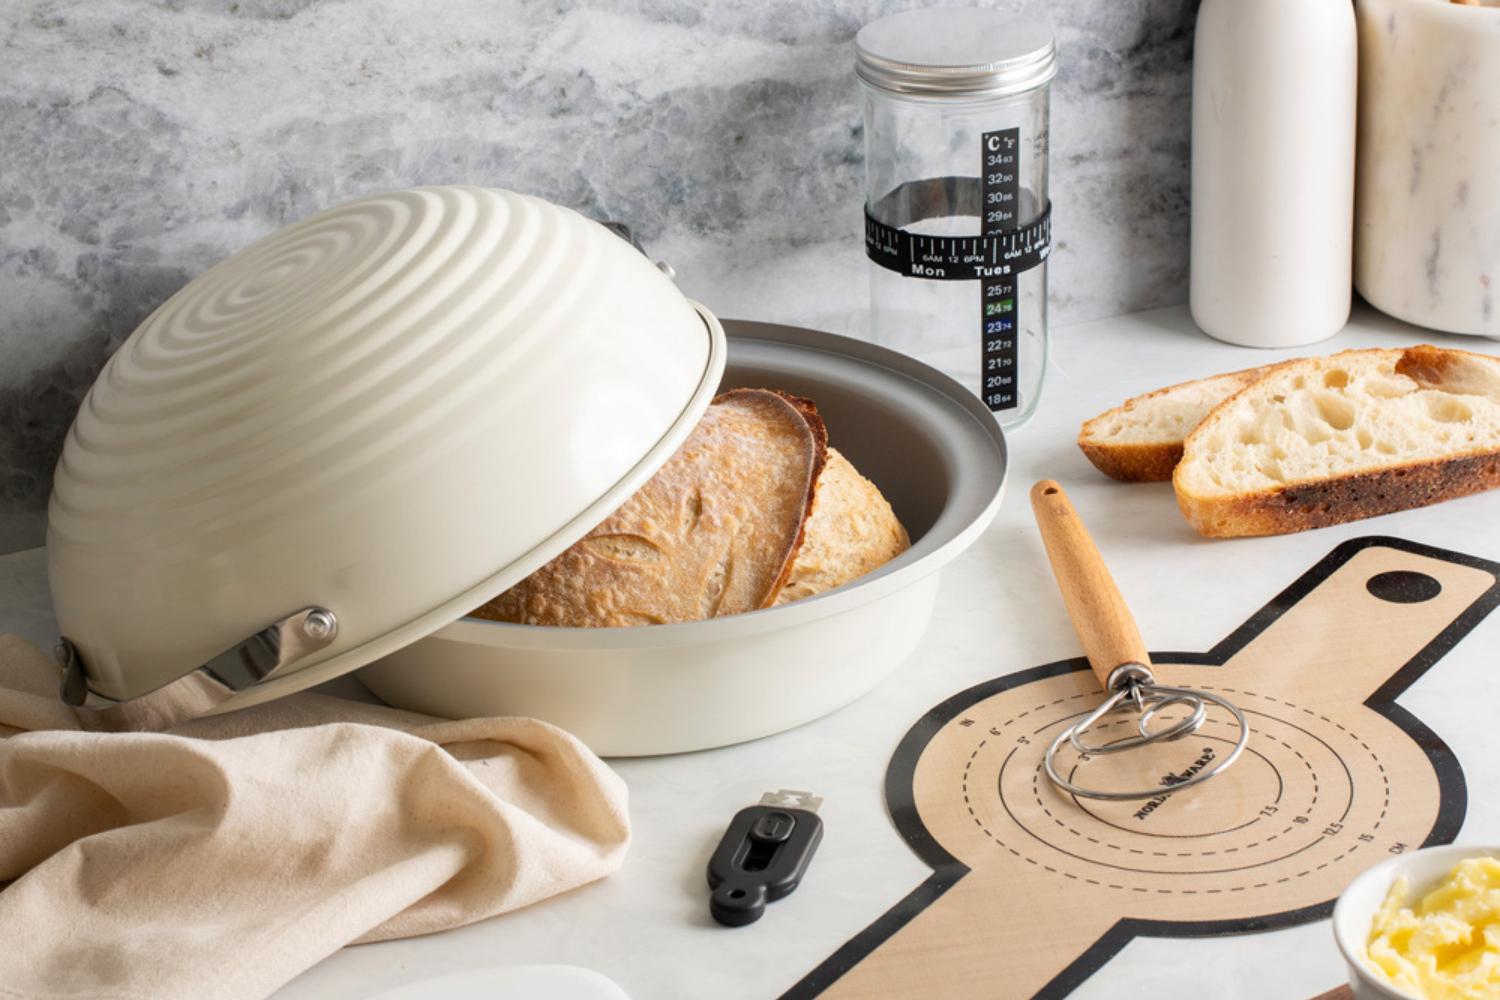
Consistency is the not-so-secret ingredient behind great sourdough crust. Nordic Ware’s sour dough kits include tools that support every stage of the process, from mixing to shaping to baking. Each kit features a sourdough pan with lid, proofing towel, starter jar, Danish dough whisk, bench scraper, lame, and a step-by-step guide. The Deluxe Kit also includes a digital scale for precise hydration and fermentation control.
Together, these tools help bakers dial in hydration, maintain proper fermentation, and shape dough with confidence which all directly impact crust thickness and texture.
5. Let the Bread Cool Fully Before Slicing
Once your loaf comes out of the oven, the work isn’t quite done. Steam inside the bread continues to escape as it cools, and slicing too early traps that moisture inside, softening the crust you just worked so hard to achieve.
For the best texture and crispest results, allow your sourdough to cool for at least one full hour before slicing. Think of it as the final step in crust development and one that’s absolutely worth the wait.
Why Nordic Ware’s Sourdough Kit Is an Ideal Dutch Oven Alternative
What Makes It Different?
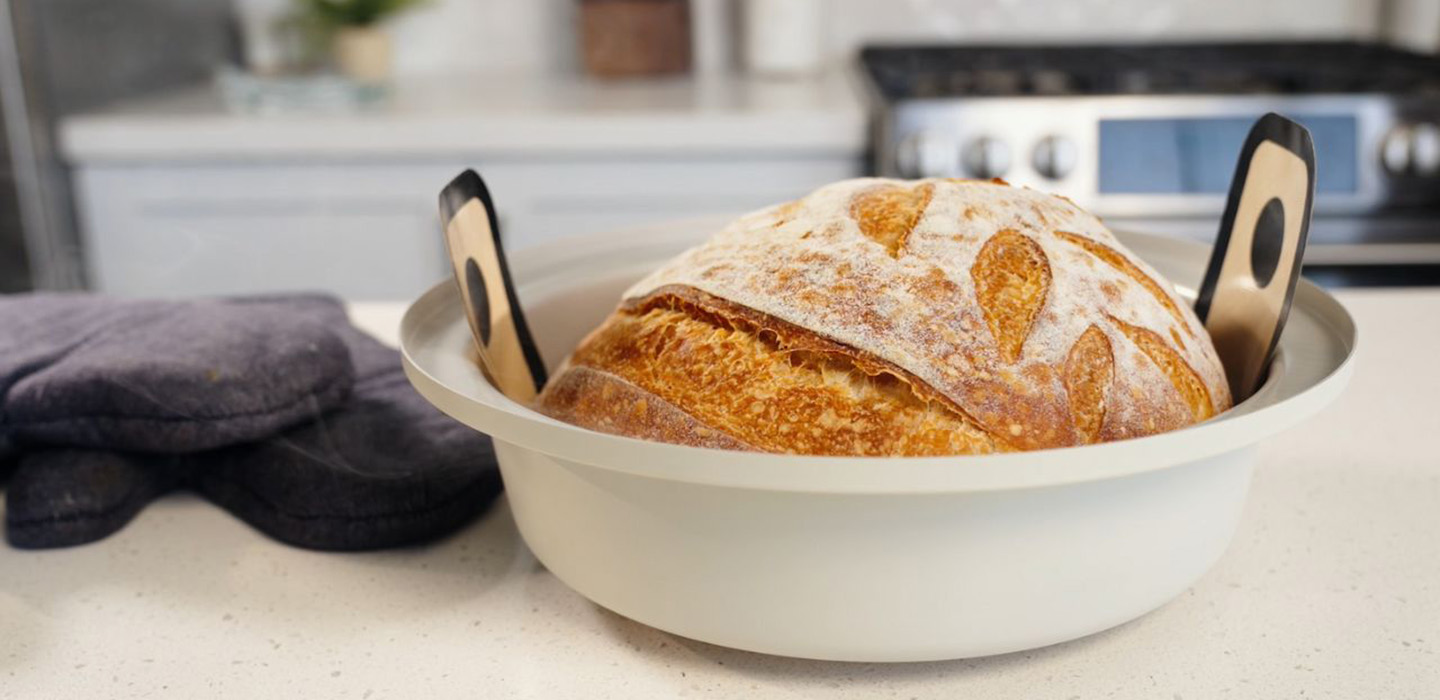
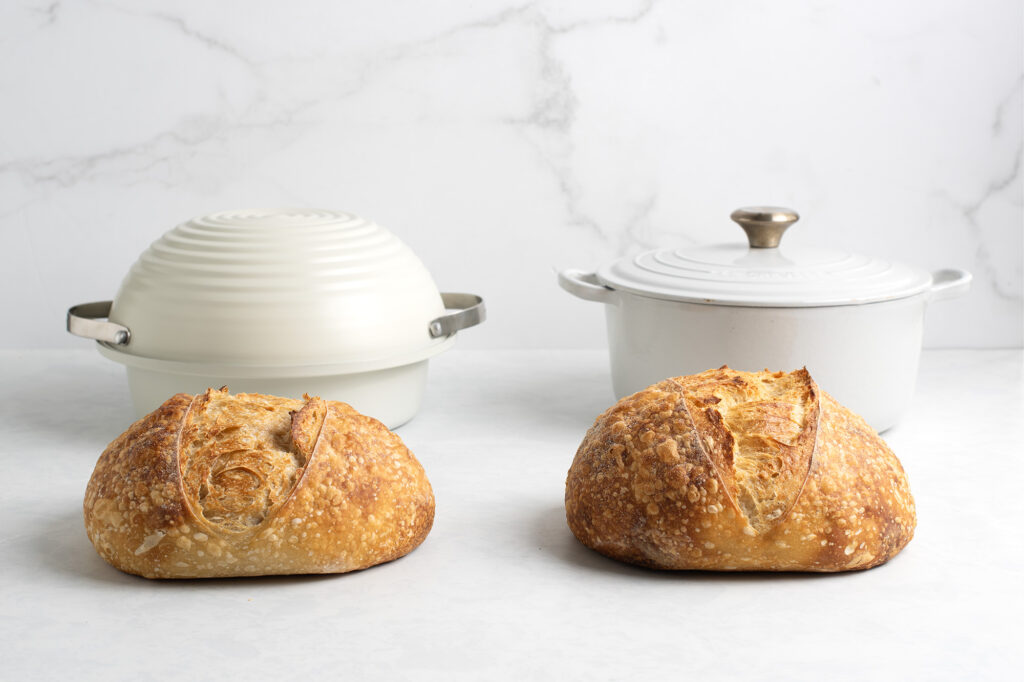
If you love the results of cast iron but not the workout or price tag, Nordic Ware offers a true cast iron alternative. The sourdough bread baking pans are made from lightweight aluminized steel, making them easier to lift, safer to handle, and far more convenient for everyday use. Plus, it is large enough for all of the tools to nest nicely inside of the pan for easy storage.
The integrated domed lid captures steam effectively during the most important phase of baking, delivering the same benefits as a Dutch oven without the bulk, storage headaches, or expensive price tag. For home bakers who want crisp crust without the hassle, this design is a clear upgrade.
What’s Included in the Kit (and Why It Matters) 
Nordic Ware’s sourdough kits are thoughtfully built to take the guesswork out of baking and help you get consistent results especially when it comes to crust. Every tool plays a role in better fermentation, stronger structure, and a thinner, crispier finish.
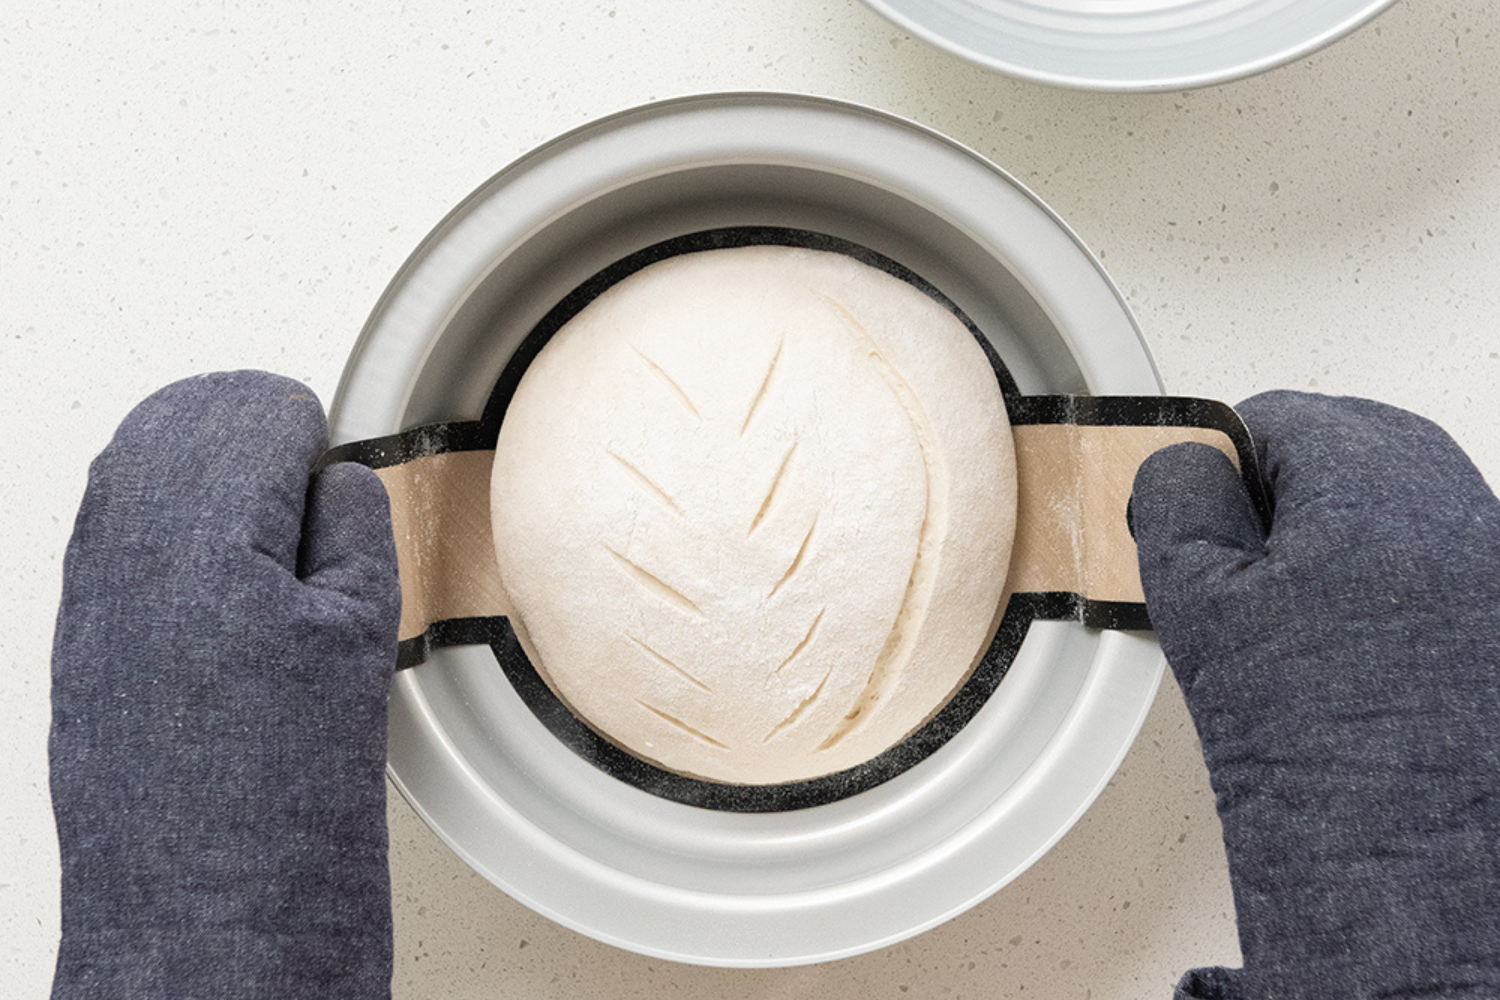
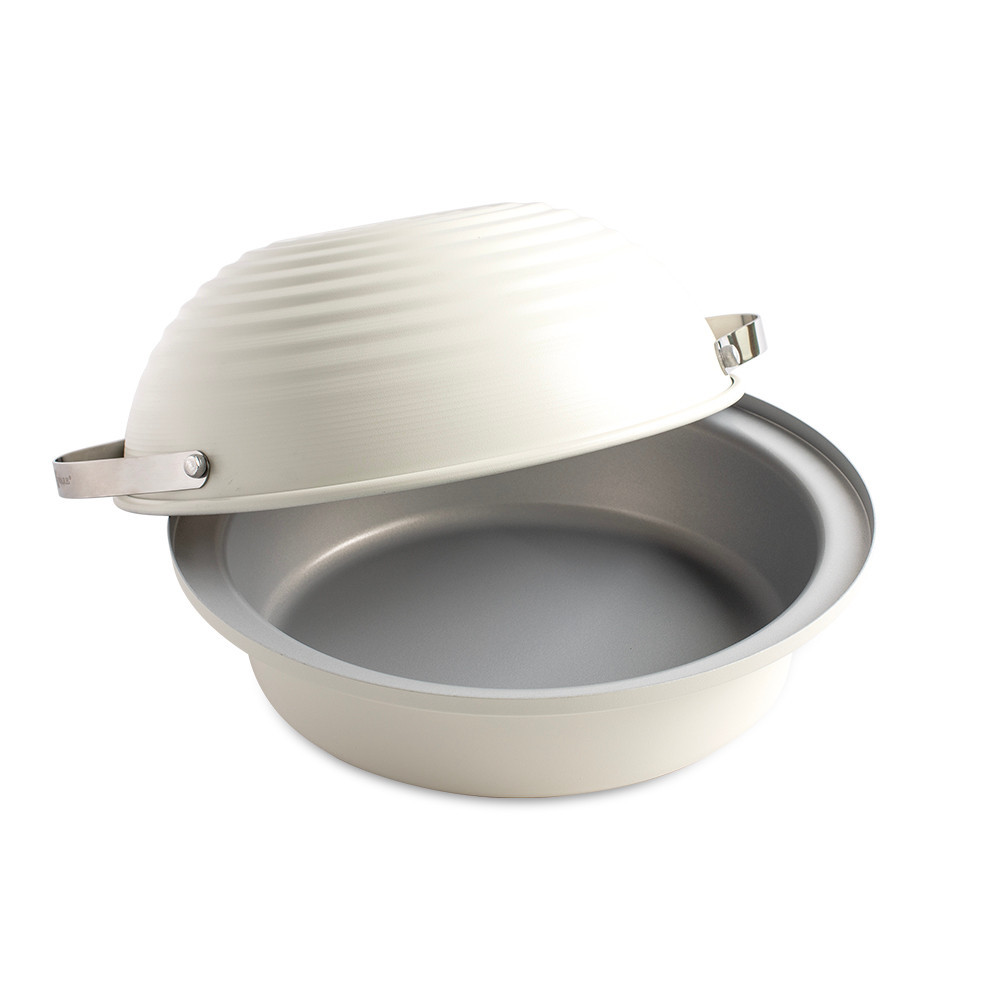
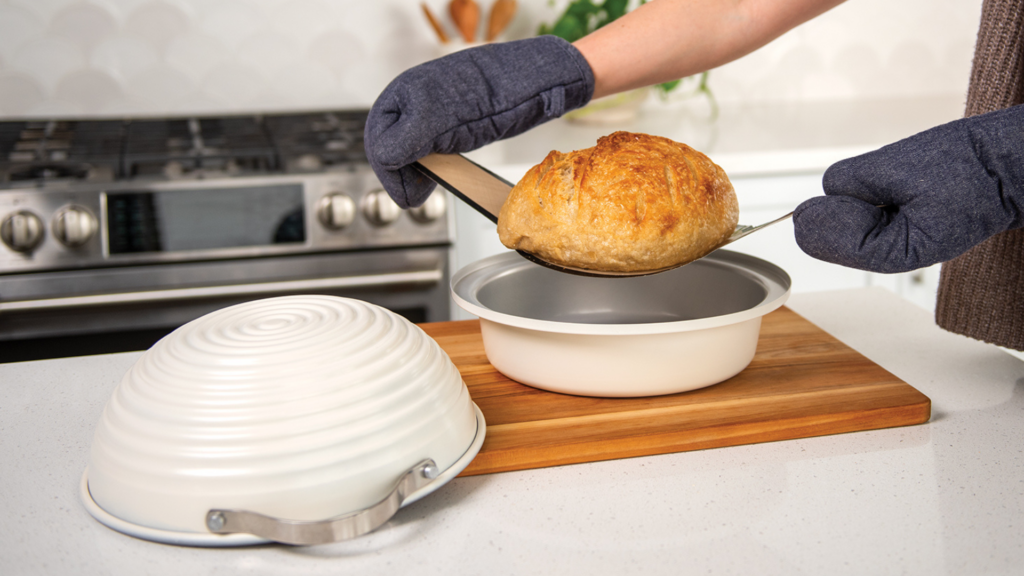
Sourdough Baking Pan and Lid
This two-in-one aluminized steel baker is the foundation of a great crust. Your dough can proof right in the lid, then flip into the base to bake covered. The lid traps steam early in the bake for strong oven spring, while the aluminized steel delivers even heat for golden browning without the weight or hassle of cast iron.
Learn why choosing the right bakeware matters for sourdough bread.
Glass Starter Jar with Temp Strip & Tracker Band
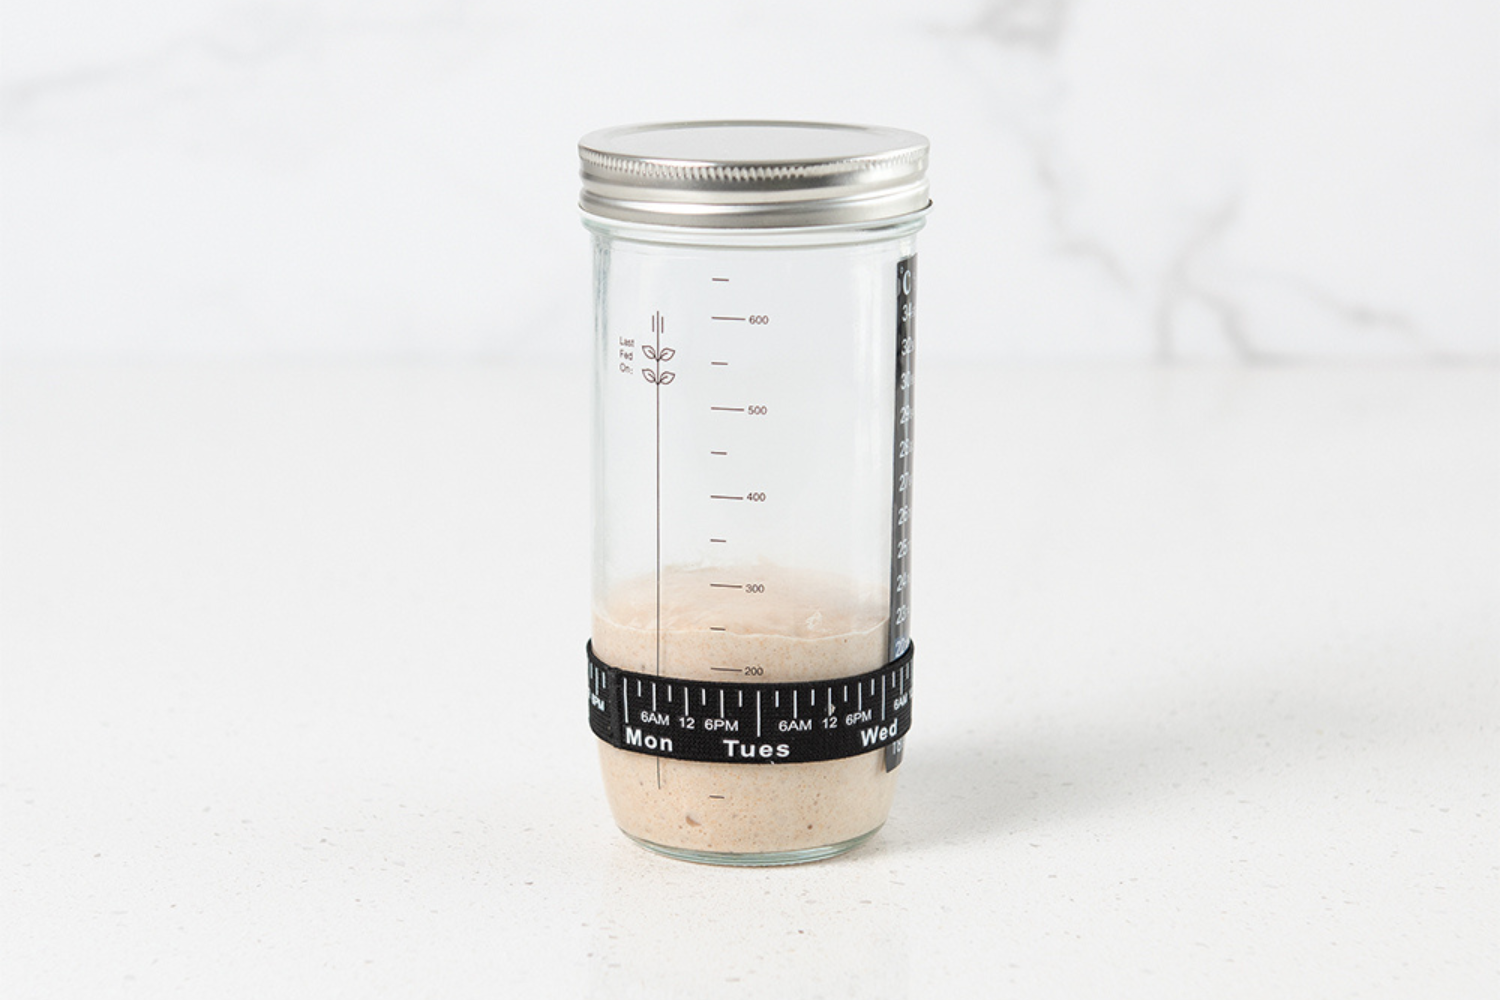
A healthy starter equals better rise and better crust. The clear glass jar lets you easily see activity, while the temperature strip and tracker band help you feed and use your starter at peak strength. Strong fermentation supports surface tension, which leads to a crackly crust instead of a dense or tough one.
Learn how to maintain your starter with these easy tips for beginners.
Danish Dough Whisk
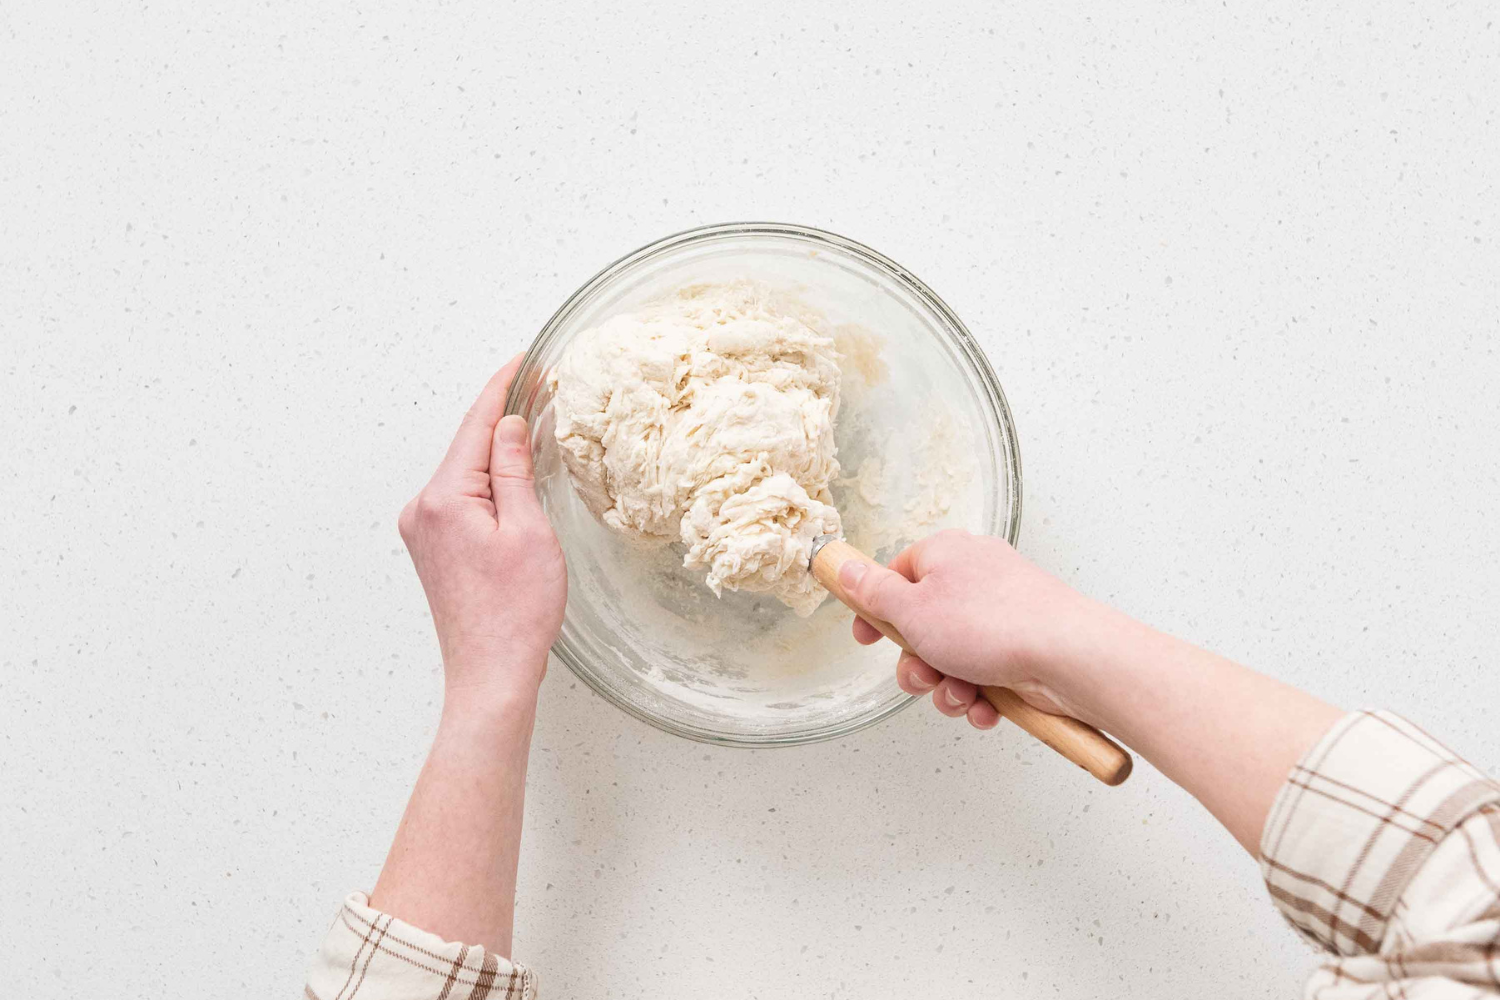
Designed for thick doughs, this whisk mixes flour and water efficiently ensuring everything is evenly mixed together. Properly mixed dough results in better gluten development and a more open crumb which is key for balanced moisture and a crisp exterior.
Retractable Bread Lame
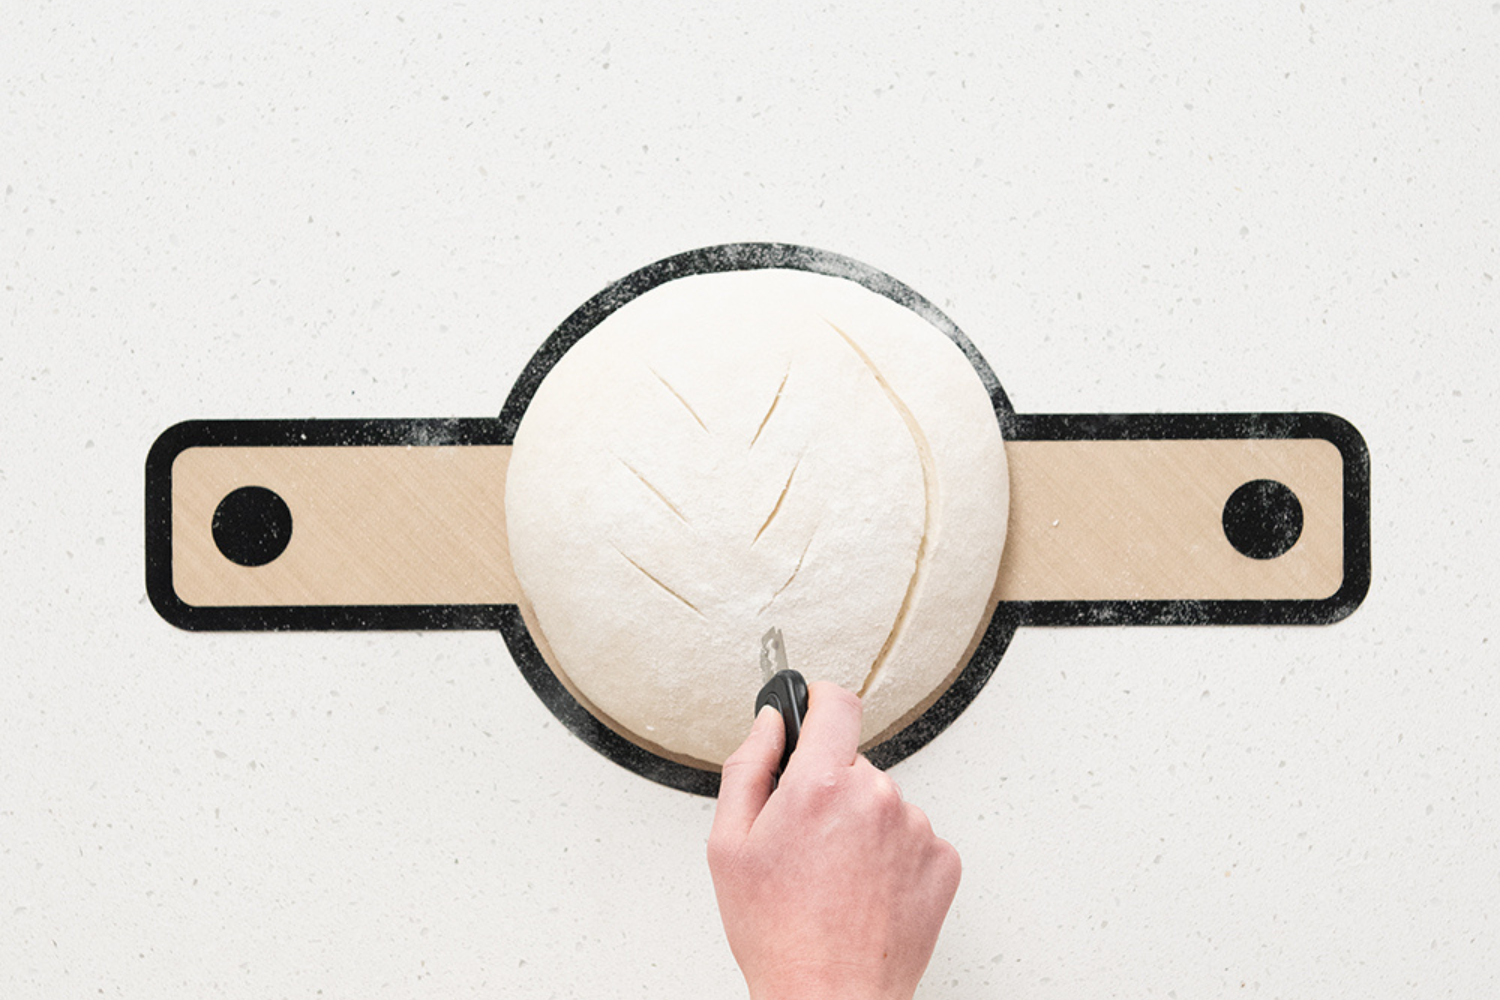
Proper scoring controls how your bread expands in the oven. Clean, confident cuts allow steam to escape where you want it which prevents blowouts and helps the crust bake evenly.
Plastic Bench Scraper
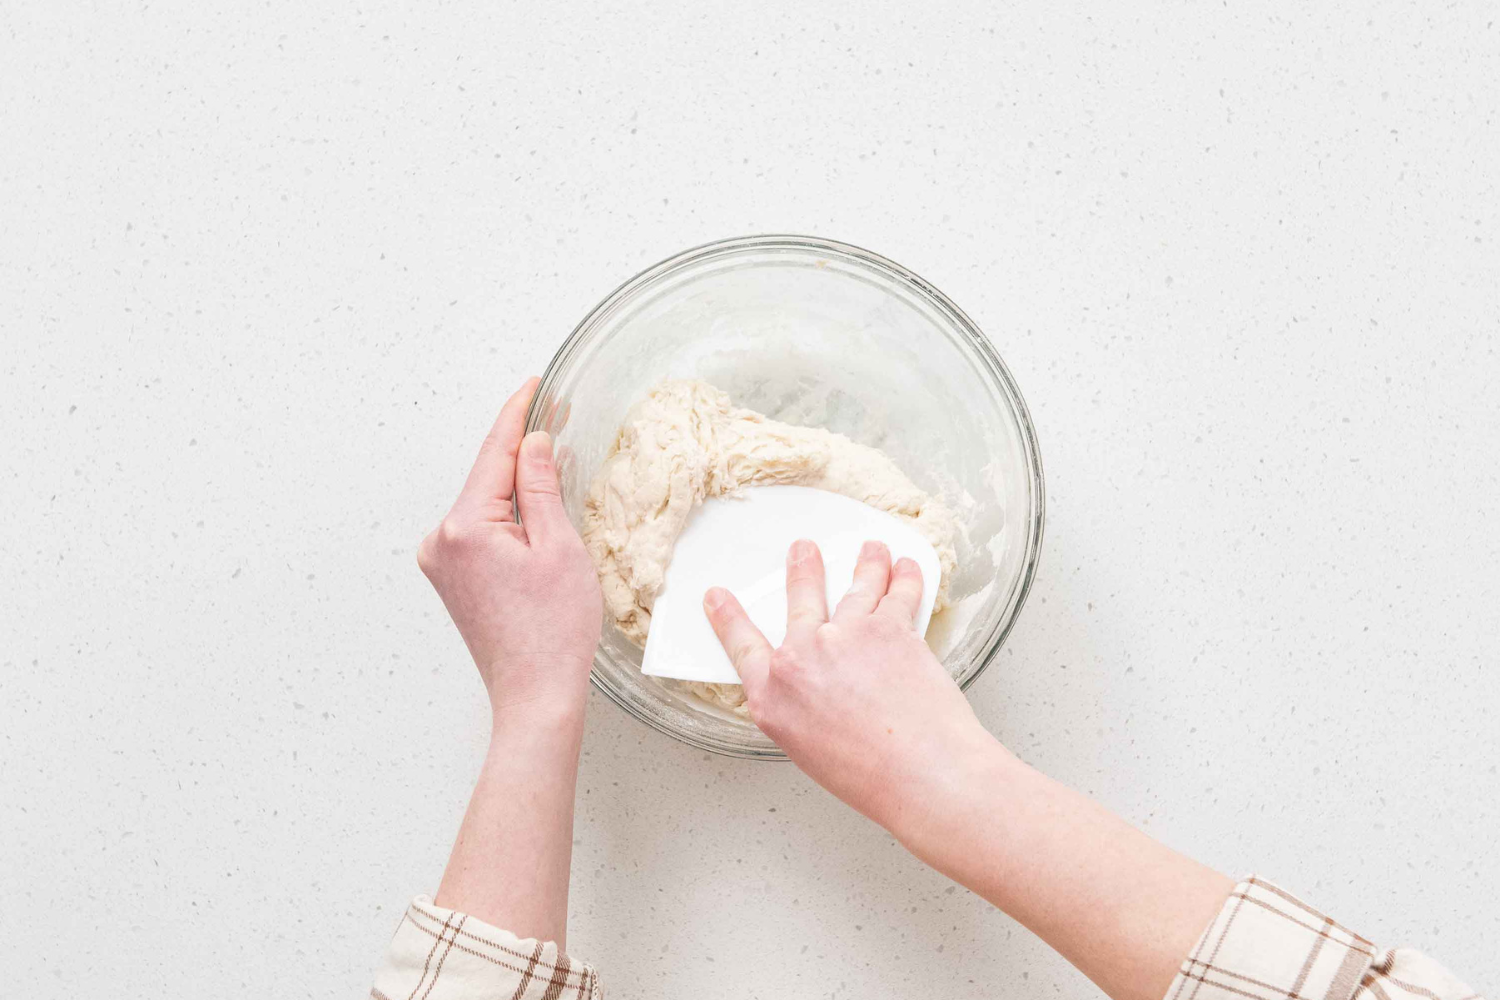
This flexible tool makes shaping and transferring dough easier and cleaner. Better shaping improves structure, which helps the loaf hold steam early in the bake and crisp properly as moisture escapes.
Silicone Lifting Sling
One of the most beginner-friendly upgrades. The reusable silicone sling replaces parchment paper and allows you to safely lift dough in and out of a hot pan with no burns and without deflating your loaf. Less handling stress means better oven spring and more consistent crust results.
Cotton Proofing Towel
This unbleached cotton towel helps prevent sticking while allowing airflow during proofing. That airflow supports surface dryness, which directly contributes to a thinner, crisper crust.
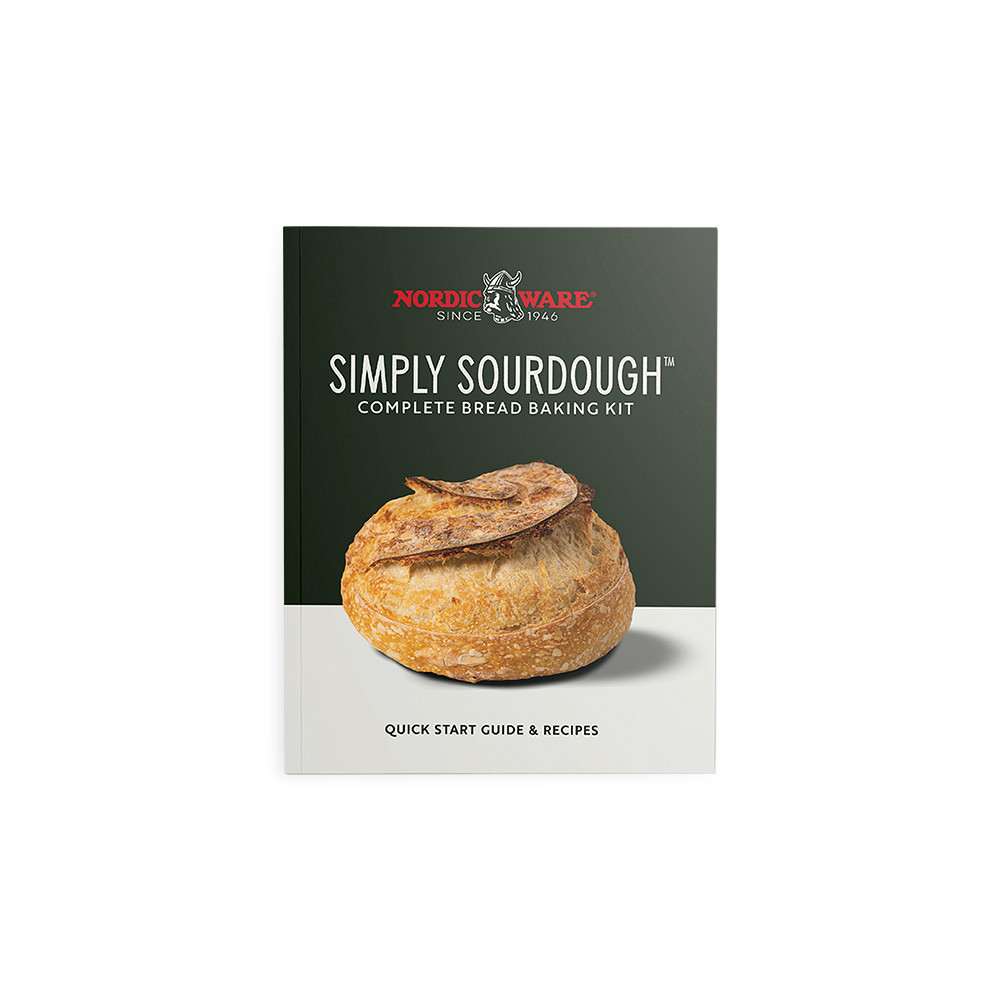
Quick Start Guide + Recipes
Clear instructions remove common beginner mistakes that lead to thick or dull crusts. The included recipes are tested specifically for this pan, so hydration and bake times are already dialed in.
Are you a beginner to sourdough bread baking? Check out our tools, tips, and solutions for simplifying your sourdough bread baking journey.
Escali Digital Baking Scale (Deluxe Kit only)

Precision matters in sourdough. Measuring by weight, not cups, keeps hydration consistent, fermentation predictable, and crust results repeatable. This compact scale helps you fine-tune dough strength so your crust lands crispy, not chewy or leathery.
Explore all the tools you need to make sourdough bread and how to use them.
Easy Cleaning & Care
Nordic Ware sourdough pans are designed for real life baking. No seasoning is required ever. After baking, simply hand wash with mild soap and a sponge or soft bristled brush. To preserve the nonstick finish, use wooden, nylon, or silicone utensils and avoid metal tools. With proper care, the pan continues to deliver even heat and beautiful crusts bake after bake.
Product Spotlight: Choosing the Right Sourdough Kit
Product |
Best For |
Price |
Link |
Simply Sourdough Bread Baker (Pan & Lid Only) |
Cast iron alternative |
$60 |
Product Page |
Basic 9-Piece Kit |
Beginners |
$100 |
Product Page |
Deluxe 10-Piece Kit |
Full setup + precision |
$130 |
Product Page |
FAQs: Crust Too Thick? Here’s What to Check
Why isn’t my sourdough crust crispy?
The most common culprits are missing steam, overbaking, or weak oven spring. A covered pan helps trap steam early, while proper fermentation and accurate hydration keep the crust thin and crisp. Learn how to analyze and improve your sourdough bread.
Can I make crispy sourdough without a Dutch oven?
Yes. A lidded pan like Nordic Ware’s Simply Sourdough Bread Baking Pan provides the same steam retention and heat circulation without the weight, expensive price, or lengthy preheat time of cast iron.
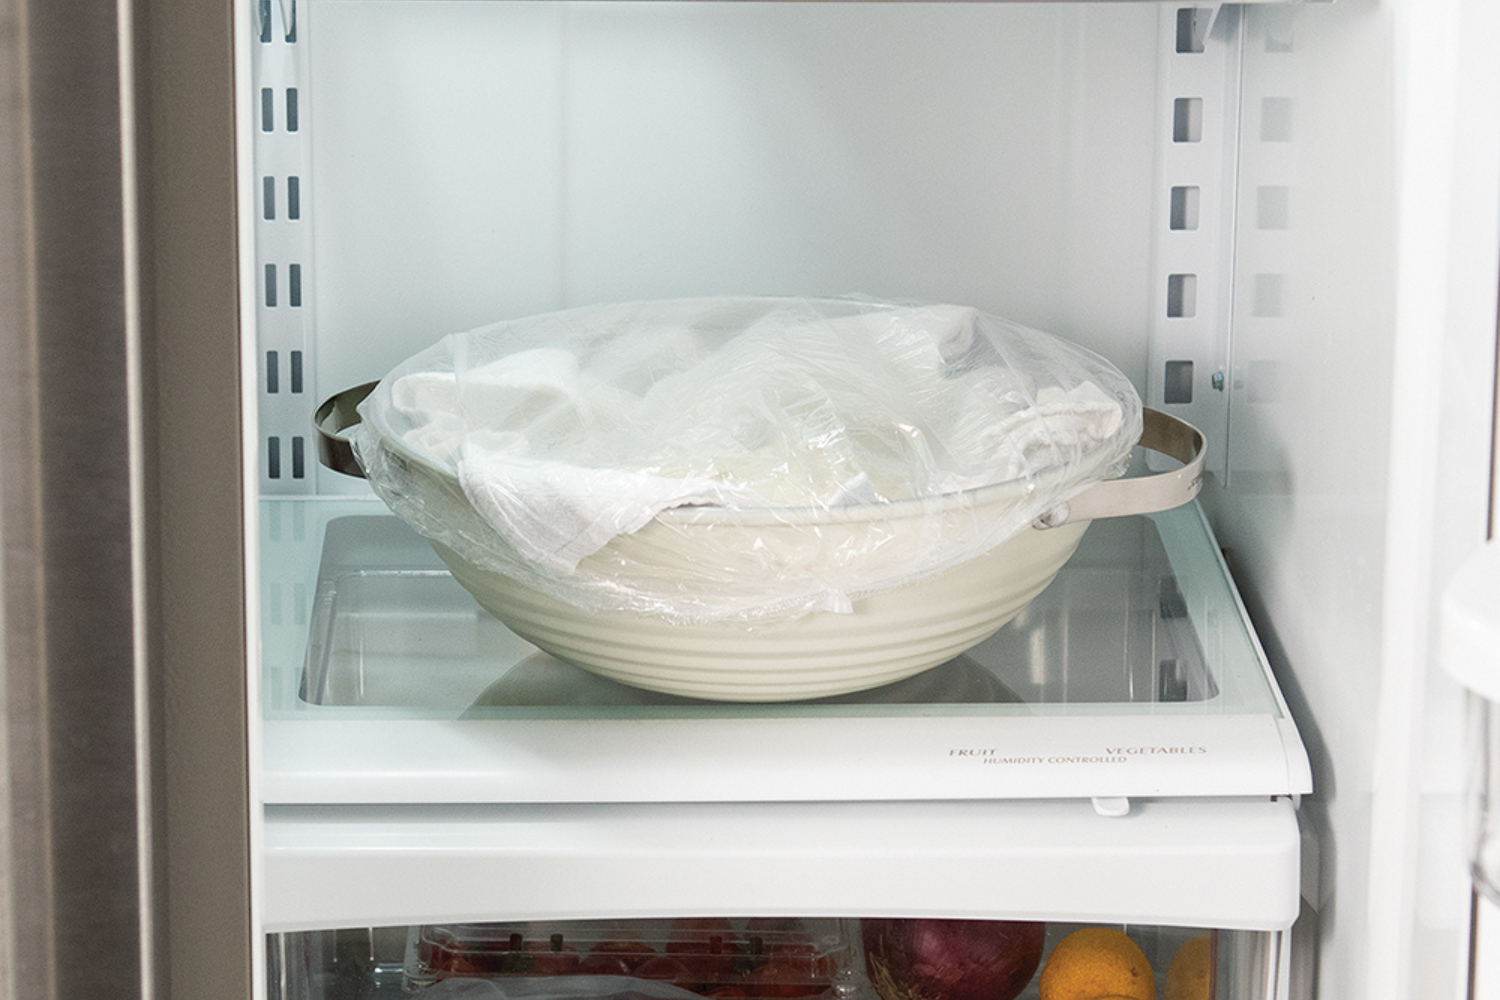
Do I have to cold-proof my dough?
No, room-temperature proofing often leads to a thinner, crispier crust. Cold proofing can deepen flavor, but it’s not required for great texture.
Can I use a baking sheet?
Technically yes, but results vary. Baking uncovered allows steam to escape too quickly, which can lead to poor rise and a thicker crust. A covered pan delivers more consistent results.
Final Thoughts: Better Crust Starts With the Right Pan
A truly crispy sourdough crust comes down to proper fermentation, shaping, controlled steam, and even heat. You don’t need cast iron or complicated setups to get there. A thoughtfully designed sourdough kit, like the Nordic Ware Simply Sourdough Bread Baking Kit, makes it easier to bake confident, consistent loaves that crackle just the way they should.
Ready to bake better sourdough at home? Explore Nordic Ware’s sourdough baking kits.


