Master the art + science of healthy and delicious homemade bread at home!


Choose Your Baking Kit Every tool you need

Basic Sourdough Baking Kit
9 Piece Set

Deluxe Sourdough Baking Kit
10 Piece Set including an Escali Scale!


Basic Sourdough Baking Steps For more detailed information to begin your sourdough journey at home, see our extensive quick start guide included in kits.


Learn More Start your bread baking journey with confidence with our guides and tips!

Starter From Scratch
Learn how to make a starter from scratch

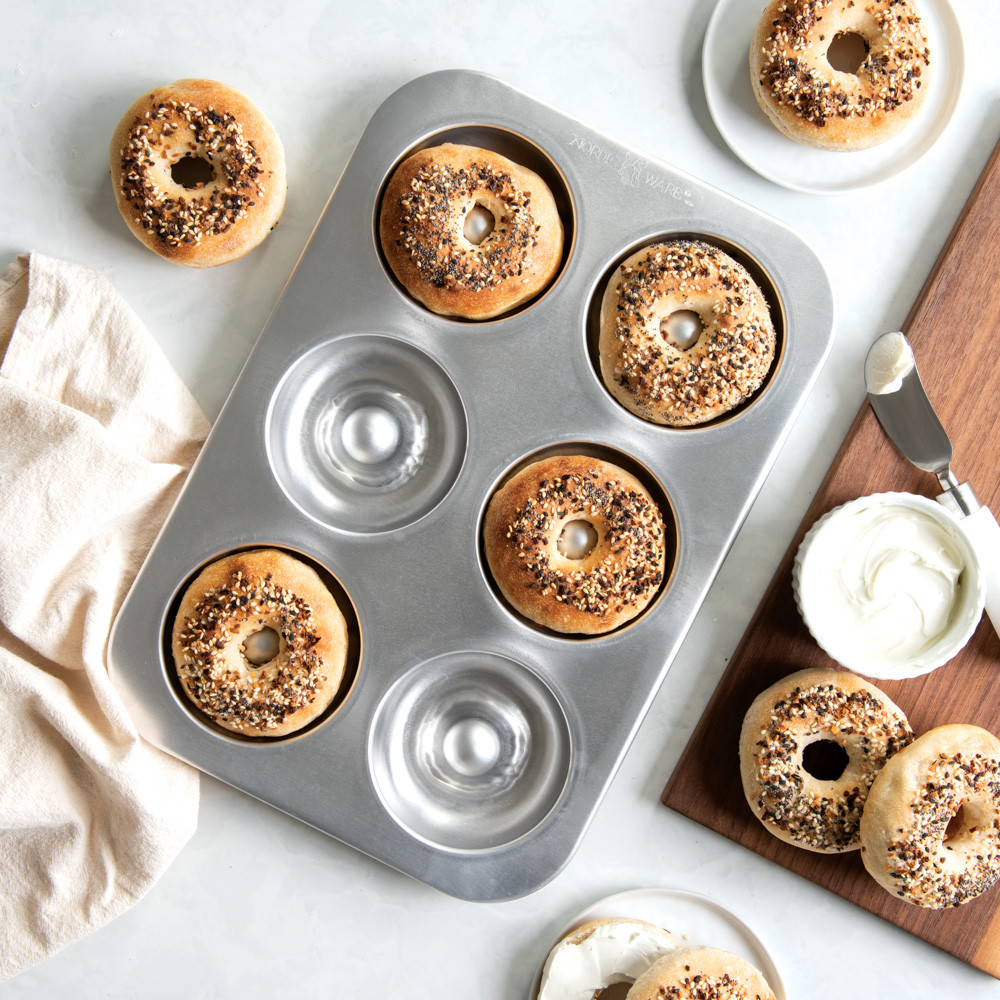
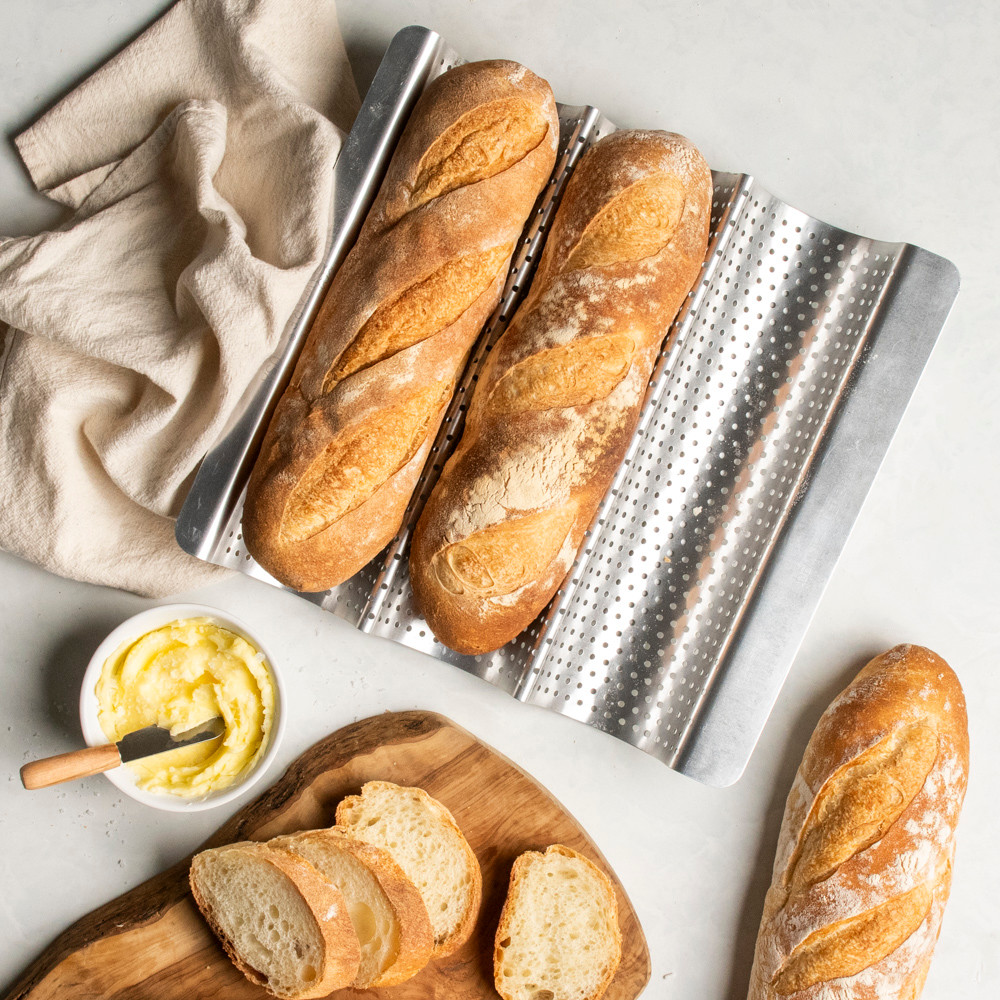
Best Sourdough Pan
Baking with aluminized steel vs cast iron

Starter 101
Easy tips to maintain a healthy starter

Sourdough for Beginners
Tips, tools and solutions for beginners

How To Proof Sourdough
Cold vs. room temp proofing explained

Bread Post-Baking Analysis
Sourdough bread crumb and bread storage tips
Shop More Bread Baking Tools
This is a product carousel. Use Next and Previous buttons to navigate, or jump to a slide with the slide dots. You can also use arrow keys to navigate when the carousel has focus.
You are not logged in.
Log in | Create Account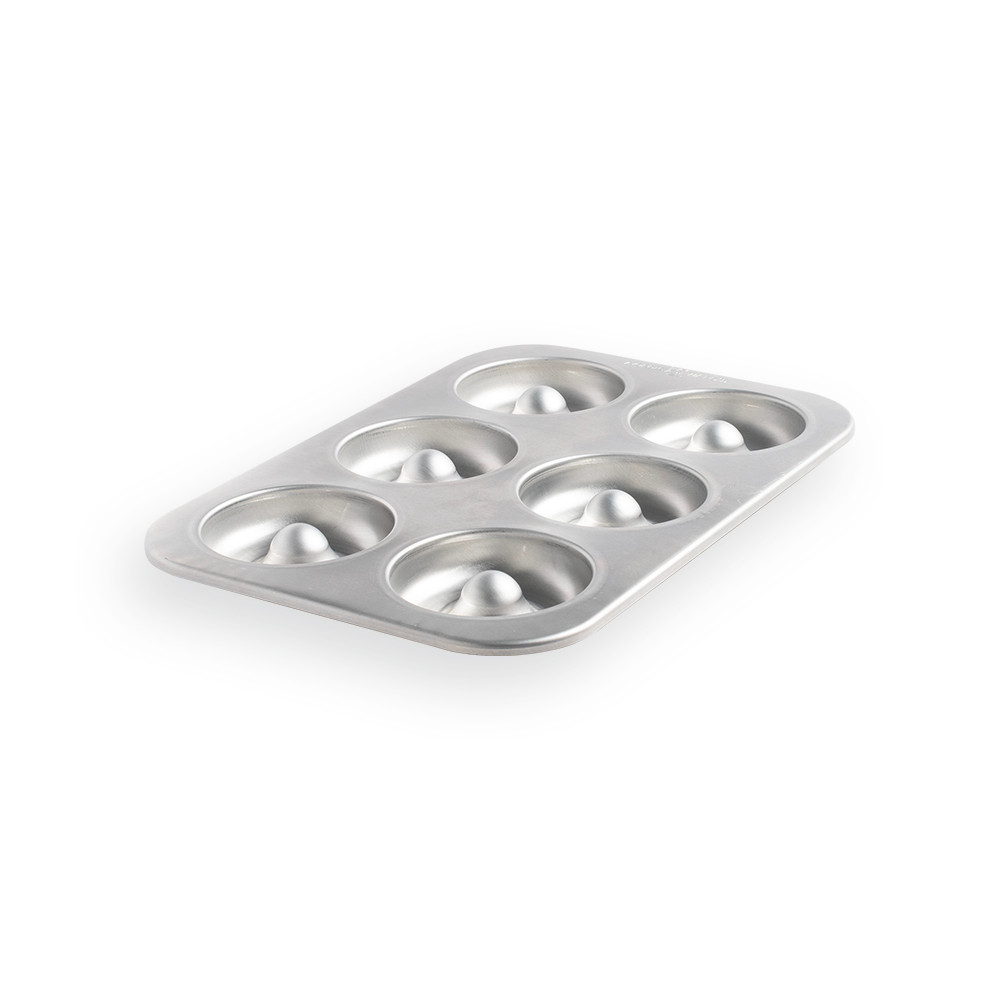

You are not logged in.
Log in | Create Account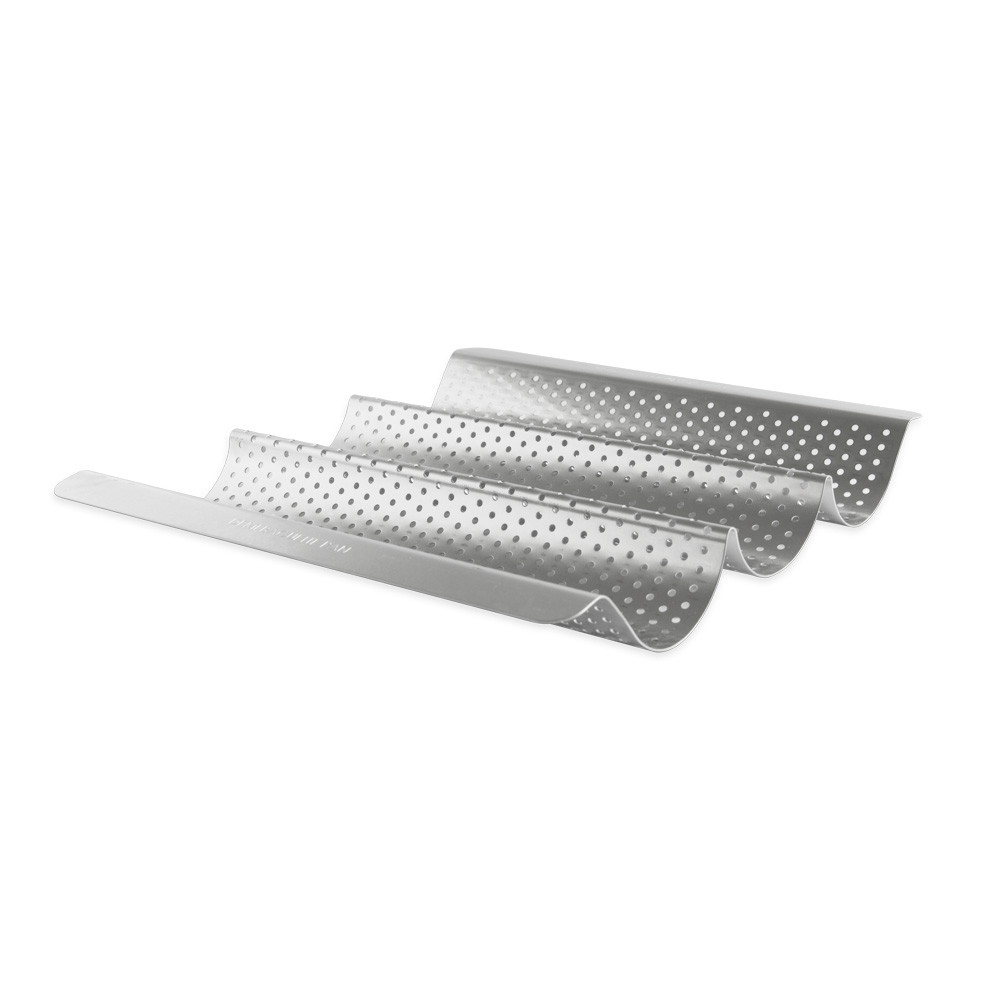


You are not logged in.
Log in | Create Account
You are not logged in.
Log in | Create Account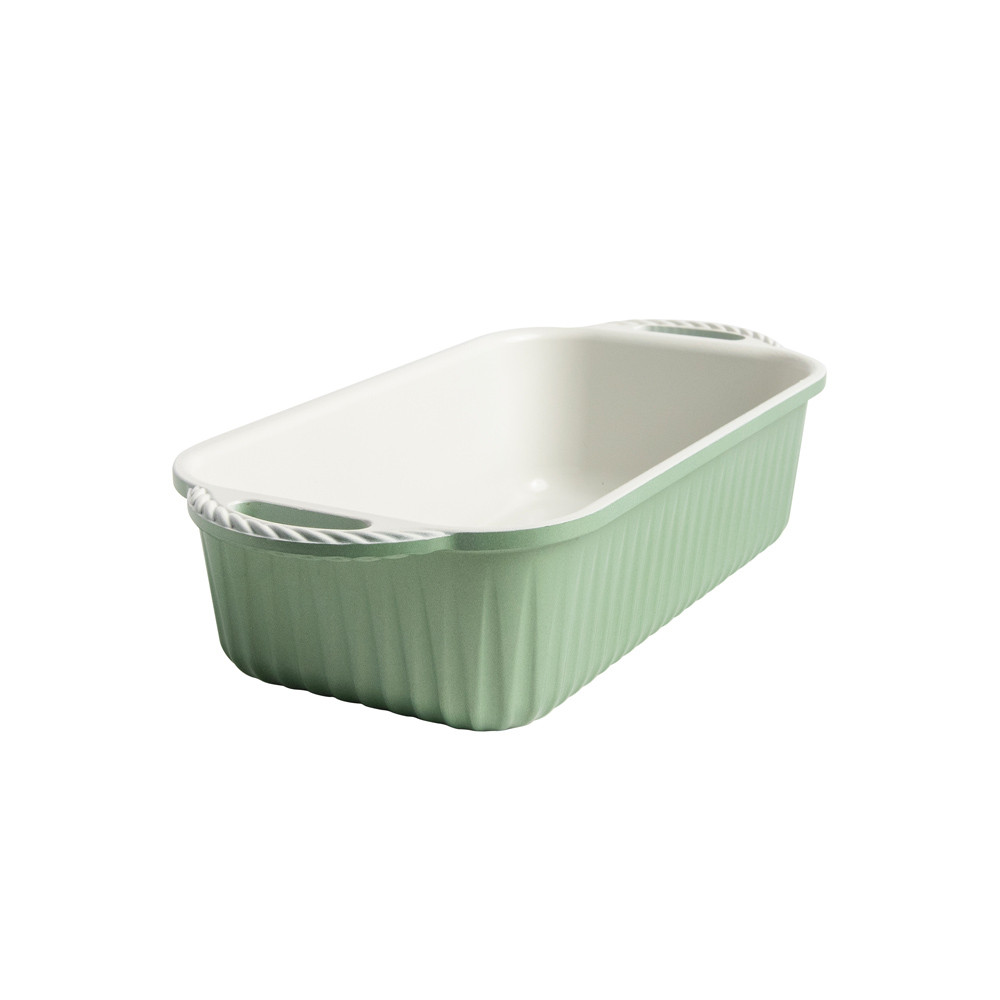
You are not logged in.
Log in | Create Account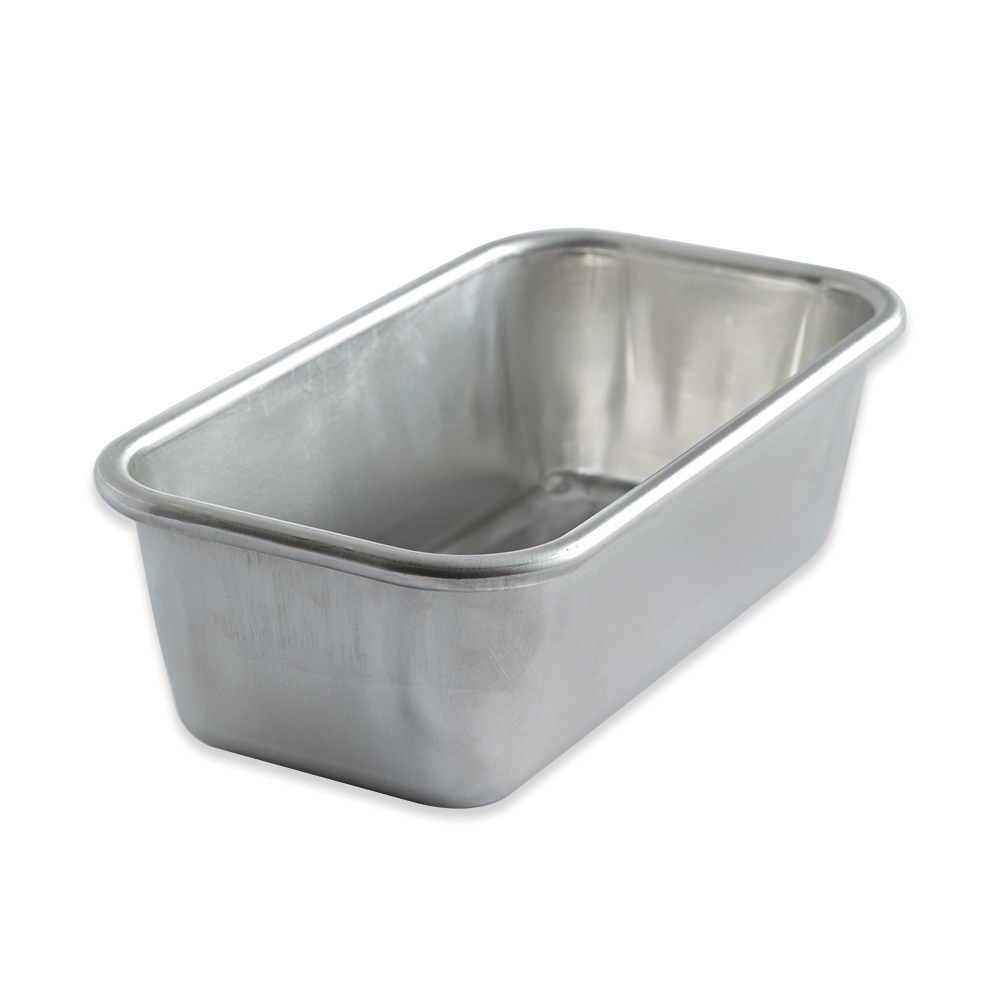
You are not logged in.
Log in | Create Account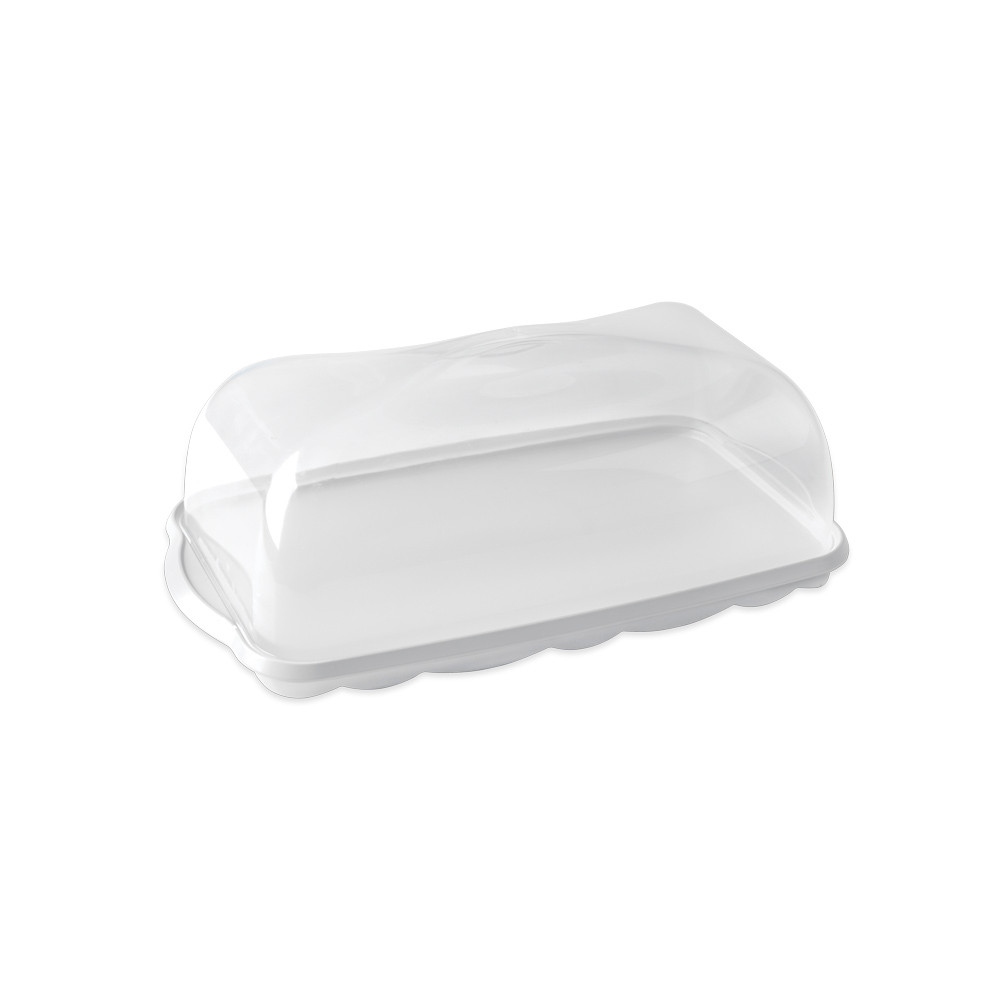
You are not logged in.
Log in | Create Account
Sourdough Discard Recipes Discard is the portion that is removed when feeding your starter. Rather than throwing away, try adding discard to these delicious recipes!

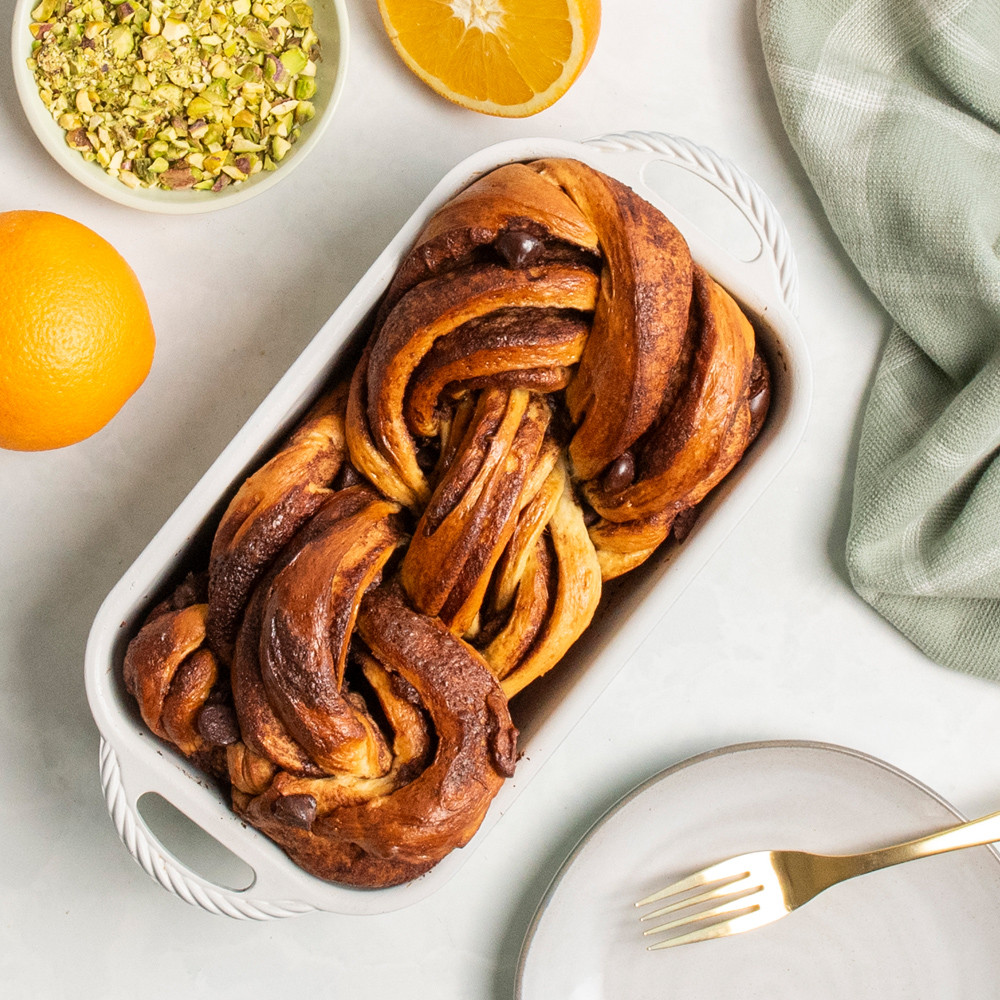
Sourdough Cinnamon Rolls Soft, pillowy, and filled with a rich cinnamon-sugar swirl, these sourdough cinnamon rolls are finished with a silky cream cheese icing that melts into every spiral. Baked easily in our Sourdough Bread Baking Pan.

Sourdough Pancakes The bright lemon flavor in this recipe pairs nicely with blueberries, raspberries or peaches plus a healthy pour of real maple syrup!

Sourdough Herb Crackers These delicious crackers are so simple to make and taste superior to any store-bought variety.

Sourdough Tortillas These tortillas are a soft, flavorful way to use up your discard and make something truly satisfying from scratch. Perfect for tacos, wraps, or even warm with butter.
FAQs- Sourdough Bread Baking Kits Our comprehensive sourdough bread starter kits include everything needed for successful home baking. Here are common questions about sourdough bread baking kit components and usage.
What’s included in the Nordic Ware Sourdough Bread Baking Kits?
Nordic Ware has two Simply Sourdough Bread Baking Kits available:
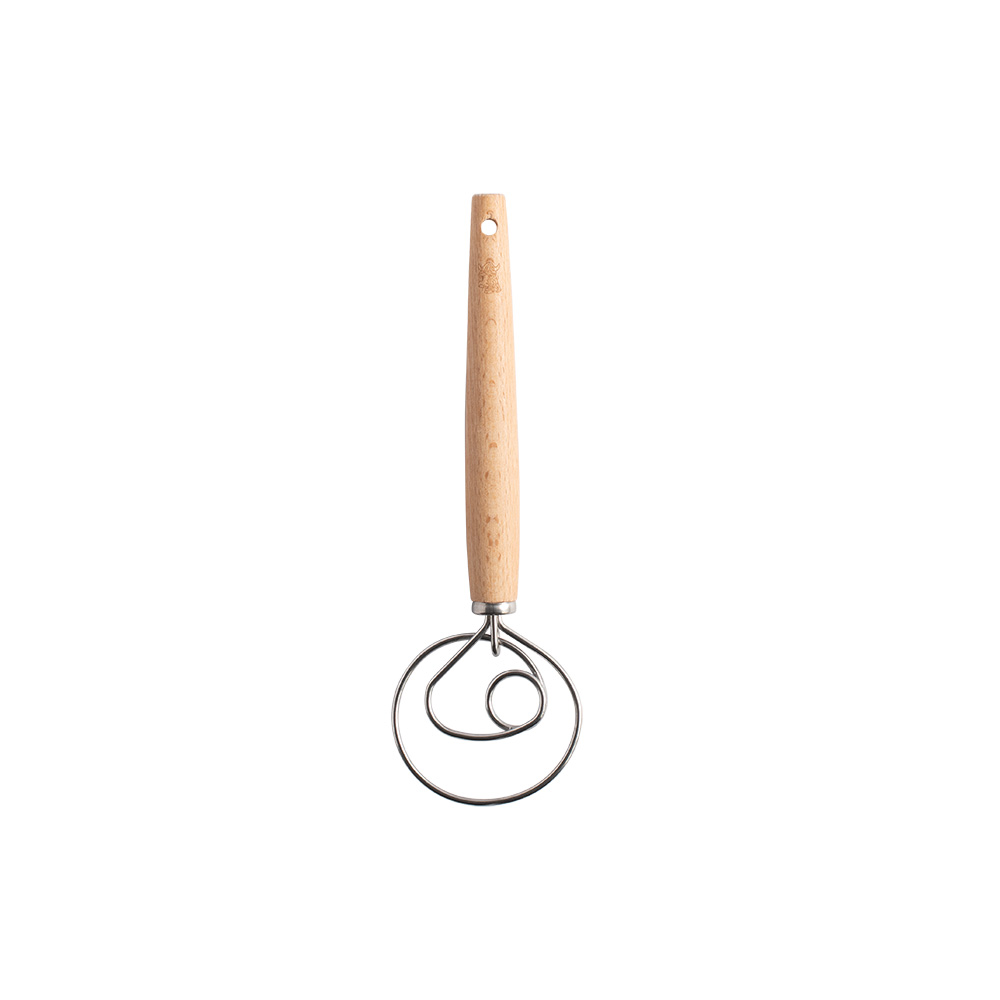
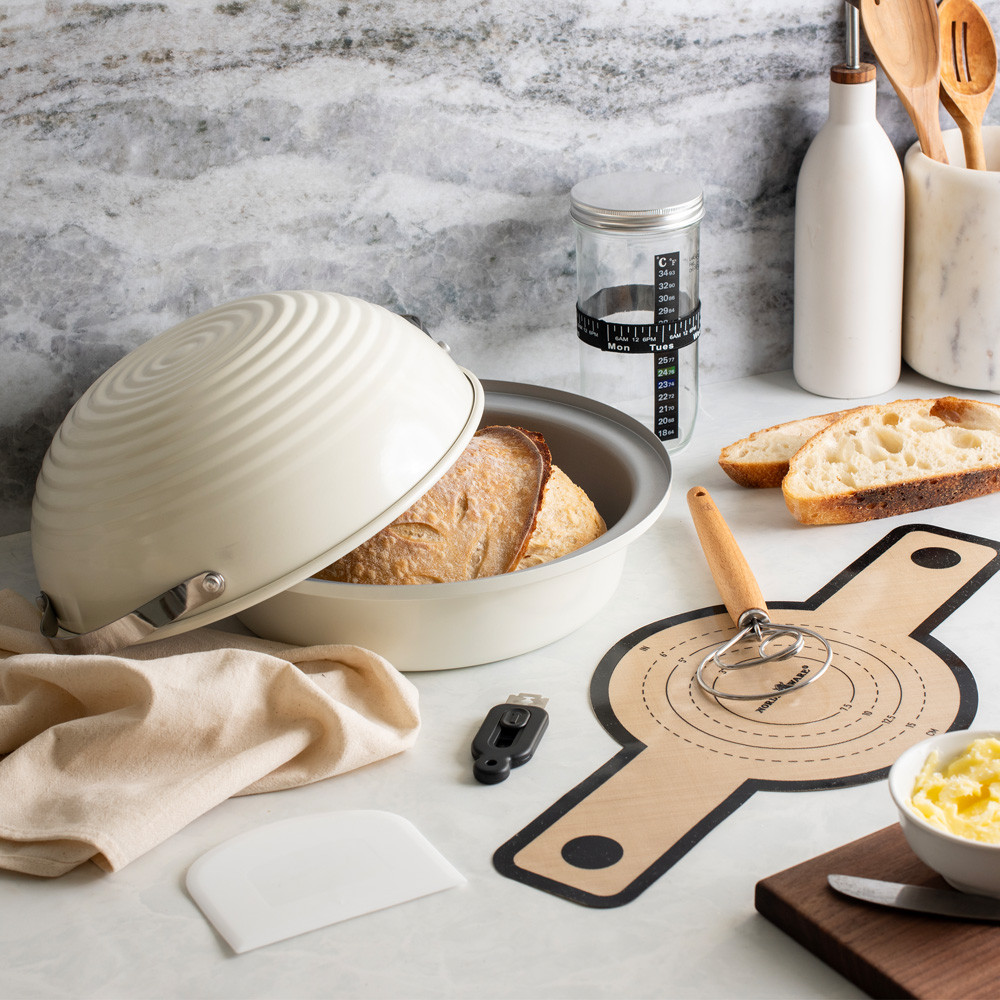
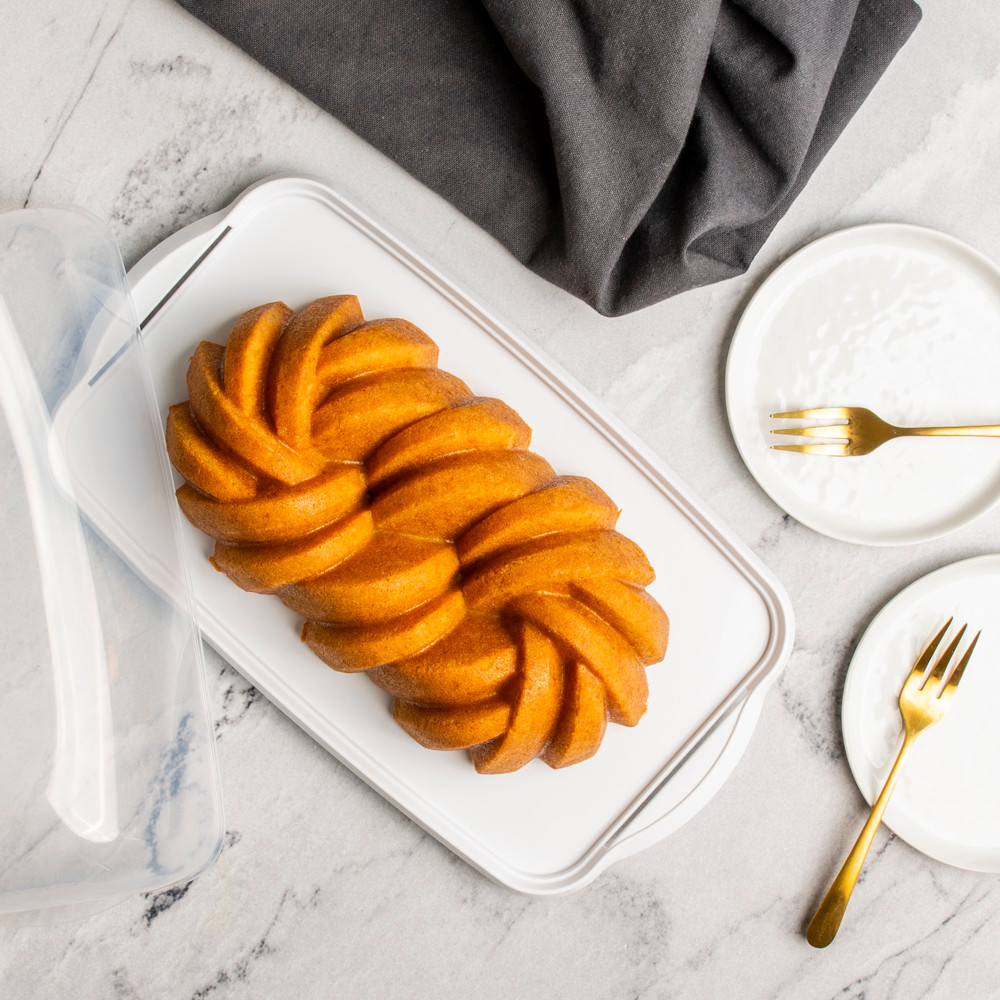
Basic Simply Sourdough Bread Baking Kit (9 pieces): Proofing and Baking Lid, Baking Pan Base, Danish Whisk, Sloth Proofing Liner, Bench Scraper, Silicone Lifting Mat, Retractable Lame, Glass Starter Jar and a Quick Start Guide and Recipes.
Deluxe Simply Sourdough Bread Baking Kit (10 pieces): Includes all the same components of the Basic Kit plus an Escali Pocket Scale.
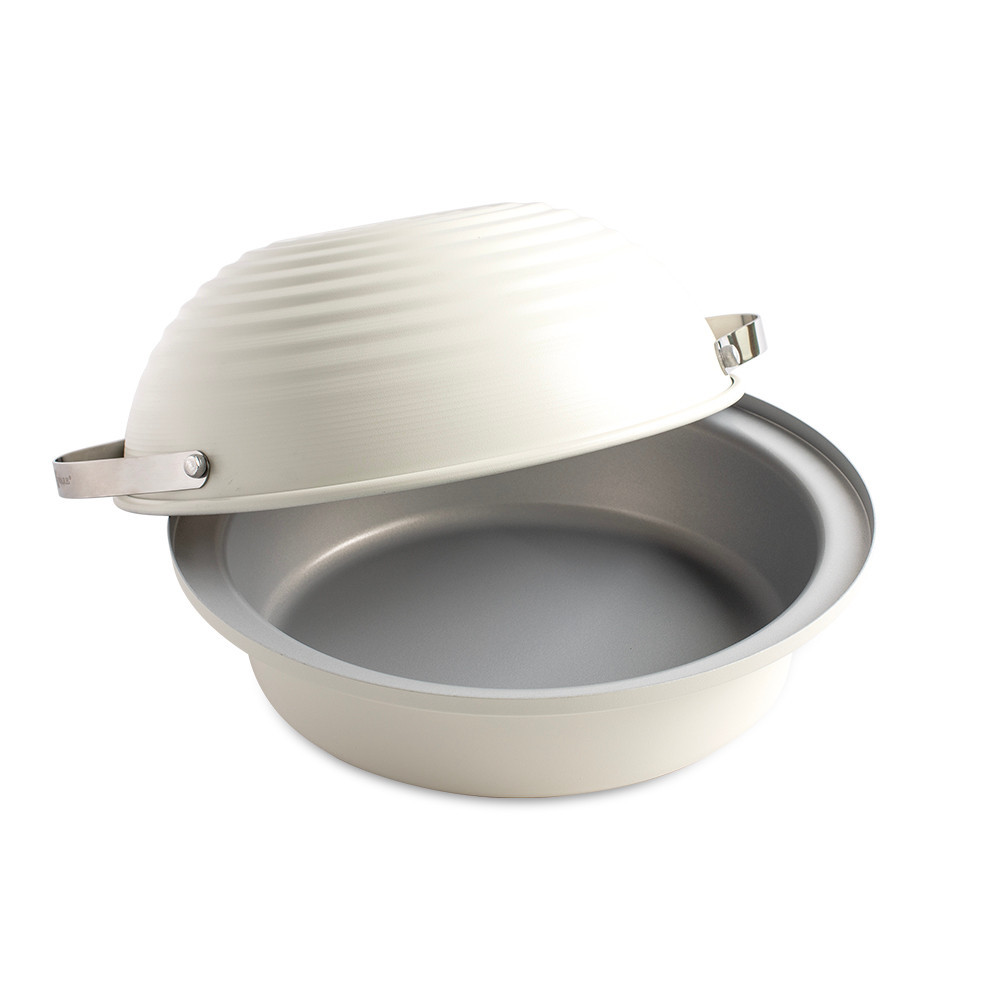
Is Nordic Ware’s Sourdough Baking Pan nonstick?
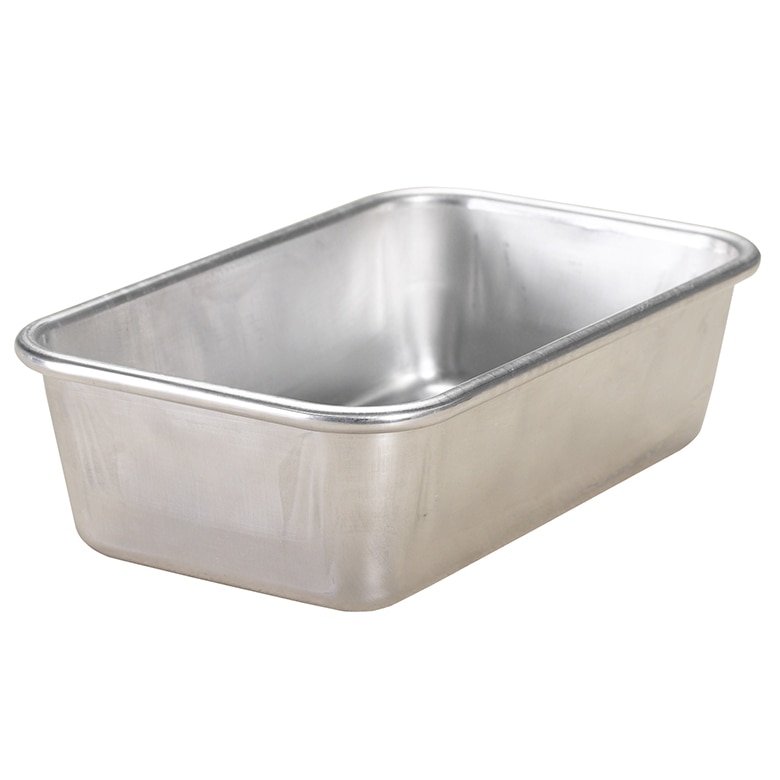
The aluminumized steel base has a nonstick coating on the interior made without PFAS.
Do I need to preheat Nordic Ware’s Sourdough Bread Baking Pan in the oven like other cast irons pans?
No preheating is necessary—the aluminum lid and aluminized steel base heat up much faster than cast iron, saving you time while baking!
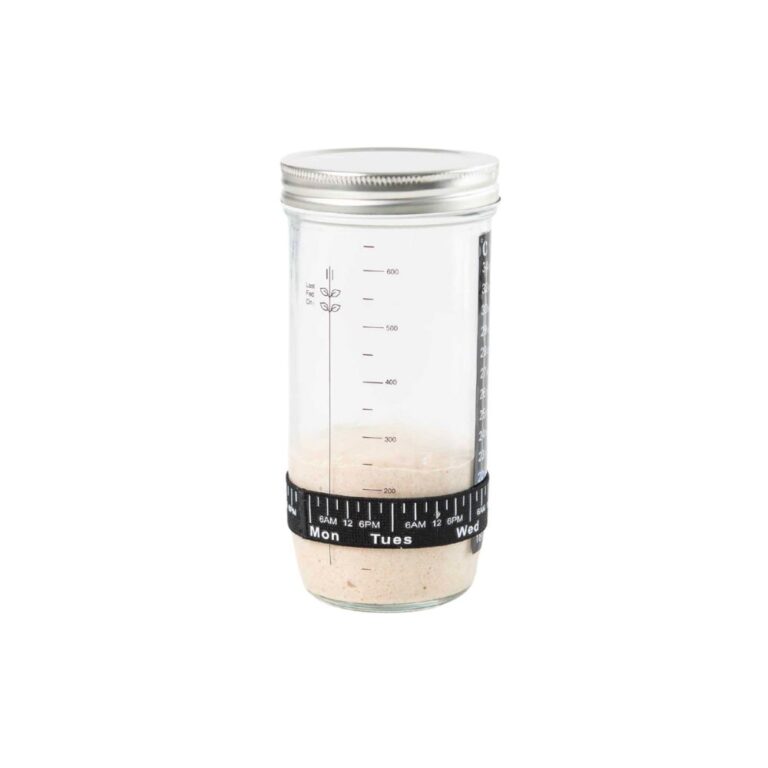
What is the glass starter jar used for?
The glass jar allows you to activate, accurately track, and consistently maintain a sourdough starter
What is a lame and how do I use the retractable lame for scoring sourdough?
A Lame (pronounced ‘Laahm’) is a specialized tool with a retractable blade for scoring the loaf before baking.
Nordic Ware’s Lame and double-edge blades are packaged separately in kits and need to be assembled before use. Caution: Blades are sharp. Please handle with care when using. Follow instructions on lame packaging for how to assemble and replace the blade.
Nordic Ware’s Lame and double-edge blades are packaged separately in kits and need to be assembled before use. Caution: Blades are sharp. Please handle with care when using. Follow instructions on lame packaging for how to assemble and replace the blade.
Does Nordic Ware’s Sourdough Bread Baking Kits come with a starter?
No, starter is not included in Nordic Ware’s Simply Sourdough Bread Baking Kits.
Kitchen tools you will need along with Nordic Ware’s Baking Kits: Silicone spatula or spoonula, mixing bowl (at least 2.5 qt size), liquid measuring cup
Ingredients you’ll need: whole wheat flour, unbleached bread flour, filtered tap water or bottled spring water, white or brown rice flour (optional), table salt or fine-grain kosher salt
Tools to make bread baking easier (optional but they ensure accuracy and elevate your baking!): Digital Baking Scale (scale included in Nordic Ware’s Deluxe Sourdough Bread Baking Kit), digital instant read thermometer, large clear walled food storage container, sharp metal serrated bread knife for slicing sourdough
Are the components in Nordic Ware’s Sourdough Bread Baking Kits dishwasher safe?
Yes, the Bench Scraper and Silicone Lifting Sling are dishwasher safe.
We recommend hand washing the aluminized steel baking pan base, proofing and baking lid, Danish whisk and lame. The starter jar should be hand washed if adhesive thermometer is used. Before washing, be sure to scrape the remaining starter into another ‘discard’ jar for later use or put in trash. Do not rinse starter down the sink.
The cloth proofing liner can be washed on a normal cycle in the laundry.
FAQs- Sourdough Bread Baking New to sourdough bread baking? Here are common questions about the sourdough bread baking process from starters to bread analysis.
Where do I get a starter? How long until it is ready?
There are a wide variety of options to obtain your starter; timing is a consideration for each.
-Ask a friend who bakes sourdough to share some with you. They’ll be thrilled you asked and happy to share!
-Purchase a starter online (King Arthur Baking, Amazon, Etsy, etc. Search ‘buy sourdough starter culture’).
-Check your local grocery store or bread bakery.
If you’re feeling ambitious and have flour and water plus a little extra time, you can make your own starter! Learn more about starters, timing and commonly asked questions here: Starter 101
How do I know when my sourdough starter is ready to bake with?
Your starter is ready when it’s doubled in volume (within 4-8 hours is ideal), shows visible air pockets (bubbles) throughout which means the yeast is active, has a tangy smell like yogurt or sour beer and passes the “float test” (a spoonful floats in water). For more questions and concerns on starters, visit our post for more information: Starter 101
Why is my sourdough loaf so flat after baking?
Here are five key factors to consider if your loaf bakes out flat:
– Weak or Inactive Starter: Your starter may not be mature or strong enough. If it doesn’t double in size and peak within 4-8 hours at room temperature, it needs to be fed regularly (we recommend a 1:2:2 feeding ratio every time your starter is just past its peak height) until it doubles within that time range before you bake with it.
– Under or Over- Fermented in the bulk fermentation stage: Whether or not your dough was bulk fermented for the appropriate amount of time, before the shaping and cold proofing steps, greatly contributes to a successful rise in your loaf. After performing all the strengthening folds, the dough needs to continue to bulk ferment. Under-fermented dough will not rise very much in the oven because it hasn’t developed enough gas. Over-fermented dough means too much gas was produced and the gluten structure broke down which causes the loaf to collapse in the oven. Check out the booklet to learn visual cues to determine if your loaf was under-fermented or over-fermented after baking or learn more here:Bread Baking Analysis
– Fermentation Temperature: If the environment that you are preparing your dough is on the colder side (below 68°F), that will slow down the total fermentation time and slow down the progress of the yeast cells from your starter. Try to keep your dough in a consistently warm spot (like inside your microwave, an oven with just the light turned on, or use a proofing box). Aim for 75-80°F during bulk fermentation. Conversely, if your dough is kept in an environment hotter than 80°F the fermentation will speed up and you will have to be careful not to over-ferment your dough before shaping.
– Incorrect Flour: If you use a low-protein flour (under 10%), it will be difficult to create a strong gluten network within the dough which contributes to good rise.
– Improper Shaping: During shaping, if you do not create enough surface tension on the dough, it will expand more outwards than upwards resulting in a flatter loaf.
What is the best flour for baking sourdough bread?
Flour with a 12-14% protein content is ideal for sourdough bread. More protein means more gluten development which is key for bread with a satisfying chewy texture and good rise. We recommend a 50/50 blend of whole wheat flour and unbleached bread flour such as King Arthur Baking Bread Flour and Whole Wheat Flour.
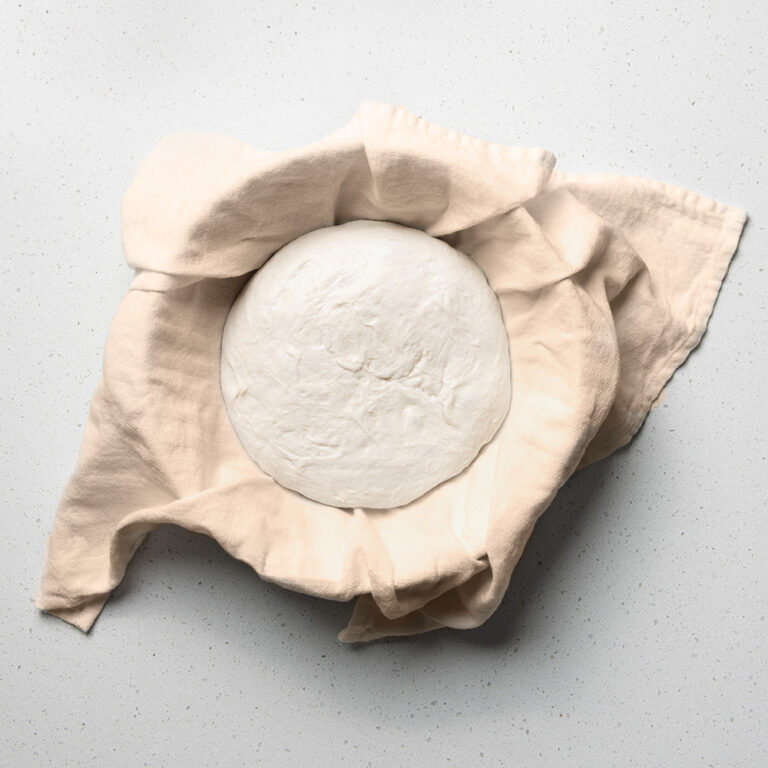
How do I know when my sourdough is done bulk fermenting and ready to be shaped?
Bulk fermentation is your initial dough rise, where the fermentation process takes place. When you notice all these visual cues, your dough is done bulk fermenting and is ready to be shaped:
– The dough has expanded inside the bowl and has nearly doubled in height.
– The top edge of the dough should form what looks like a shoulder because it is domed and is pulling away from the wall.
– Visible gas bubbles on the surface of the dough as well as air pockets seen underneath through the glass bowl.
– The dough surface will feel tacky and won’t stick to your finger when lightly touched with a dry finger.
– When lightly shaken, the dough should not be stiff but should slightly jiggle due to the amount of air inside.
How do I get a crispy crust on my sourdough bread?
A crispy crust is achieved by steam that escapes from the dough in an enclosed environment which keeps the surface soft enough for the initial expansion (oven spring) and then by finishing baking with the lid off sets the crust and turns it golden brown. Our Simply Sourdough Baking Pan provides this ideal environment and leaves enough room for the dough to expand as it bakes.
Do I have to score my loaf before baking?
Yes, you should do at least one deep expansion score before you bake. An expansion score gives the dough a way to evenly expand in the oven. It is also the deepest score that usually runs from one end of the loaf to the other (at least ¼ to ½ inch deep). Try your best to perform the expansion score in one smooth motion, holding the lame at a slight angle (30-45°F).
How can I tell if my sourdough bread is under- or over-fermented?
A dense crumb with large hollow pockets often signals under-fermented dough, which can result from using a weak starter or ending bulk fermentation too early. An over-fermented loaf will likely be flatter with little oven spring due to broken-down gluten. Observing your crumb after each bake is one of the best ways to improve your sourdough technique.
Learn more: Bread Baking Analysis
Learn more: Bread Baking Analysis
What do I do if I’ve over fermented my dough?
If your dough has over fermented to the point that it has more than doubled and is very jiggly, you can try your best to shape and bake it but it will turn out very flat. You can pivot and use this dough to make focaccia bread instead!
What’s the best way to store my sourdough bread?
Sourdough keeps for 3-5 days on the counter in a bread bag or box, cut-side down and 2-3 months in the freezer. In a freezer-safe bag, store the whole baked loaf or pre-slice the entire loaf before freezing and take slices out as needed. Slices toast up beautifully within minutes and taste like they’re fresh from the oven. You will notice that sourdough bread rarely if ever develops mold and will last much longer than store-bought bread with preservatives; this is due to the acidic nature of the fermentation process.
Learn more: Post Baking Analysis
Learn more: Post Baking Analysis
What is sourdough discard?
Sourdough discard is the portion that is removed when feeding your starter. Rather than throwing away, try adding discard to delicious recipes. Check out our sourdough discard recipes ideas