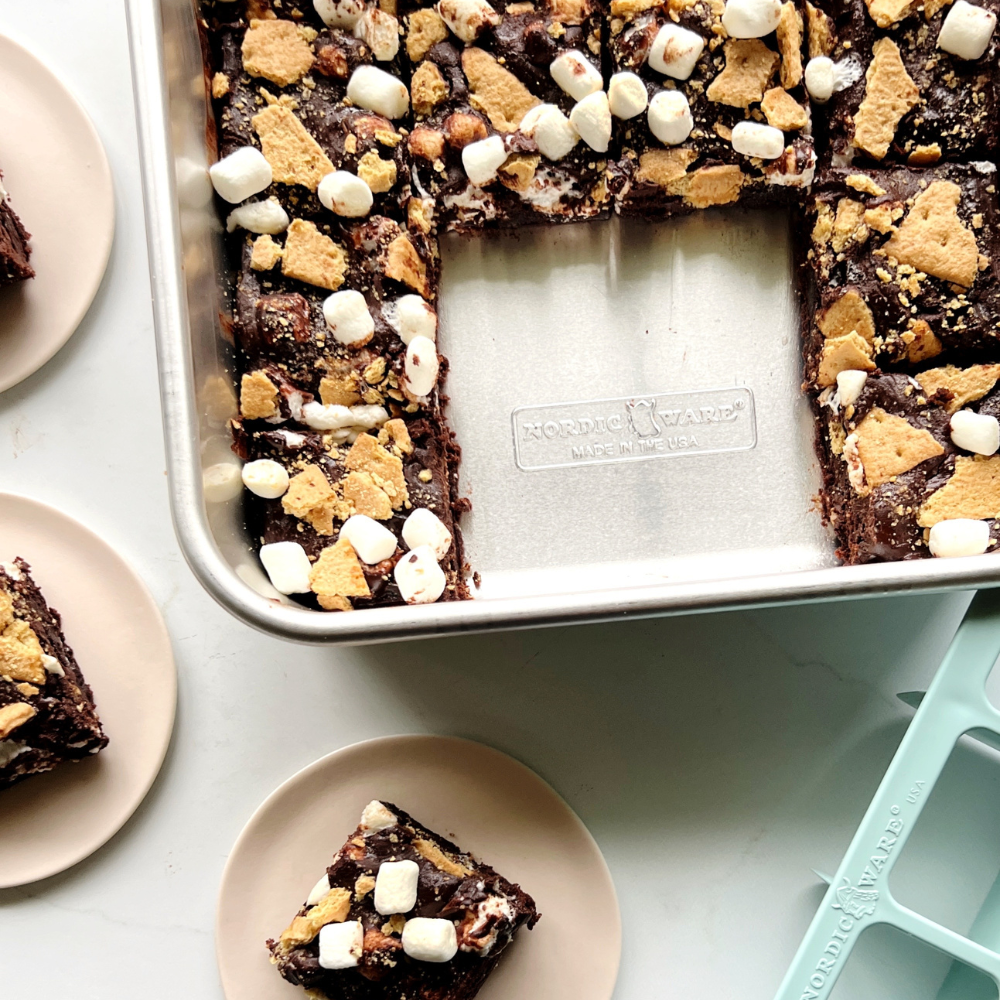
How to Make S’mores in the Oven: 5 Tips
S’mores are a rite of passage, especially in the summertime. The combination of graham crackers, toasted marshmallows, and chocolate into a gooey, sweet sandwich lives up to its name because it’s true – after having one, people want s’more!
Don’t have access to a fire pit or a grill? With Nordic Ware’s quality goods in mind, you’ll be able to enjoy this sweet treat all year ‘round, right from the comfort of your own kitchen. Enter the oven, your new best friend for s’mores magic. It’s like bringing a mini campfire right into your kitchen, minus the mosquitoes and smoke in your eyes.
Table of Contents:
- Skip the fire pit: why make s’mores in the oven instead?
- Common mistakes that ruin oven s’mores
- How to make perfect s’mores in the oven: 5 tips
- Why your pan makes a bigger difference than you think
- Nordic Ware pans that make oven s’mores better
- Easy Oven-Baked S’mores Recipe
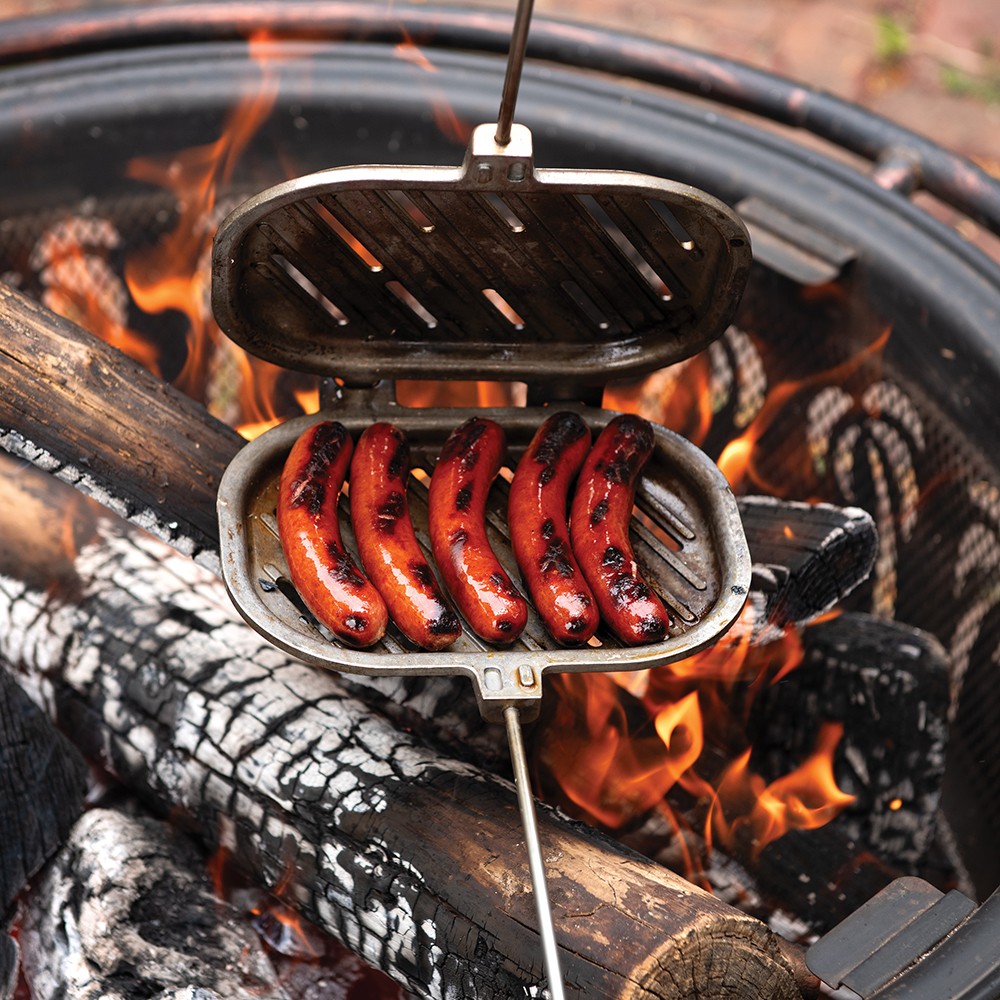
Skip the Fire Pit: Why Make S’mores in the Oven Instead?
Like any good treat, a s’mores craving can hit at any time! But, there are plenty of reasons one may not be able to get to an outdoor source to make them the classic way we all know and love. It may be raining, snowing or just plain cold outside; during dry seasons or droughts, open flames are prohibited to prevent wildfires; or you could live in an urban area with no access to a grill or small fire pit. Never fear, with a Nordic Ware sheet pan and good ingredients, you’ll be able to make the s’mores of your dreams even inside.
Common Mistakes that Ruin Oven S’mores
Making s’mores in the oven sounds simple, right? Graham crackers, chocolate, marshmallows… how hard could it be? Well, believe it or not, even this cozy classic can go sideways fast. One minute you’re dreaming of gooey goodness, and the next, you’ve got a tray of charred sugar, clumpy chocolate, and sad, soggy crackers.
Before you let your sweet treat turn into a sticky disaster, here are the most common mistakes that totally ruin oven s’mores — and how to avoid them.
Burnt or uneven marshmallows
The most critical part of the s’more is the marshmallow. It needs to be perfectly melty in order to make the sandwich (chef’s kiss) and, unlike on a fire, it’s harder to monitor this ingredient in the oven. It’s also harder to tell if a ‘mallow is being heated the same. The last thing one wants is a drippy, gooey mess on one side and a still-cold marshmallow on the other.
Chocolate that won’t melt properly
Chocolate can definitely ruin this sweet treat if you’re not careful! Sometimes it won’t melt at all, or it melts too much and becomes grainy or chalky. Using room temperature chocolate to start with and making sure it doesn’t get too hot, too quickly are ways to avoid this from happening. Also, being careful about the chocolate chosen can also help create the perfect texture; choose your favorite chocolate bar (we love a classic hershey’s for s’mores) or mix it up with a peanut butter cup or chocolate candy bar. Or, use a ganache or spread, like Nutella, instead.
Soggy or over-crispy graham crackers
Soggy graham crackers in oven s’mores? This happens when the marshmallow or chocolate releases steam while heating, and that moisture gets trapped between the layers, softening the crackers. The result? A once-snappy cracker that turns sad. To keep things crunchy, assemble s’mores after toasting, or toast only the bottom half and add the top at the very end.
Slipping and sliding s’mores
Low-quality bakeware can turn your sweet treat into a sticky nightmare — especially when marshmallows and melted chocolate slide off of the graham cracker and right onto the surface. Thin, poorly coated pans often warp or heat unevenly in the oven causing that gooey marshmallow sugar and melty chocolate to slip onto the baking sheet and cause a sticky mess. Investing in good-quality bakeware with an encapsulated steel rim means your pan will stay flat, cook evenly, and prevent your s’mores from falling apart before you take them out of the oven.
How to Make Perfect S’mores in the Oven: 5 Tips
Even though there are a few pitfalls when it comes to making s’mores in the oven, don’t let that discourage you. Making perfect s’mores in the oven is easier than you think — and with a few simple tips, you can get that golden toasted marshmallow and smooth chocolate magic every single time.
Use the broil setting and place on rack in the top-third of the oven
While you’ll want to use the bake setting for just a few minutes while the chocolate melts and the marshmallow begins to warm, you’ll want to finish with it on broil. Why? Because it will give it that perfect campfire char you crave! Broiling exposes your marshmallows to high heat from above, which toasts them quickly and gives that classic golden-brown, slightly crispy outside with a gooey inside. Additionally, broiling cooks fast, so you can watch and pull your s’mores exactly when they reach that perfect toasty stage.
Build the bottom half of the s’more first
This is absolutely key to making a perfectly toasty s’more! Top each cracker with chocolate, then place a marshmallow flat-side-down on top. This helps prevent rolling, especially important if your oven uses convection as circulating air can cause the marshmallow to shift. This method is also perfect for ensuring even marshmallow spread across the smore when the other graham cracker is added.
Know your oven’s hot spots
Knowing your oven’s hot spots means no more half-burnt, half-undercooked marshmallows — just perfectly toasted treats every time. By knowing where your oven’s hotspots are, you can position your baking sheet to get even, golden-brown marshmallows across the tray, and it can prevent burning. This sounds like a win-win.
Don’t walk away from the oven
While you may be tempted to grab something or perhaps there was a distraction in the kitchen, taking your eye off your s’mores may be the biggest mistake you could make. Marshmallows tend to burn quickly, so just a few seconds could make a big difference.
Use versatile, high-quality baking pans.
When it comes to making s’mores in the oven, using versatile pans is basically like having a superhero sidekick in the kitchen. These pans spread heat evenly, so your marshmallows get perfectly golden without turning into a burnt marshmallow crater. You don’t need a special pan just for s’mores, so your kitchen stays clutter-free and you save some cash for more marshmallows.
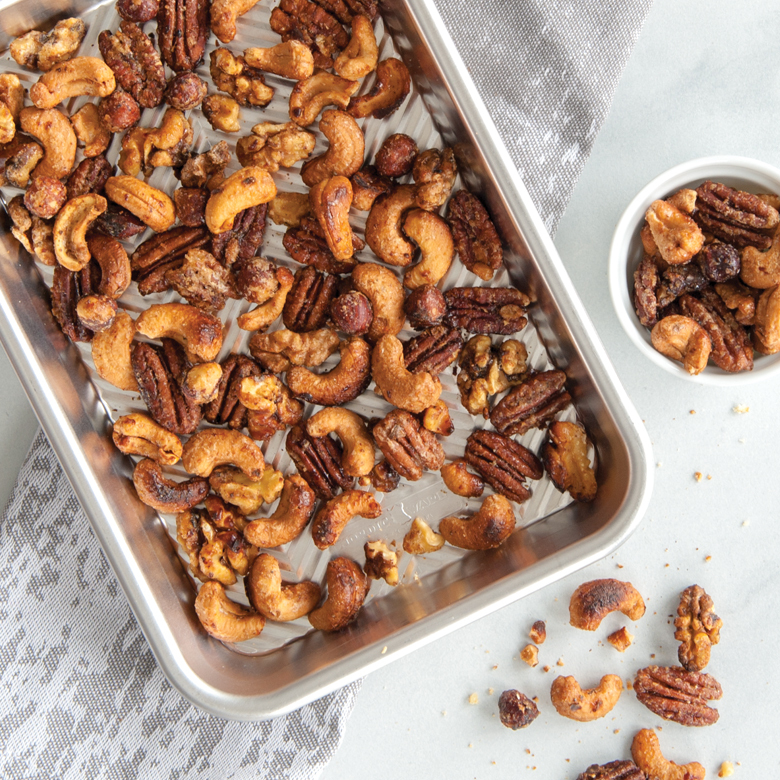
And, there are so many different ways to utilize this essential kitchen tool—from sheet pan dinners and baked goods to food prep! A high-quality pan you can rely on makes all the difference in how your recipes turn out and how often you reach for it in your kitchen routine.
Why your Pan Makes a Bigger Difference than you Think
Think s’mores are foolproof? Not if your bakeware betrays you! Cheap pans can warp under heat, toast marshmallows unevenly, and leave you scraping melted goo off your pan. Quality bakeware, on the other hand, brings the heat evenly, keeps your s’mores stable, and makes cleanup a breeze. High-quality, uncoated, pure aluminum pans create a sturdy surface that prevents surprise marshmallow flare-ups under the broiler. Basically? Good bakeware = better s’mores.
Broiler heat can warp low-quality bakeware
Cheap or thin baking sheets can warp under the broiler or high heat, causing marshmallows to slide or s’mores to tip. Quality pans stay flat and stable, creating safer, prettier results. Even better, investing in quality bakeware means no rusting, warping, or scratching — it’ll last for years and many, many batches of oven s’mores.
Uneven heat = uneven results
Good bakeware heats evenly, so your marshmallows toast at the same rate — no random hot spots burning one and undercooking another. This helps to avoid surprises like half-charred, half-raw marshmallows or chocolate that gets burned and begins to separate.
Messy residue sticks to cheap surfaces
Could there be anything worse than looking forward to a delicious, hot s’more right out of the oven only to find it a melted mess baked on to the pan? Not only is your snack not happening, but cleaning your pan is going to be hard work. Purchasing high-quality pans will not only stop this from happening, but if it does happen —because we all get distracted — cleaning up will still be easier.
Nordic Ware Pans that Make Oven S’mores Better
While we don’t doubt your ability to make the perfect s’more in the oven, Nordic Ware also wants to make it easier for you to enjoy the entire process. That’s why we suggest some of our top-selling and high-performance products for kitchen tasks such as these. They’ll help keep the drama to a minimum and the flavor to the max. Say hello to your new kitchen MVP: Our performance baking sheets. Made from uncoated aluminum for that golden, even browning every time.
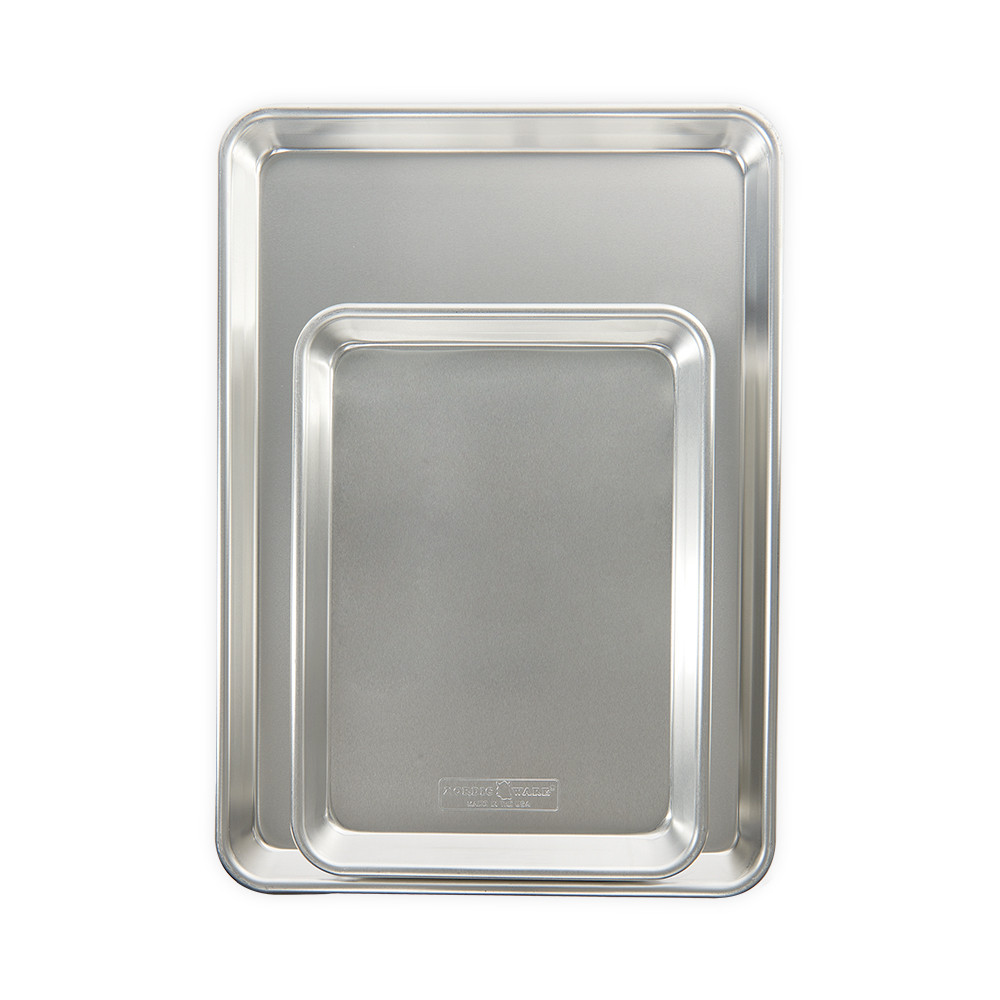
Naturals® Baker’s Half Sheet Pan
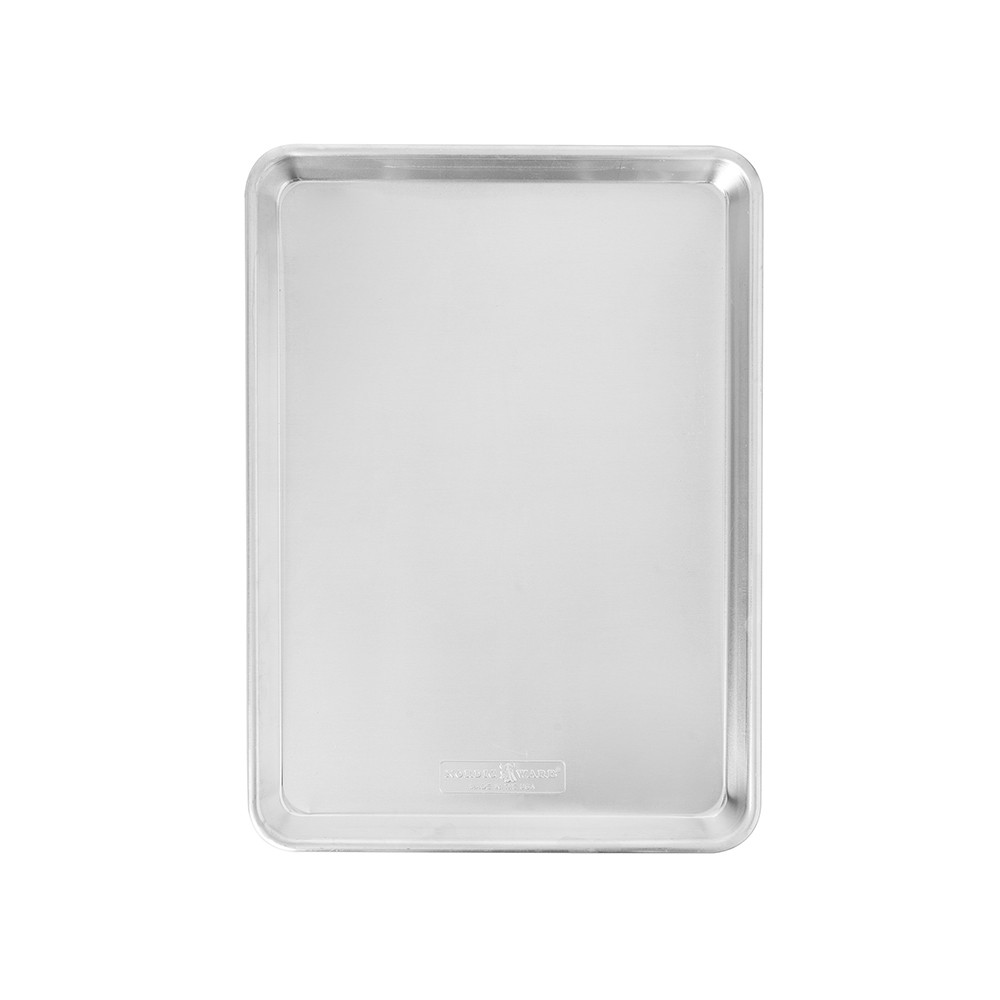
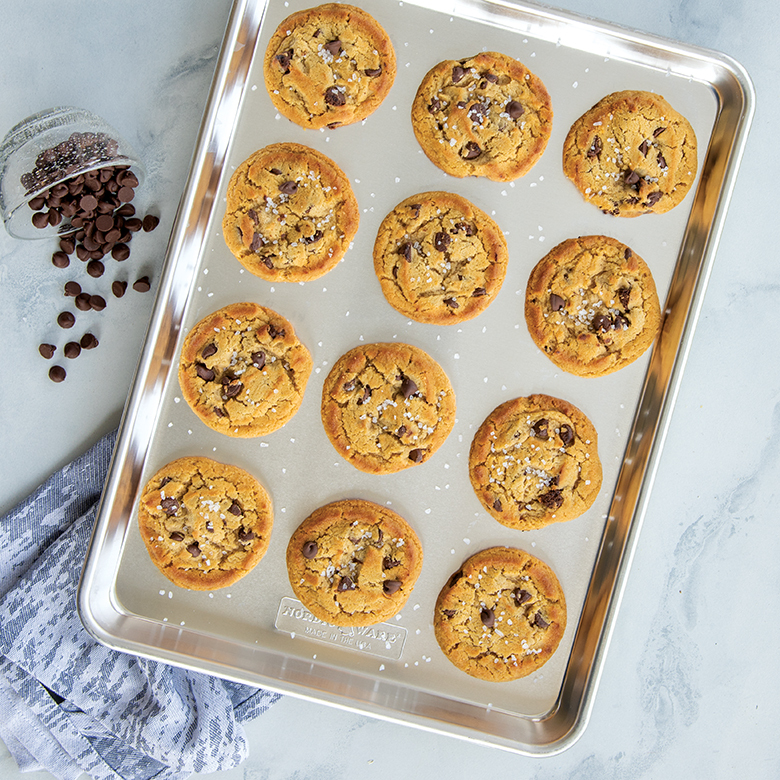
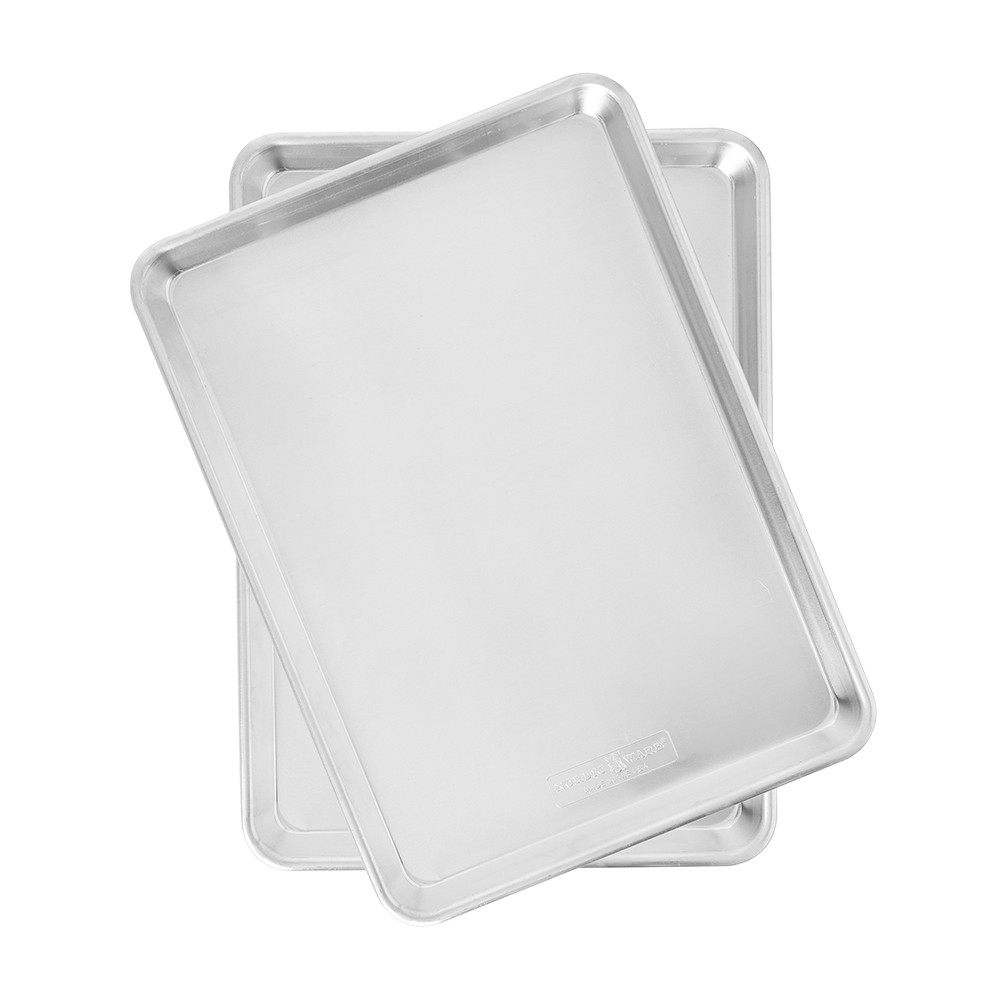
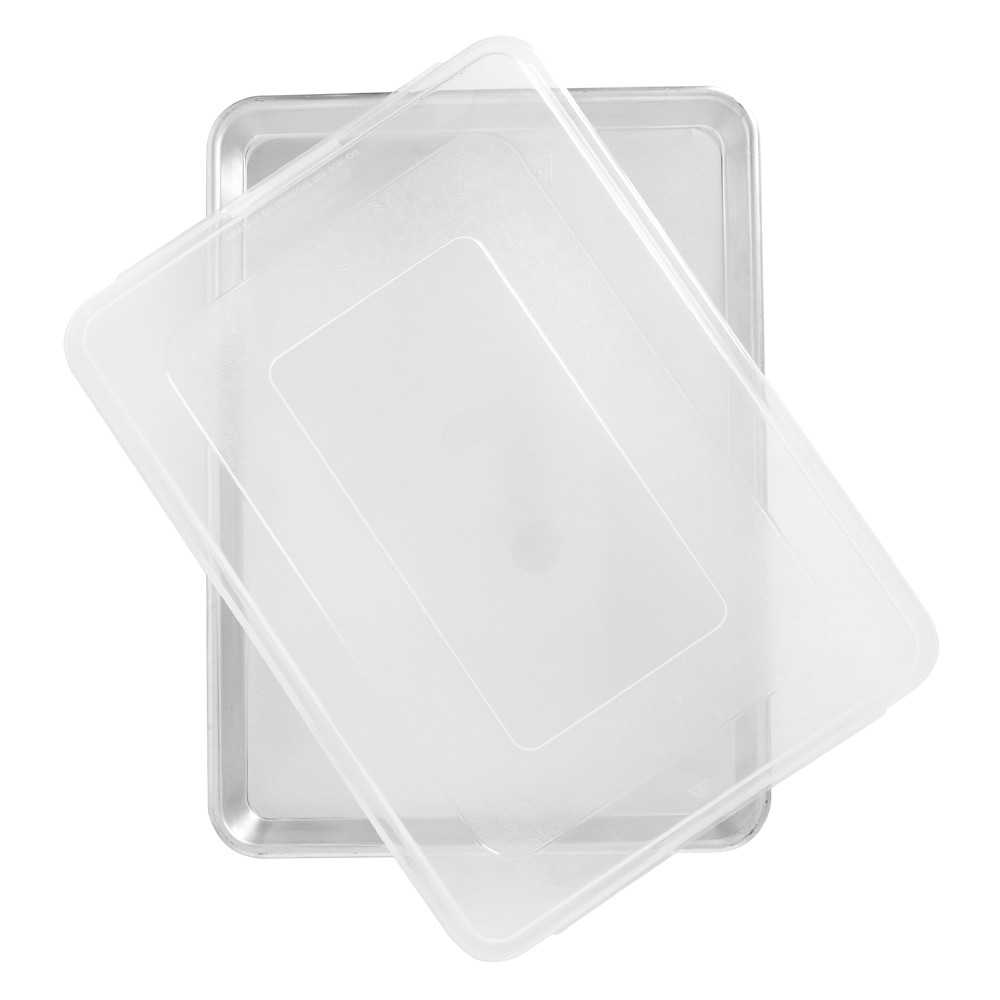
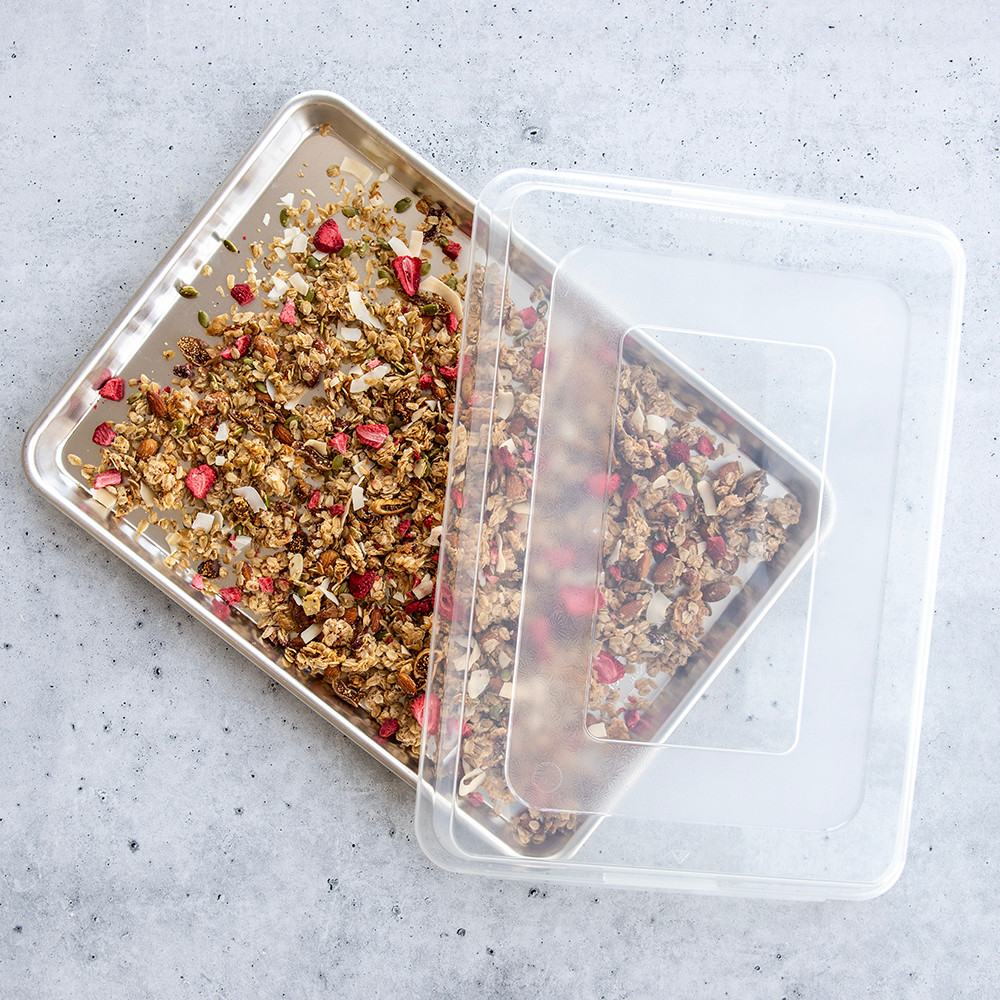
Meet the baking sheet that does it all—except preheat the oven for you (we’re working on that). Our top-rated Naturals® Bakeware collection is made from pure aluminum, which means it heats evenly and gives you perfectly golden results every time. Whether you’re roasting veggies, prepping dinner, or crafting a glorious tray of gooey, oven-baked s’mores (yes, it handles marshmallow mayhem like a pro), this pan has your back.
Naturals® Eighth Sheet Pan
You are not logged in.
Log in | Create Account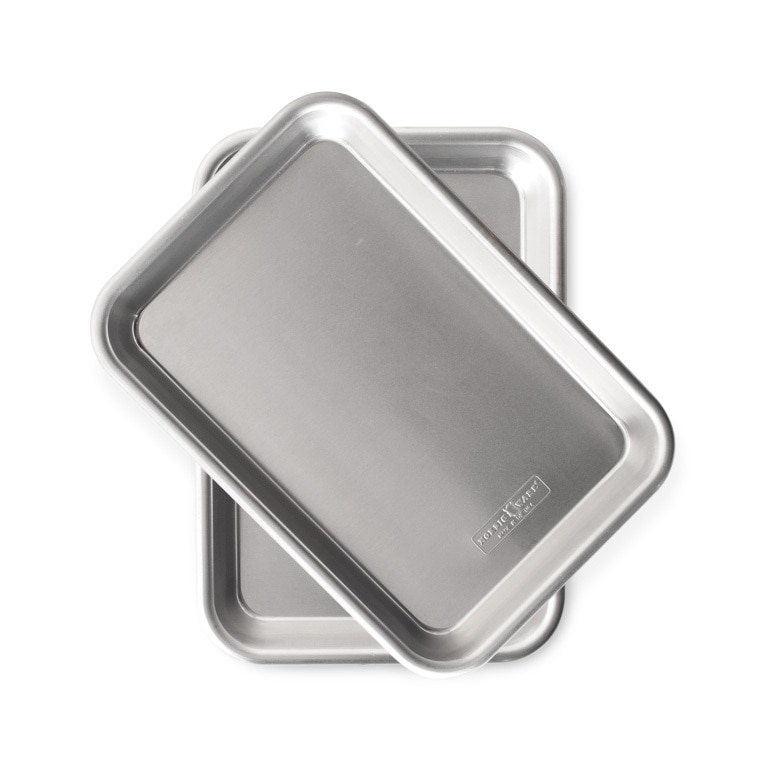

You are not logged in.
Log in | Create Account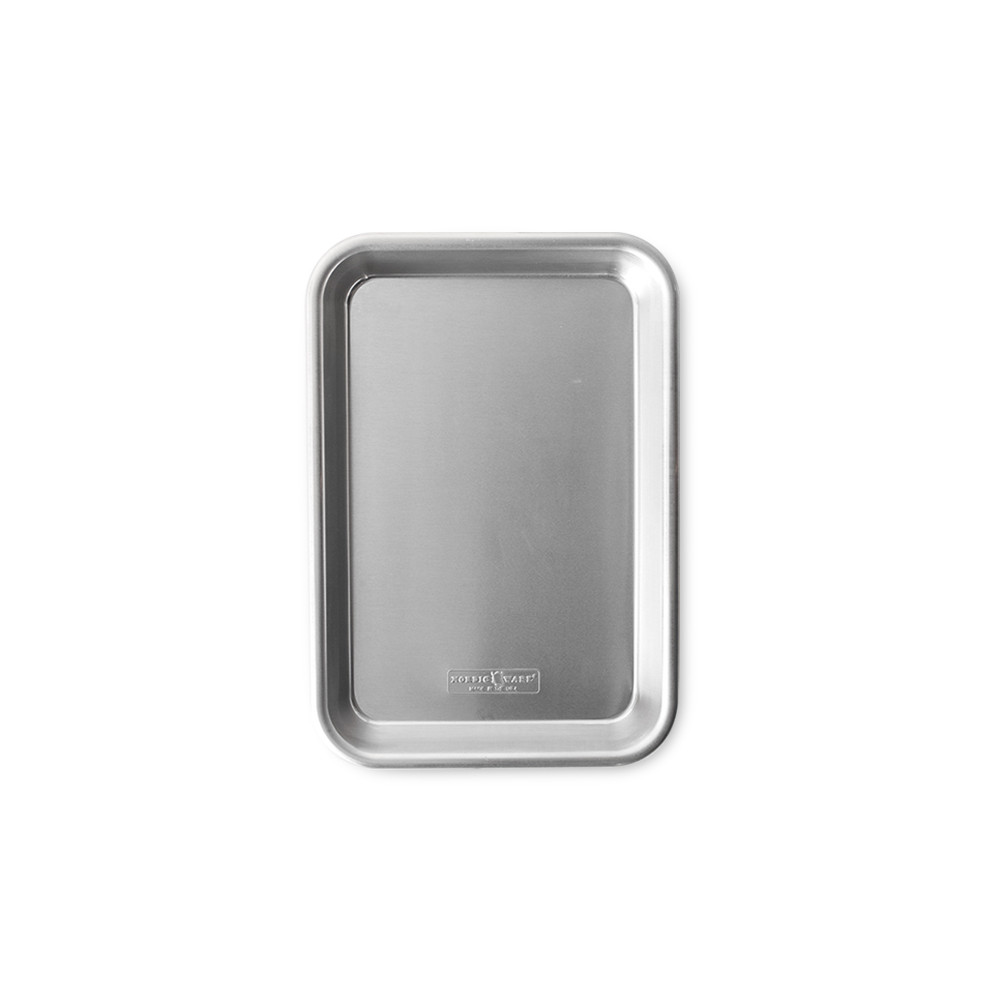
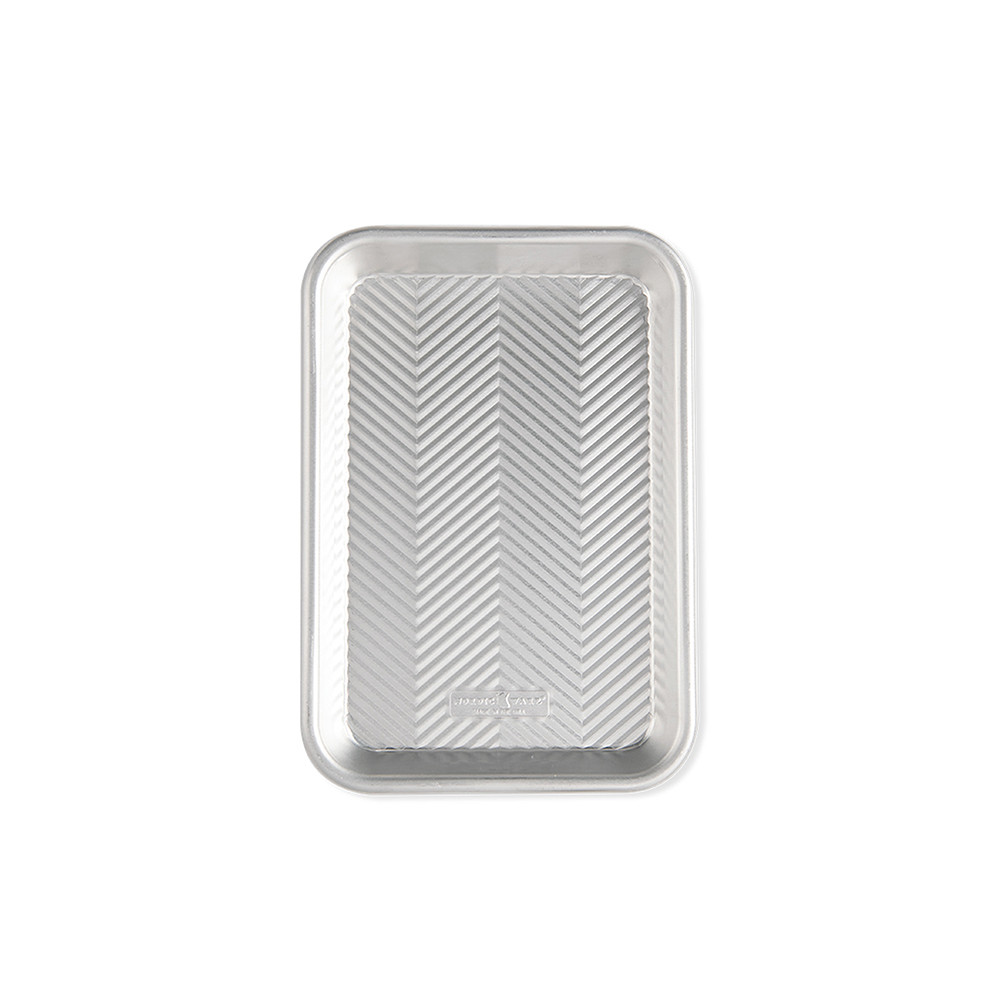
Let’s be honest—sometimes you want a gooey, chocolatey s’more without building a fire or committing to a full sheet pan’s worth of marshmallow madness. Enter the Naturals® Eighth Sheet: the tiny-but-mighty hero of your kitchen. Made from natural aluminum, this compact cutie makes oven or toaster oven s’mores a breeze! Its small size fits perfectly in countertop ovens and toaster ovens, making it ideal for late-night cravings for 1-2 people.
Make the Perfect Oven S’more with Nordic Ware Baking Pans
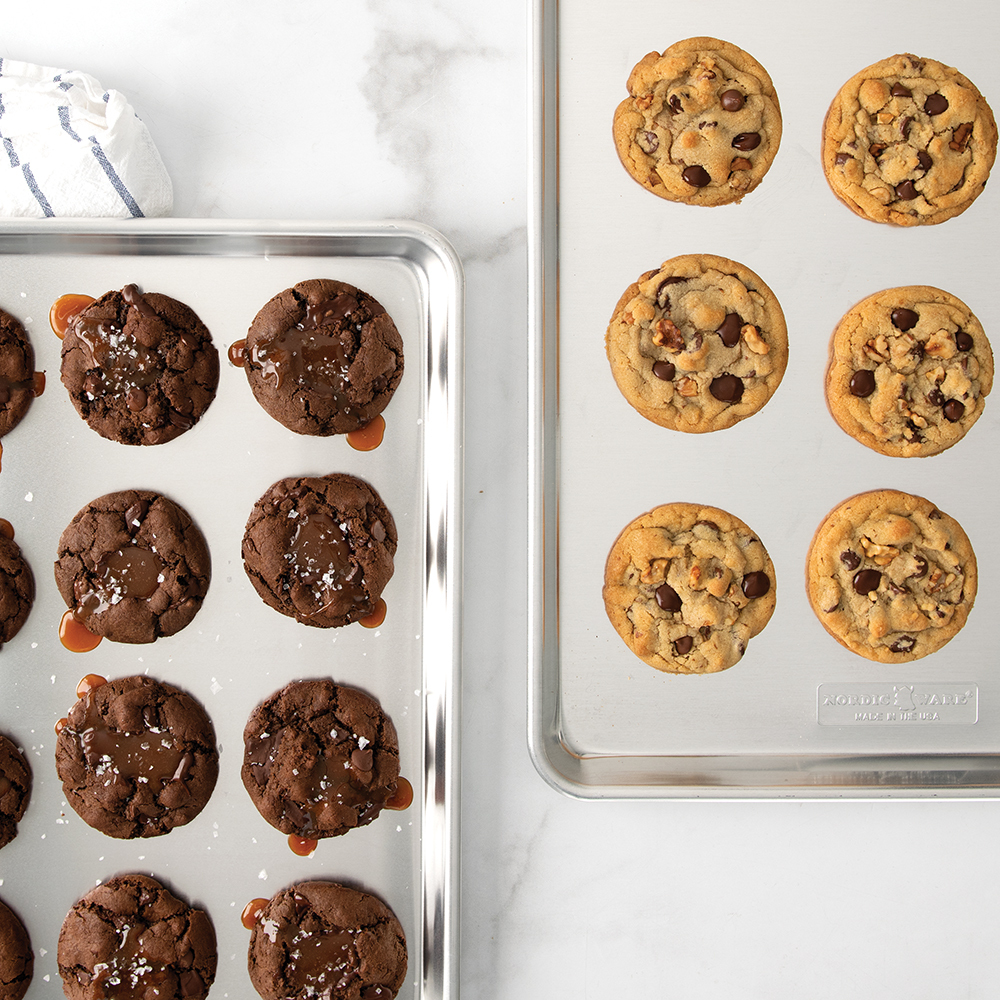
When it comes to oven s’mores, Nordic Ware doesn’t just handle the job—it absolutely owns it. With superior heat conductivity, no-fuss cleanup, and warp-proof durability, these pans take the mess and guesswork out of indoor s’more-making. Your marshmallows toast to golden perfection, your chocolate melts like a dream, and nothing sticks around to haunt your next batch of cookies. It’s the kind of performance that turns a craving into a tradition. So skip the campfire chaos and choose the pan that brings the magic home—Nordic Ware is the only wingman your s’mores will ever need.
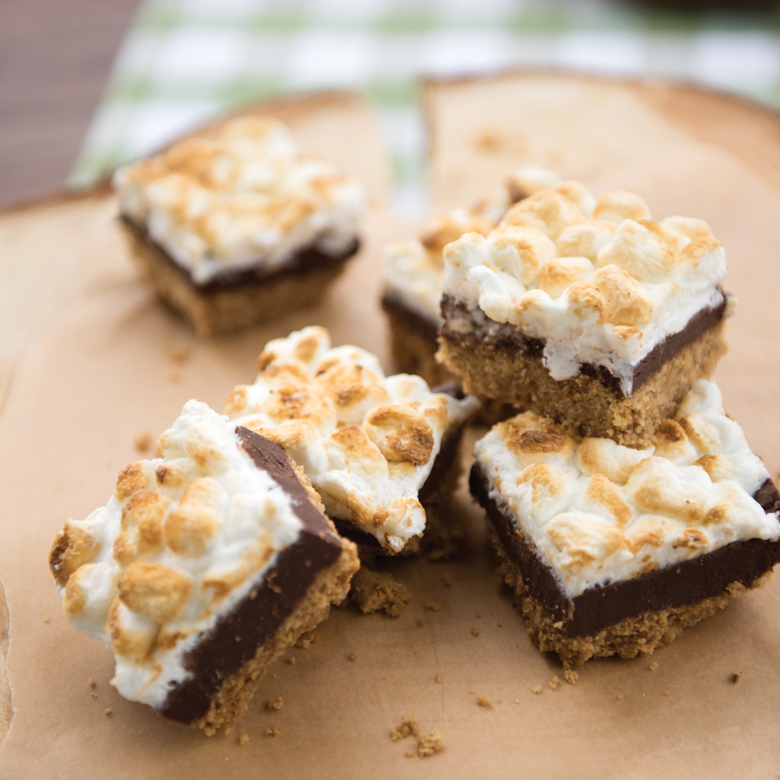
Easy Oven Baked S’mores Recipe
What You’ll Need:
- 24 graham cracker halves (divided)
- Chocolate bar of your choice (classic Hershey’s, peanut butter cups, or dark chocolate bars)
- 12 large marshmallows
Directions:
Preheat your oven to 425°F. Position one rack in the middle of the oven and the other in the upper third. If your oven has only one rack, begin in the middle.
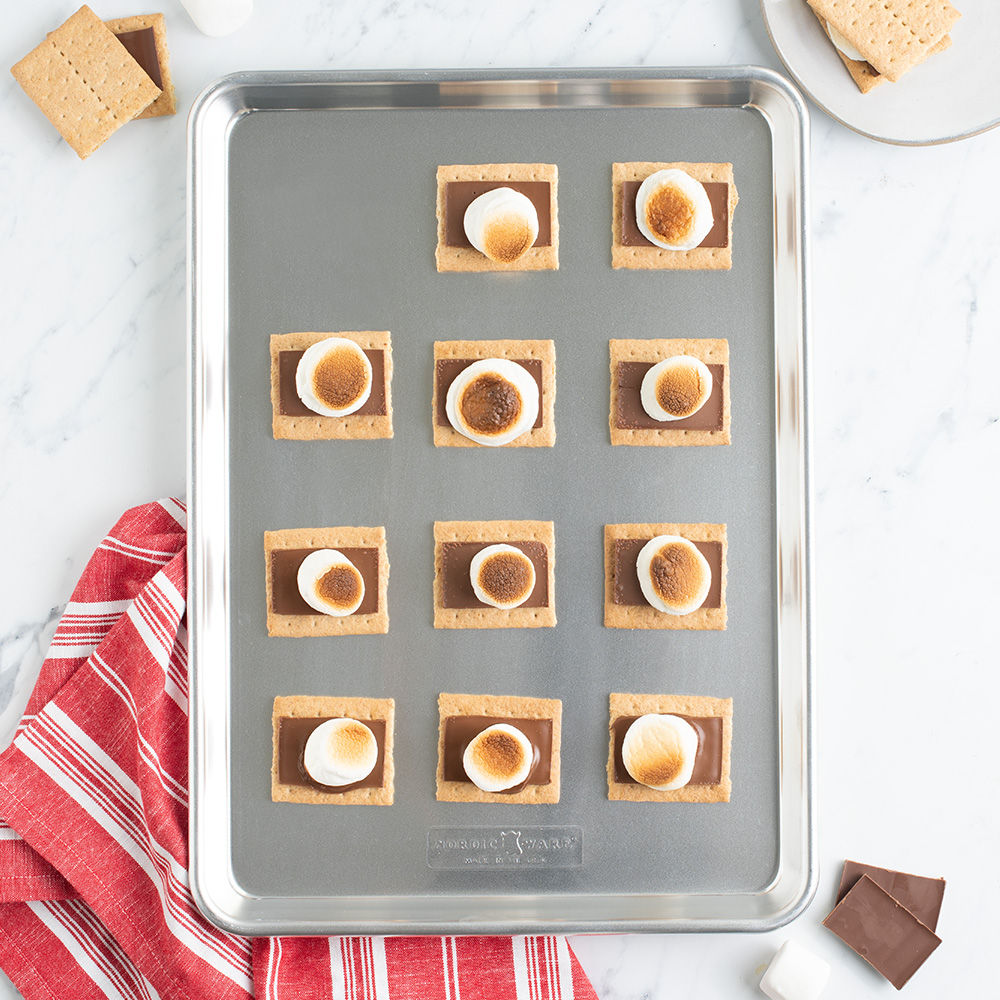
On a baking sheet, arrange 12 graham cracker halves and reserve the remaining 12 for the top.
Top each cracker with chocolate, then place a marshmallow flat-side-down on top. This helps prevent rolling, especially important if your oven uses convection as circulating air can cause the marshmallow to shift. This method is also perfect for ensuring even marshmallow spread across the smore when the other graham cracker is added.
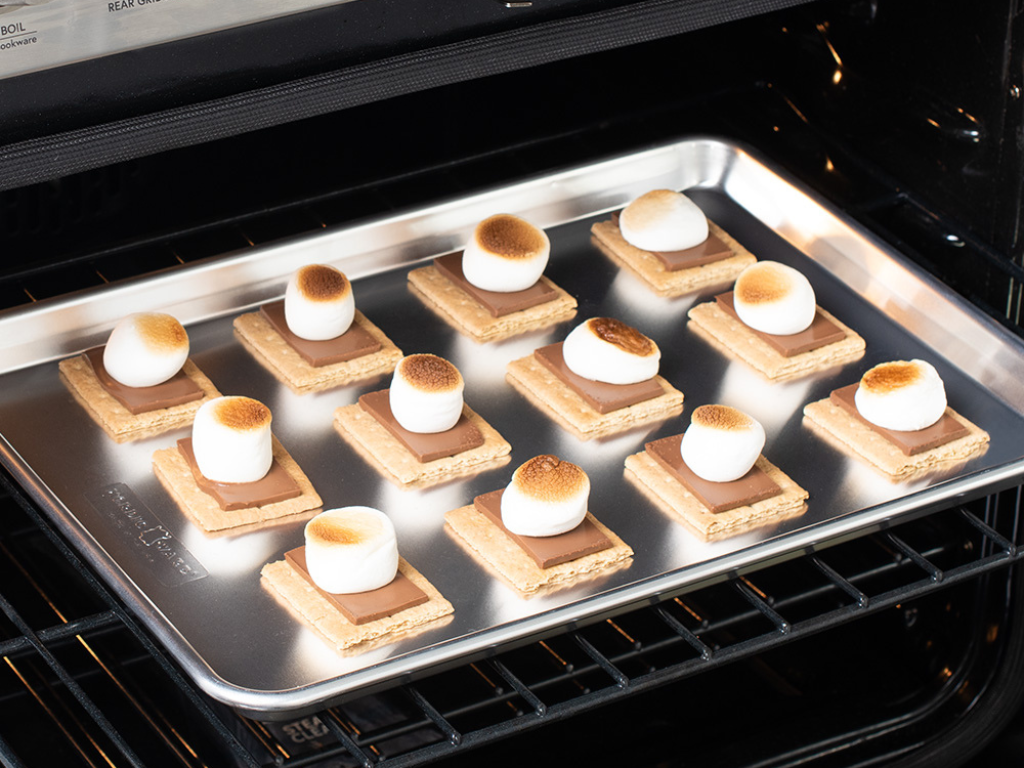
Place the pan on the middle rack and bake for 3 minutes, allowing the chocolate to melt and the marshmallow to soften. This step ensures that signature gooey texture.
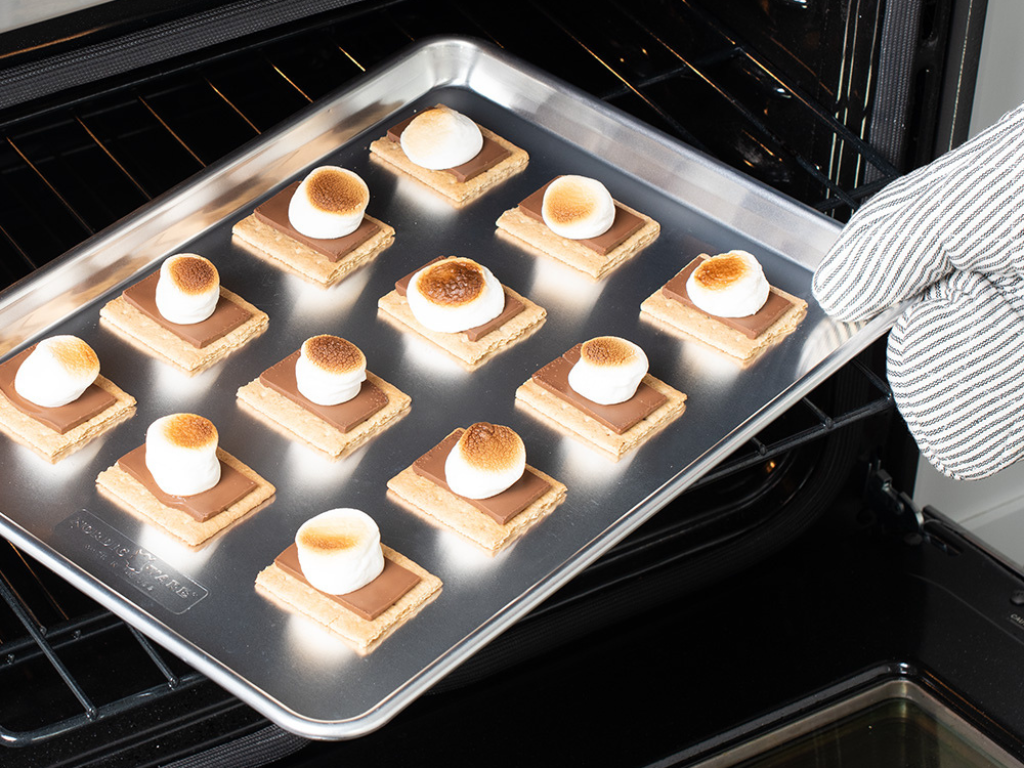
Move the pan to the upper third of the oven and switch to a LOW broil. Broil for 1–2 minutes, watching closely, until the marshmallow reaches your desired level of toastiness.
- 30 seconds= Light Brown
- 1 minute= Toasty Brown
- 1 minute 30 seconds = Golden Brown
- 2 minutes= Charred
Carefully remove from the oven, top each with the remaining graham cracker halves, and press gently. Serve immediately.
Note: Be cautious not to over-broil. Marshmallows toast quickly and graham cracker edges can burn easily.

