Up & Away™ Easy Stow Spatter Cover
$16.50
MSRP:


Product image gallery with 10 items. Use the thumbnail buttons below the main image to navigate between images and videos. Each thumbnail button is labeled with its content type and position. The main images can be zoomed by using the "View full size" link below each image. Use arrow keys to navigate when thumbnails have focus.
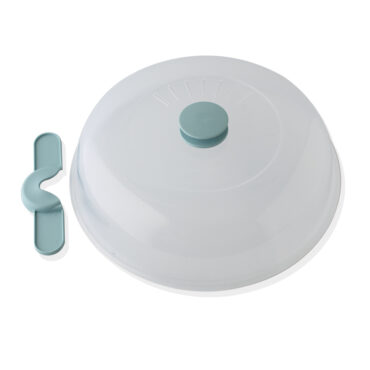
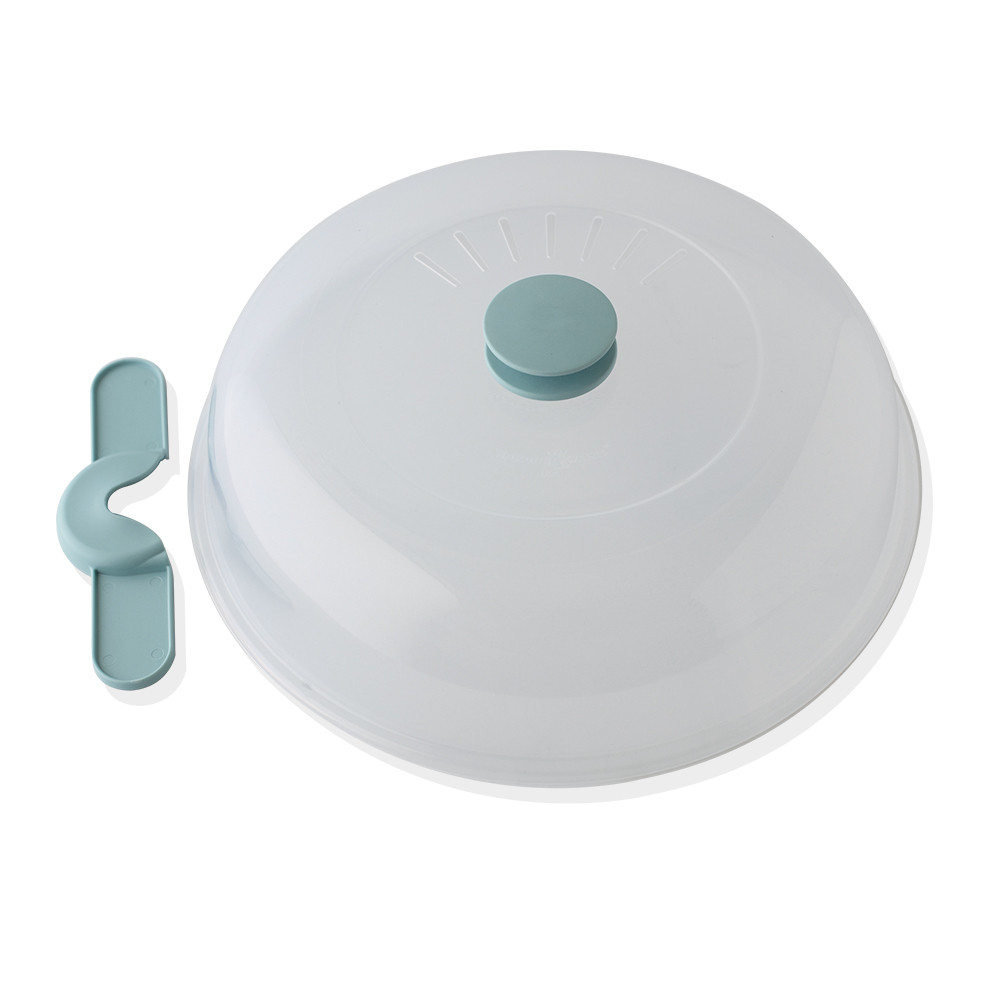
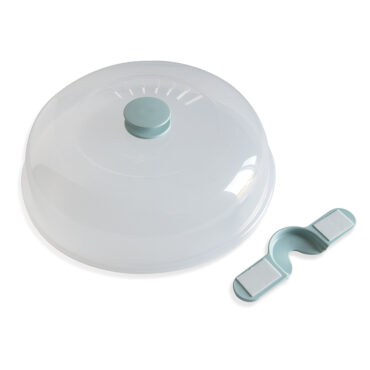
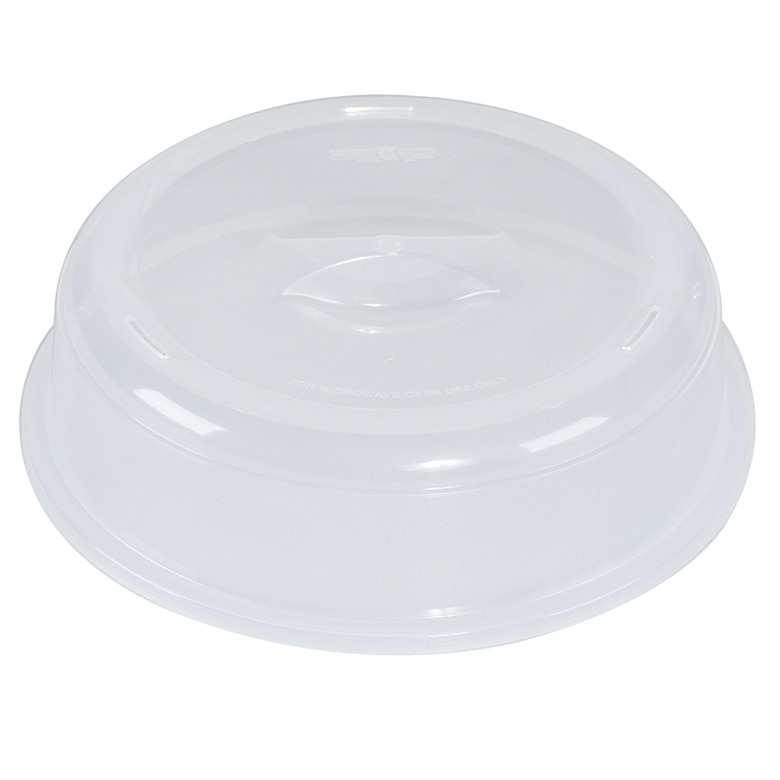
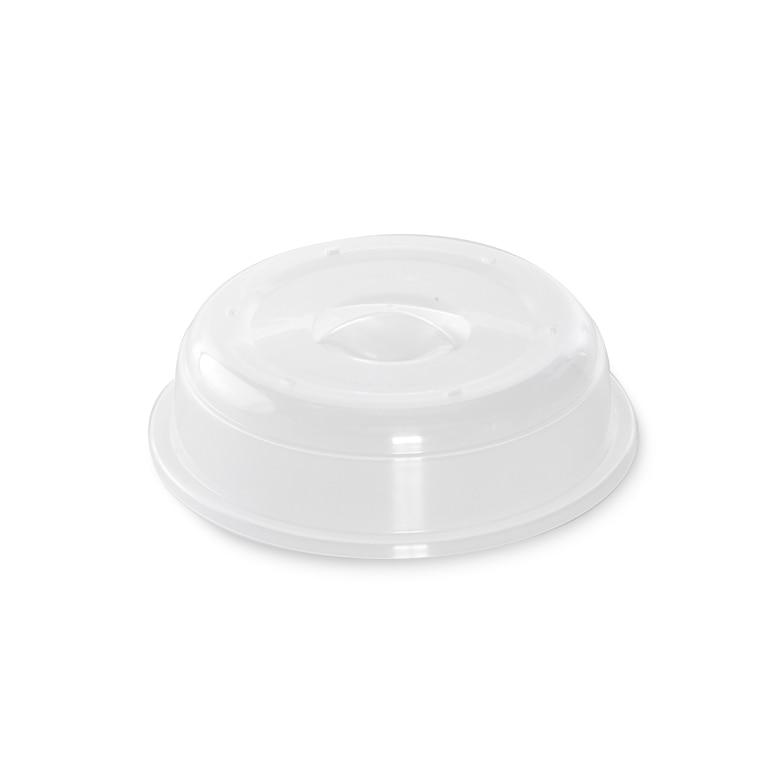
Product image 1 of 10: Nordic Ware Up & Away spatter cover with collapsible handle, stainless steel mesh with black rim

Product image 2 of 10: Nordic Ware Up & Away clear spatter cover stored flat against microwave interior above plate of spaghetti

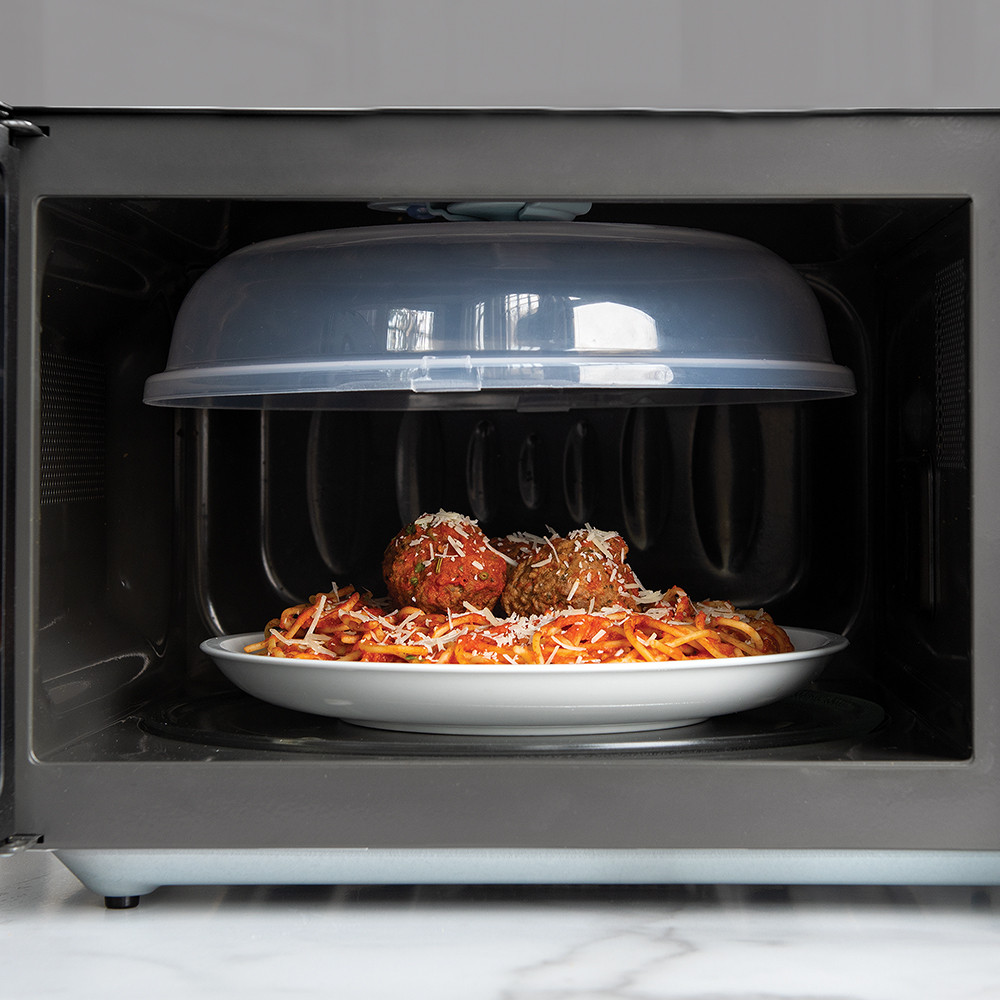
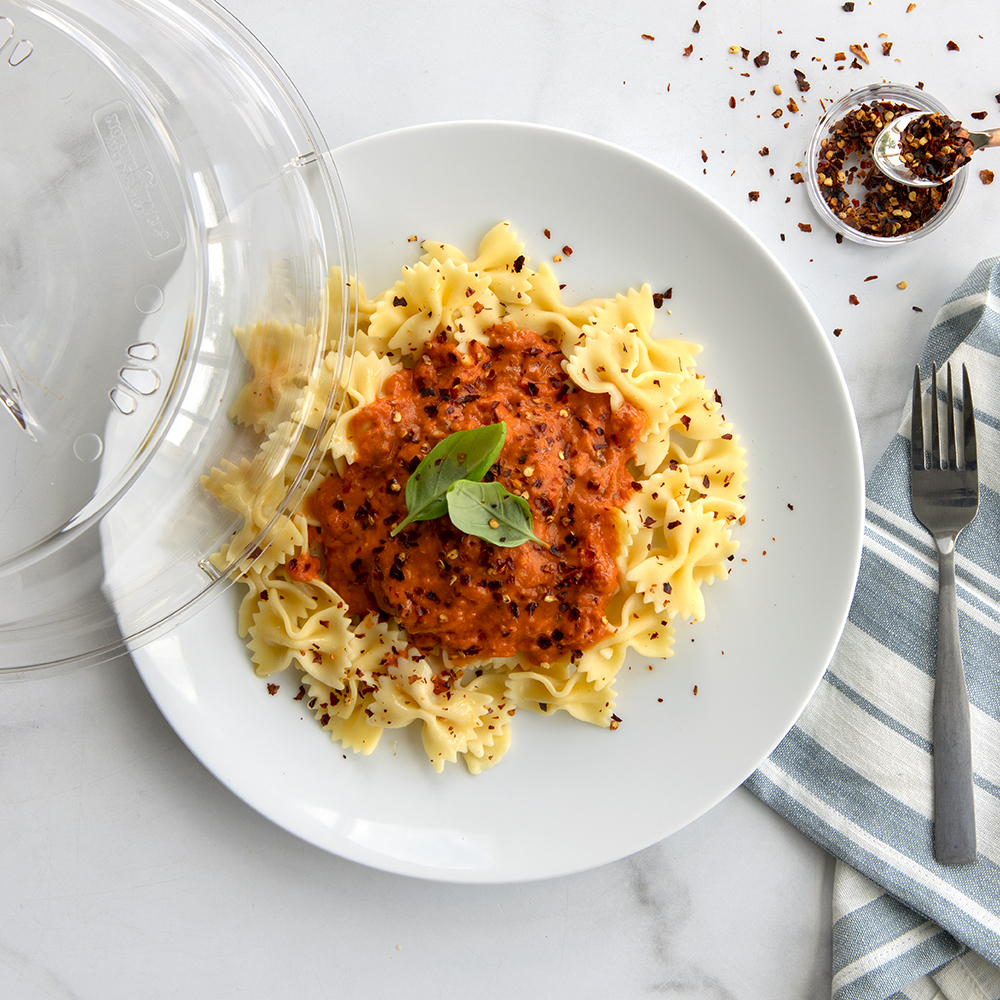
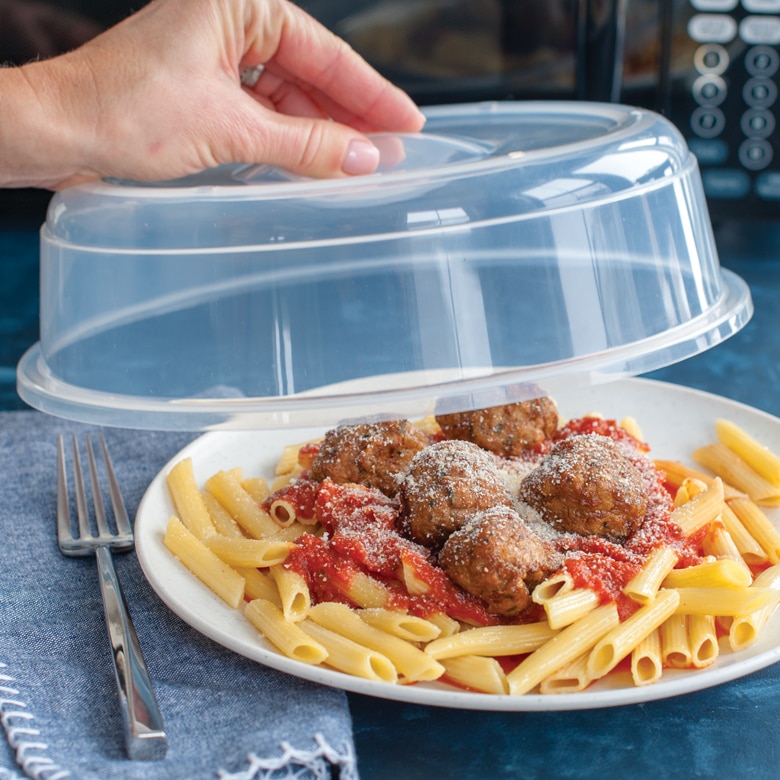
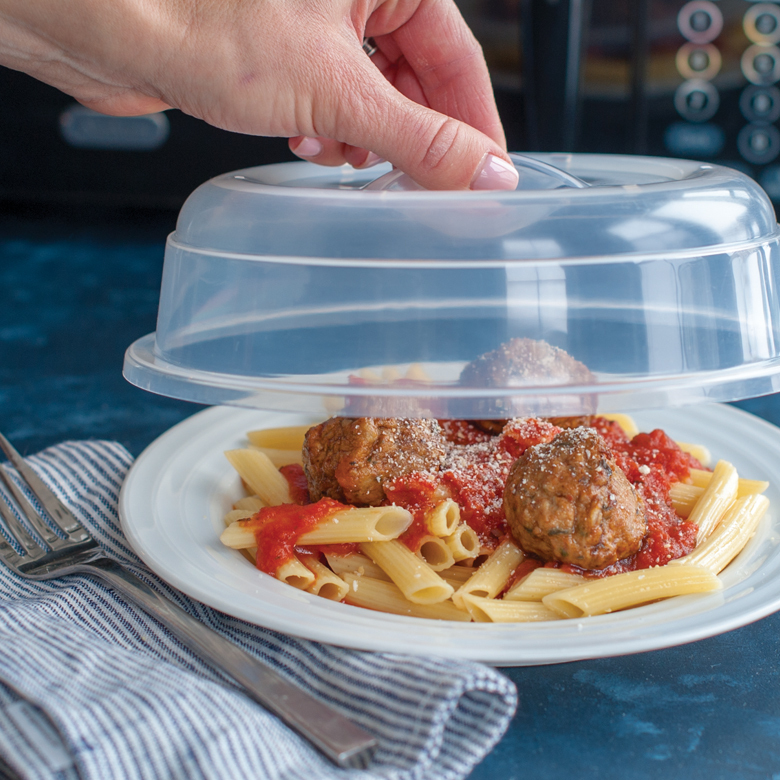
Product image 3 of 10: Hand pulling Nordic Ware Up & Away spatter cover from microwave above plate of cooked spaghetti
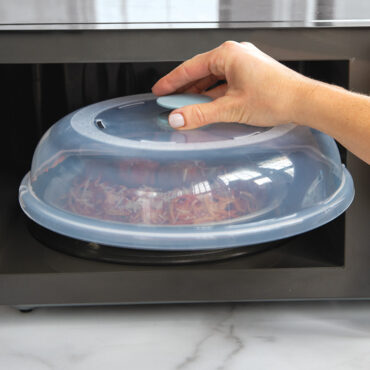
Product image 4 of 10: Hand lifting Nordic Ware Up & Away clear plastic spatter cover from microwave containing plate of spaghetti
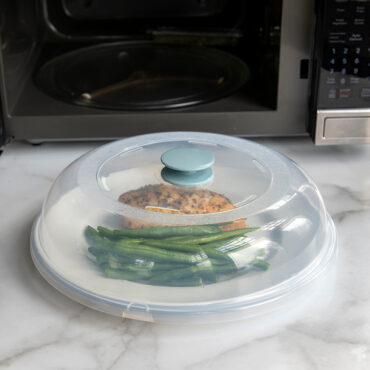
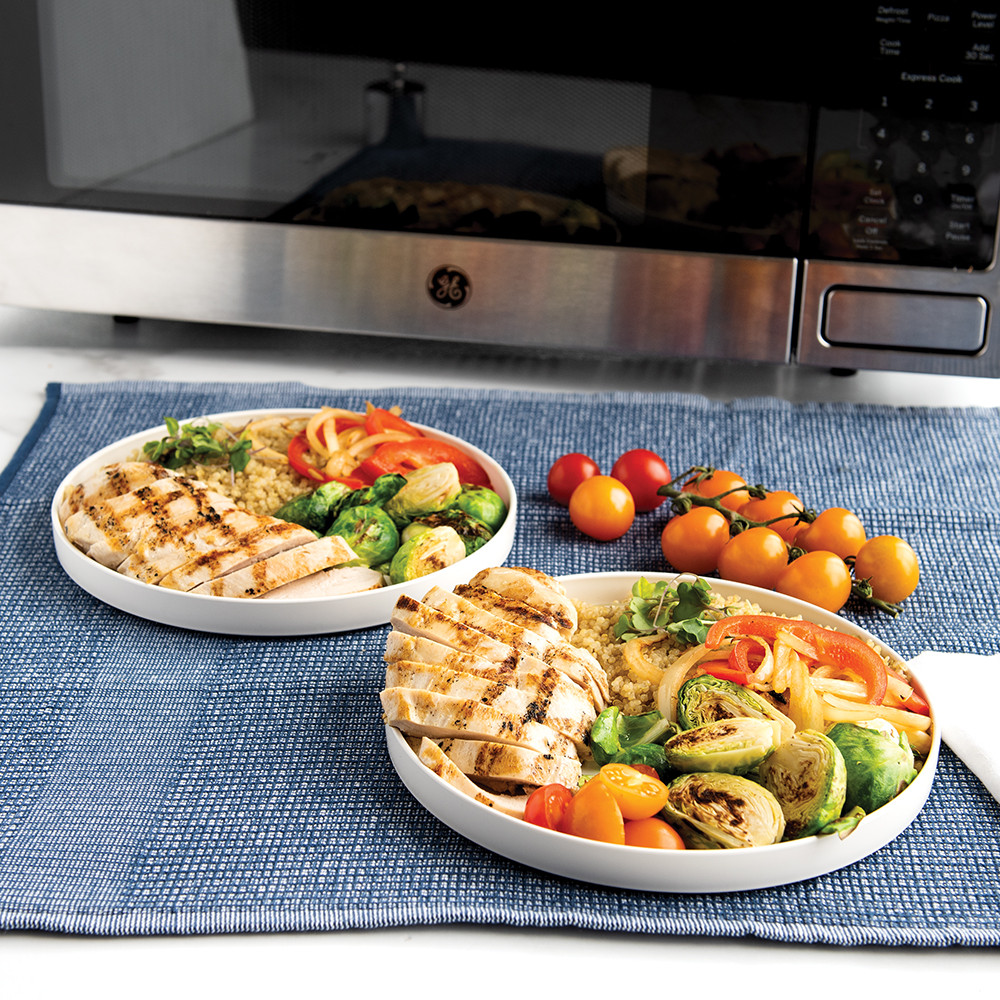
Product image 5 of 10: Clear Nordic Ware Up & Away spatter cover over white plate with cooked chicken and green beans, microwave in background
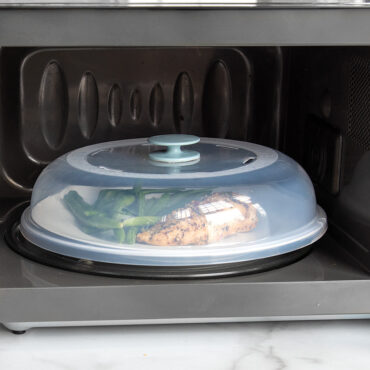
Product image 6 of 10: Nordic Ware clear plastic spatter cover over white plate with cooked chicken and green beans in microwave
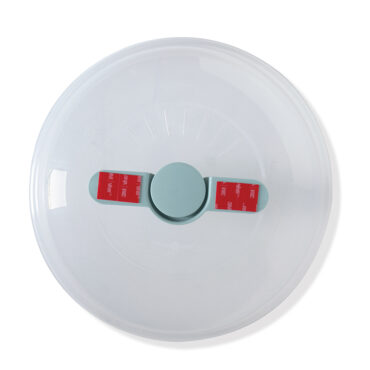
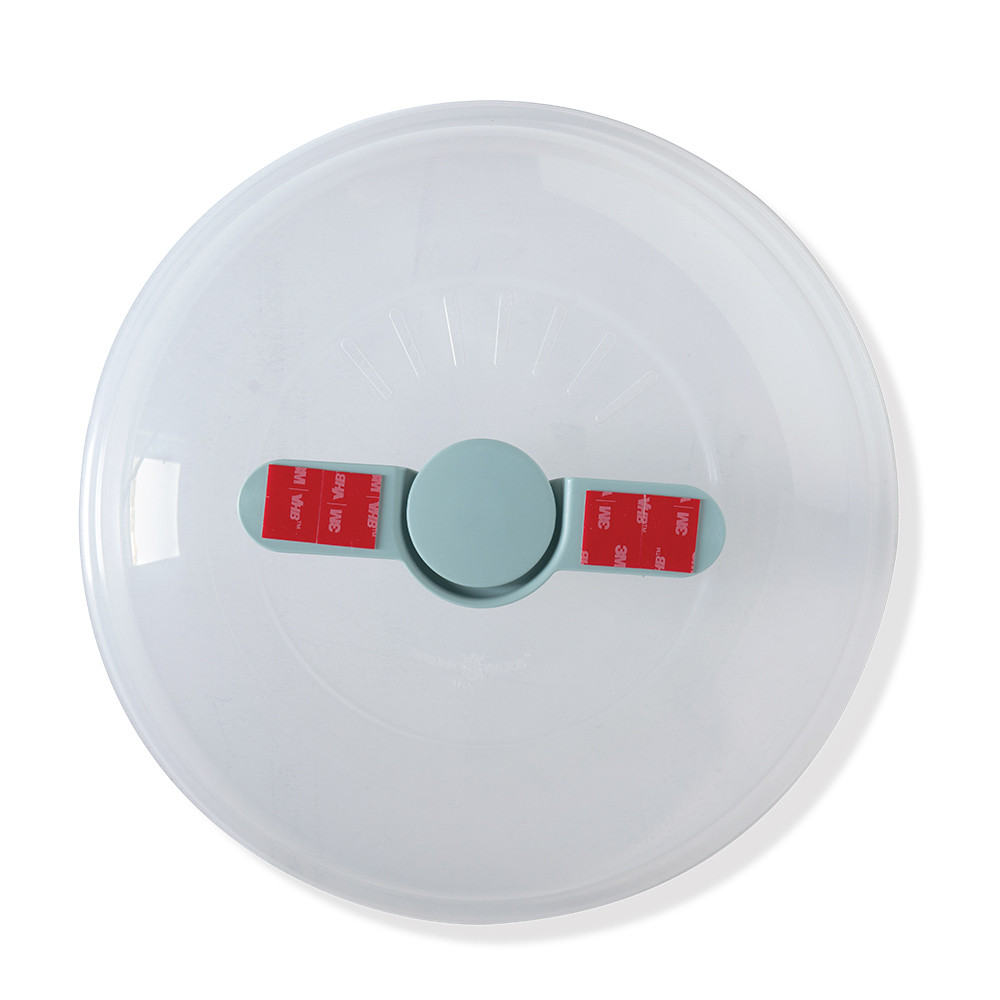
Product image 7 of 10: Nordic Ware Up & Away spatter cover with red protective tape strip, overhead view showing compact design
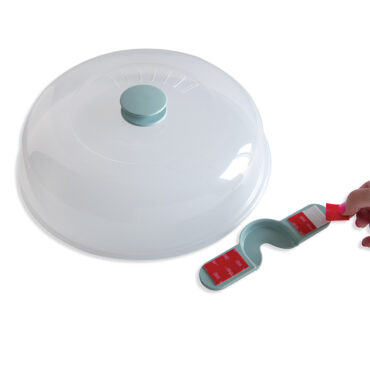
Product image 8 of 10: Person's hand peeling red protective strip from white wall-mounted storage bracket for spatter cover
Product image 9 of 10: White storage bracket with adhesive tape backing for mounting Nordic Ware Up & Away spatter cover
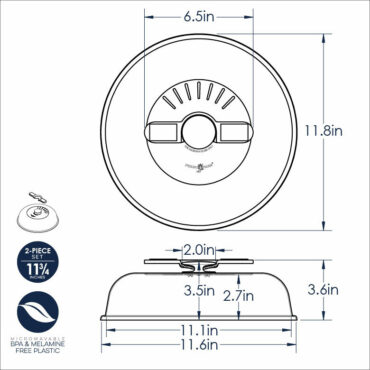
Product image 10 of 10: Nordic Ware Up & Away spatter cover with collapsible handle, clear glass with black trim, dimensional diagram
Thumbnail navigation: Use these buttons to view different product images and videos. Use arrow keys to navigate between thumbnails when focused.
Up & Away™ Easy Stow Spatter Cover

Product Details
Product Specs
Use & Care
With the Up & Away™ lid, your spatter cover stores neatly inside your microwave, saving precious cupboard and counter space. Use it when you need it to contain heat, steam and spatters. Store it “up and away” the rest of the time. Its simple bracket design does not involve magnets or any complicated instructions, making it handy and user friendly for the entire family. This product is most compatible with microwaves that feature a smooth or flush “ceiling” inside, so you’ll want to check your microwave oven to ensure it meets this criteria. For microwave ovens with a bump-out ceiling, you will want to ensure there’s a flat surface at least 6 inches in diameter to which the adhesive on the bracket can adhere.
PLACEMENT & USE
- Clean the inside ceiling of your microwave oven to remove any food or oil that might be on the surface. This will ensure proper adhesion of your mounting bracket. We recommend very warm, soapy water, and suggest you dry the ceiling with a clean towel.
- Look inside your microwave and locate the center point of its ceiling. This is where you will want the cut-out “U” shape in the bracket to be located. The open end of the “U” shaped cut-out will face toward you when mounted. With knob resting in bracket but prior to removing adhesive backer, hold lid inside microwave to gauge approximate mounting location on ceiling, ensuring microwave door can be closed. Once location for mounting has been identified, peel paper from both adhesive strips and press bracket only onto the ceiling of your microwave using firm pressure for 30 seconds to ensure adhesion.
- Slide knob of lid into “U” shape of bracket. When you’re ready to cook, slide lid out and place it over your plate of food. When finished, return lid to its resting spot. Bracket and lid are safe to leave stored inside microwave, even while cooking items that do not require their use. CARE
- Lid is top rack dishwasher safe.
- Not for conventional oven use or stovetop cooking use. For microwave reheating purposes only.
- Use caution when removing lid from a hot plate of food. Steam vents will dissipate some, but not all, of steam built up during cooking. Use an oven mitt when removing hot lid from a steaming plate of food.
- Splattering of greasy or oily foods such as bacon or sausage may leave small marks on the inside of your lid. These are cosmetic in nature and will not affect the lid’s cooking properties. If you wish to keep your lid looking new, avoid extended cooking of greasy foods.
Product Reviews
Write a Review
Write a Review
Related Products
$16.50
MSRP:
Posted by Nancy Crichton