S is for Snickerdoodle
It’s the time of year where I start to plan what I’m going to bake for the holidays. I always put way too much on the agenda, usually accomplished in a rush. Even though I stress myself out trying to tackle it all, I enjoy every minute of it. Caramel Puff Corn, Scrabble (our family name for Chex Mix), and loads of cookies are all on the list of to-do’s.
Every year I gather with a group of gals for a day of baking. Christmas tunes play in the background while we prep and drink coffee. The day is quite organized. We all have a list of what to bring/provide. This is a day long event, so sustenance is essential. There’s usually some assortment of salad, bread, cheese, and inevitably Champagne gets shared. A quality day if I do say so myself!

Because we would rather chat and relax with one another than stand in an assembly line all day at one oven (we aren’t quite at that point where we have a gourmet kitchen with the luxury of 2+ ovens!), we come bearing a batch or two of cookies/treats all ready to divvy up. Each year we get requests to bring along a favorite from the year before. Every year I get asked to bring my snickerdoodles, I think because mine involve strictly butter. No shortening. I do not keep shortening on hand, EVER. I know there are probably hardcore bakers out there that insist that it creates a different crust/crumb/texture, but I don’t care. I think shortening is a crime. Ok, I’m off my soap box. Anyhoo, here’s my take on the ultimate snickerdoodle.

Ultimate Snickerdoodle Recipe
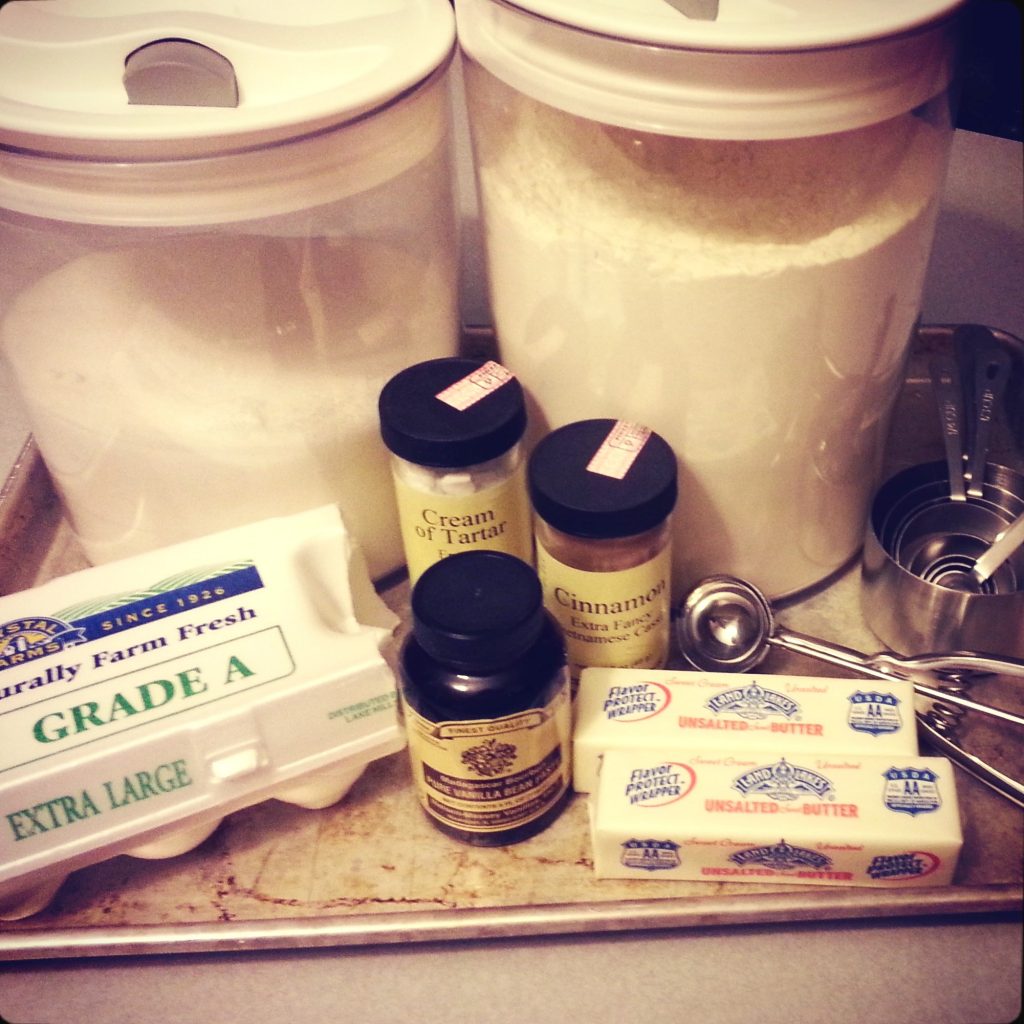
- 2 3/4 cups all-purpose flour
- 2 teaspoons cream of tartar
- 1 teaspoon baking soda
- 1/4 teaspoon salt
- 2 sticks of unsalted butter, softened
- 1 3/4 cups sugar, plus more if needed
- 2 tablespoons ground cinnamon, plus more if needed
- 2 large eggs
- 2 teaspoons vanilla bean paste (or vanilla extract)
Preheat your oven to 400°F and line your cookie sheet with parchment.
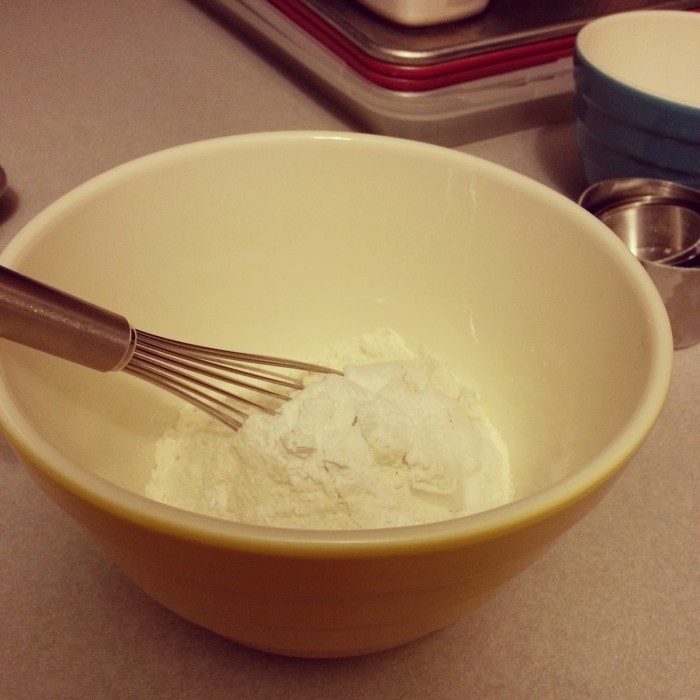
In a bowl, mix together the flour, cream of tartar, baking soda and salt. Sure you can sift this, but I don’t. I just stir it with a whisk or a fork. Set aside.

I am lucky enough to have received my stand mixer from my grandma, may she rest in peace. So, if you have one use it; if not, a hand mixer will do the trick. There are no rules in baking. Ok, that is a half truth. You need to follow general instructions, but don’t limit yourself or baking will never be fun!
In the bowl of the mixer, cream the butter and 1 ½ C sugar. Then add the eggs and vanilla. Once this is all mixed together you can add the dry ingredients in batches. No need for a mess if it isn’t necessary, right?

In another smallish bowl, mix together the remaining ¼ C sugar and cinnamon. Set aside.
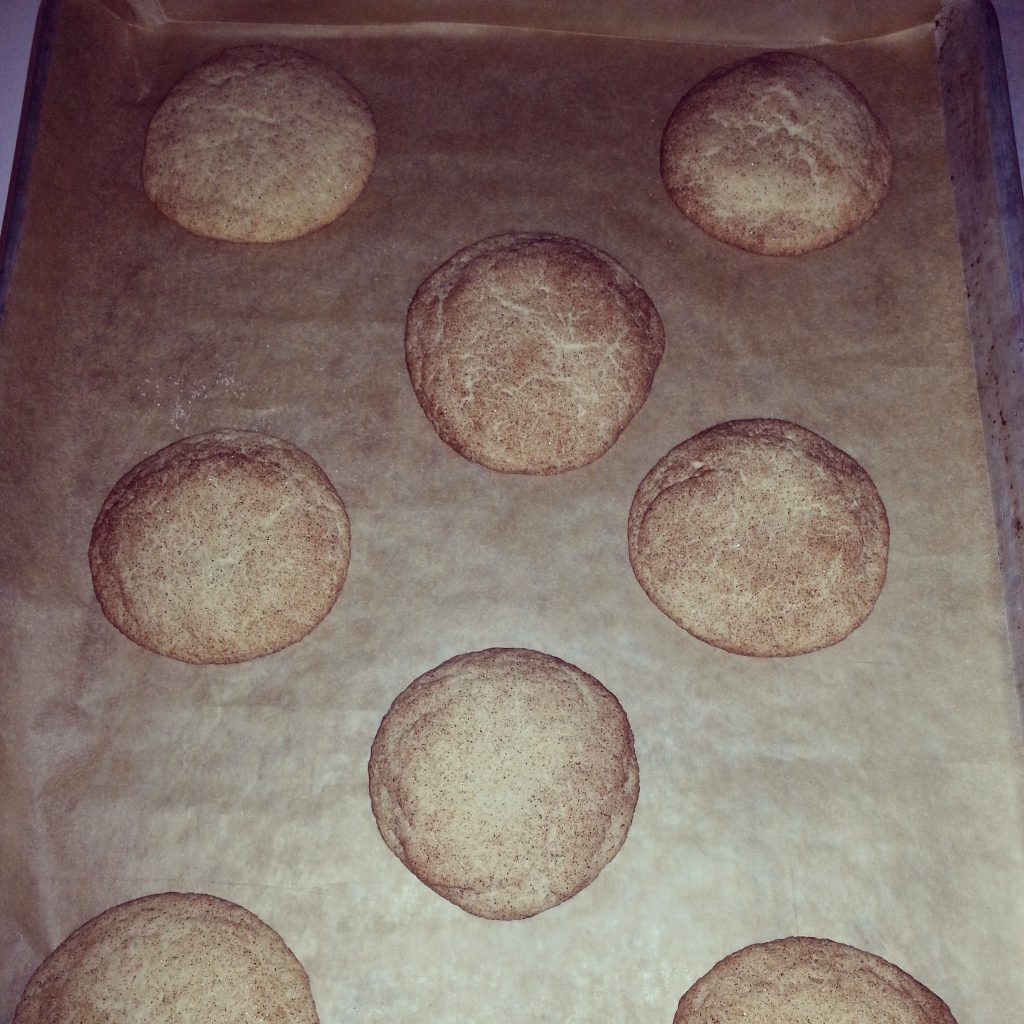
So here is where you get to scooping the cookies. Spoons work, but I find a cookie dropper to be so darn handy. Keeping them all the same size makes them bake at the same rate. Roll the dough balls in the cinnamon/sugar combo and place on your cookie sheet. Leave about 2 inches of space. Bake these bad boys for about 10 minutes. They will not brown. You don’t want a gooey center either. So, depending on your oven it might be more like 12 minutes.
Once done, remove them from the cookie sheet and onto a rack to cool. I like this one because it is nice and big!
Besides the baking, the storage of these treats is another favorite thing! Here’s a list of some of my favorites for said activity:
- Tins for sharing– classic and reusable
- Twine for tying– charming and fun
- Waxed tissue for inside the boxes and tins– much prettier than plain old waxed paper
- Tall jars- A big bow and a cute label, who could resist a pretty stack of cookies

